BASICS TO GET YOU STARTED
With crochet, there is always something to learn. This guide provides just the very basics to get you started.
Yarn
Yarn comes in a variety of weights, materials, and textures. As you try out and become familiar with different types of yarns, you will start to prefer some over others. When choosing yarn, check your pattern carefully and choose a yarn with the suggested yarn weight.
Splits happen. It is very common to come across splits (or knots) while working with yarn. When this happens, you can either ignore the split and keep crocheting or cut your yarn and reattach it using your preferred method.
Hooks
Crochet hooks come in a variety of materials and sizes. When finding the right size, look for the width in millimeters (mm). Crochet patterns will list the size needed to complete your project.
Care
When caring for your finished pieces, hand washing and laying flat to dry is recommended. Piling and shedding is common and often reduces over time.

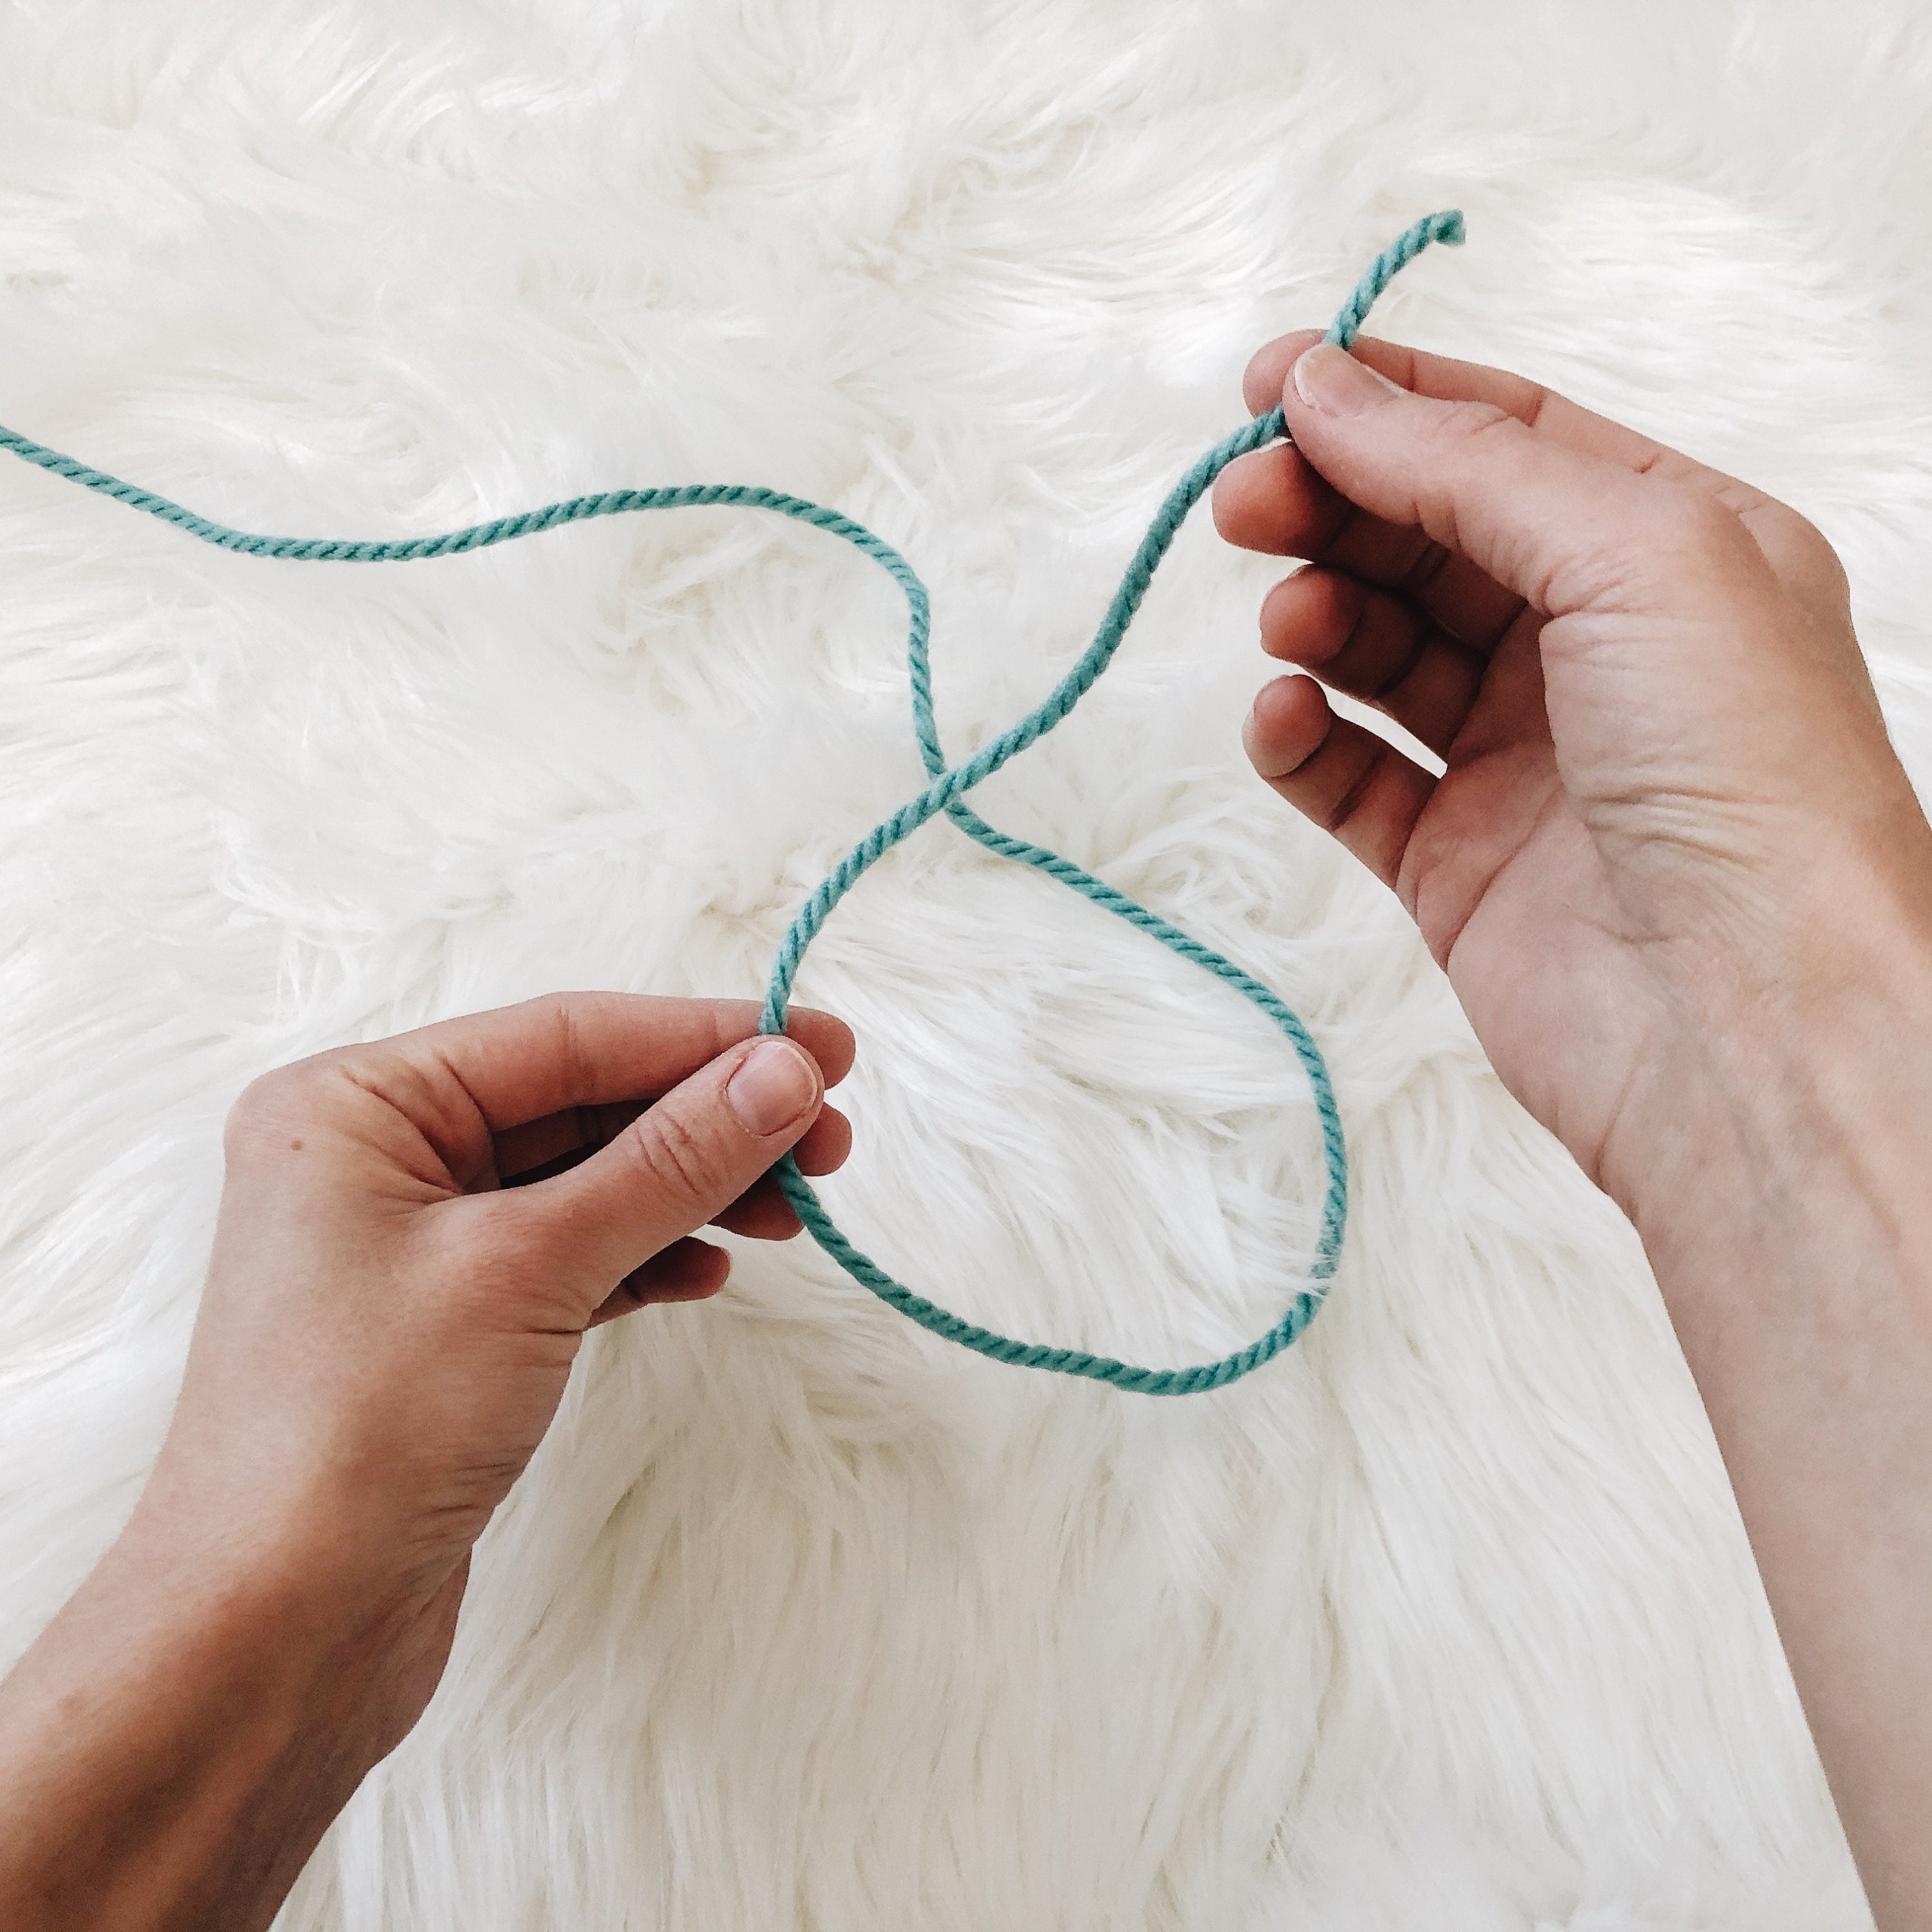
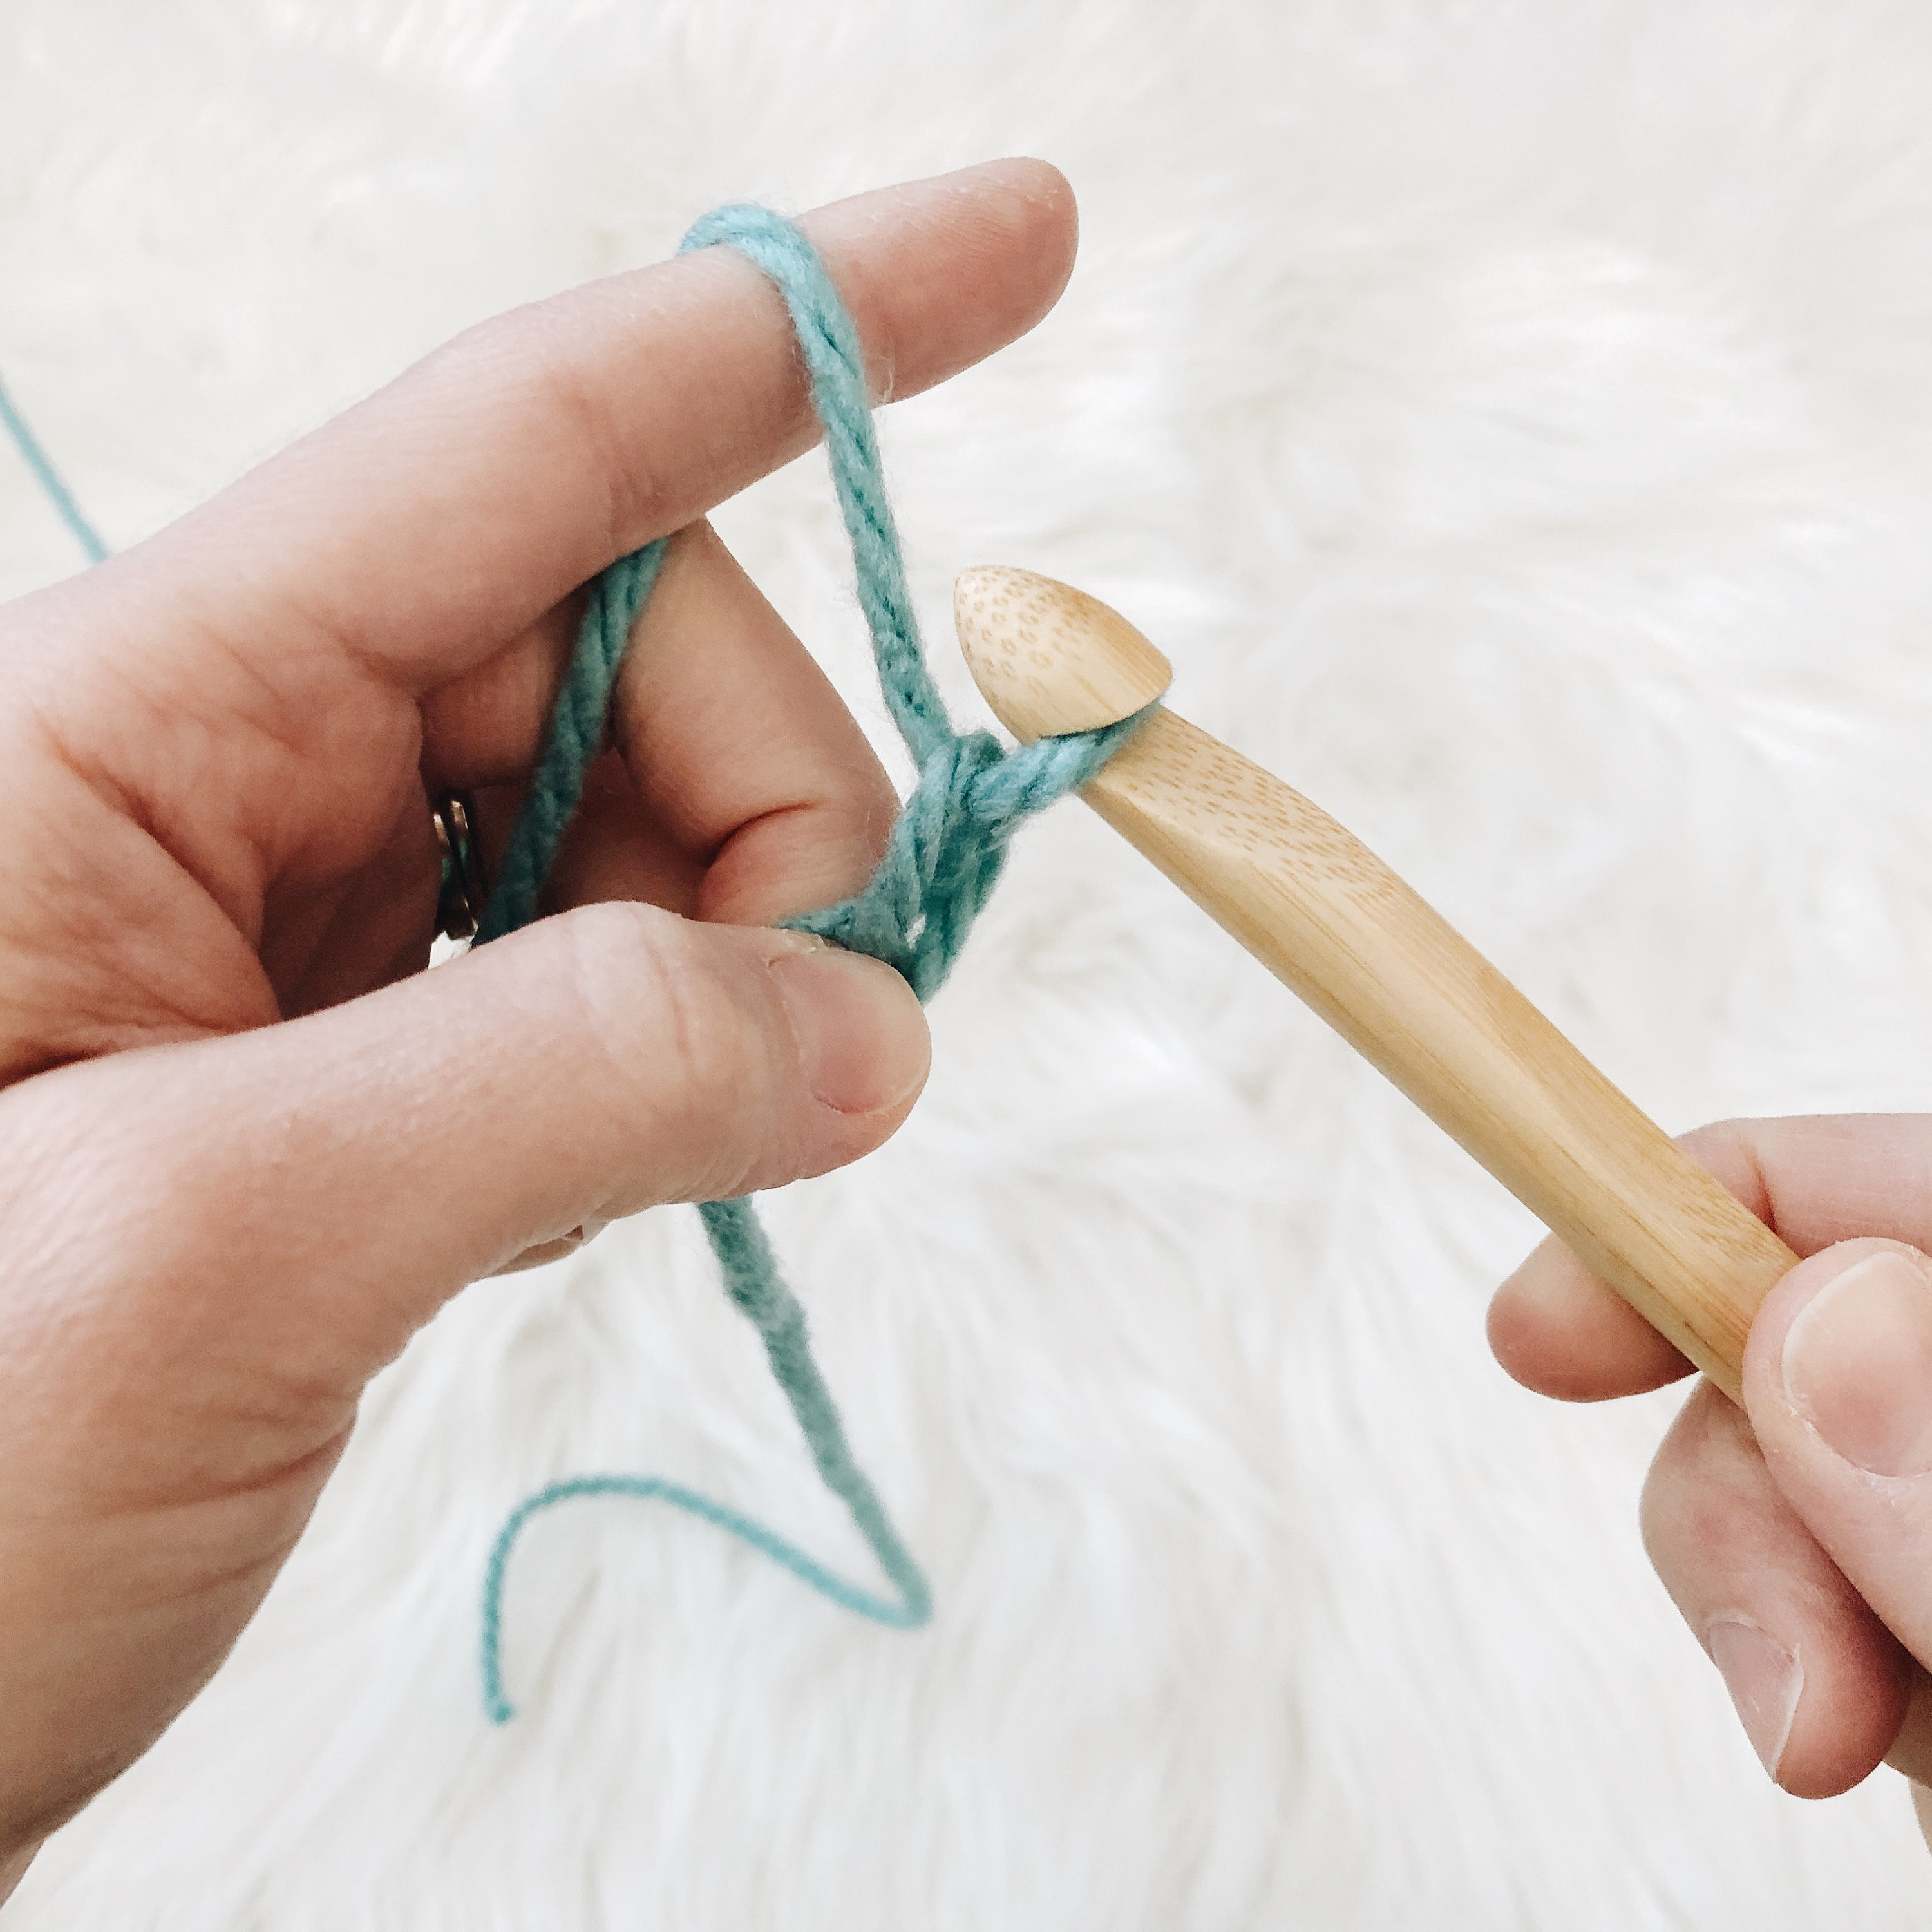
SLIP KNOT
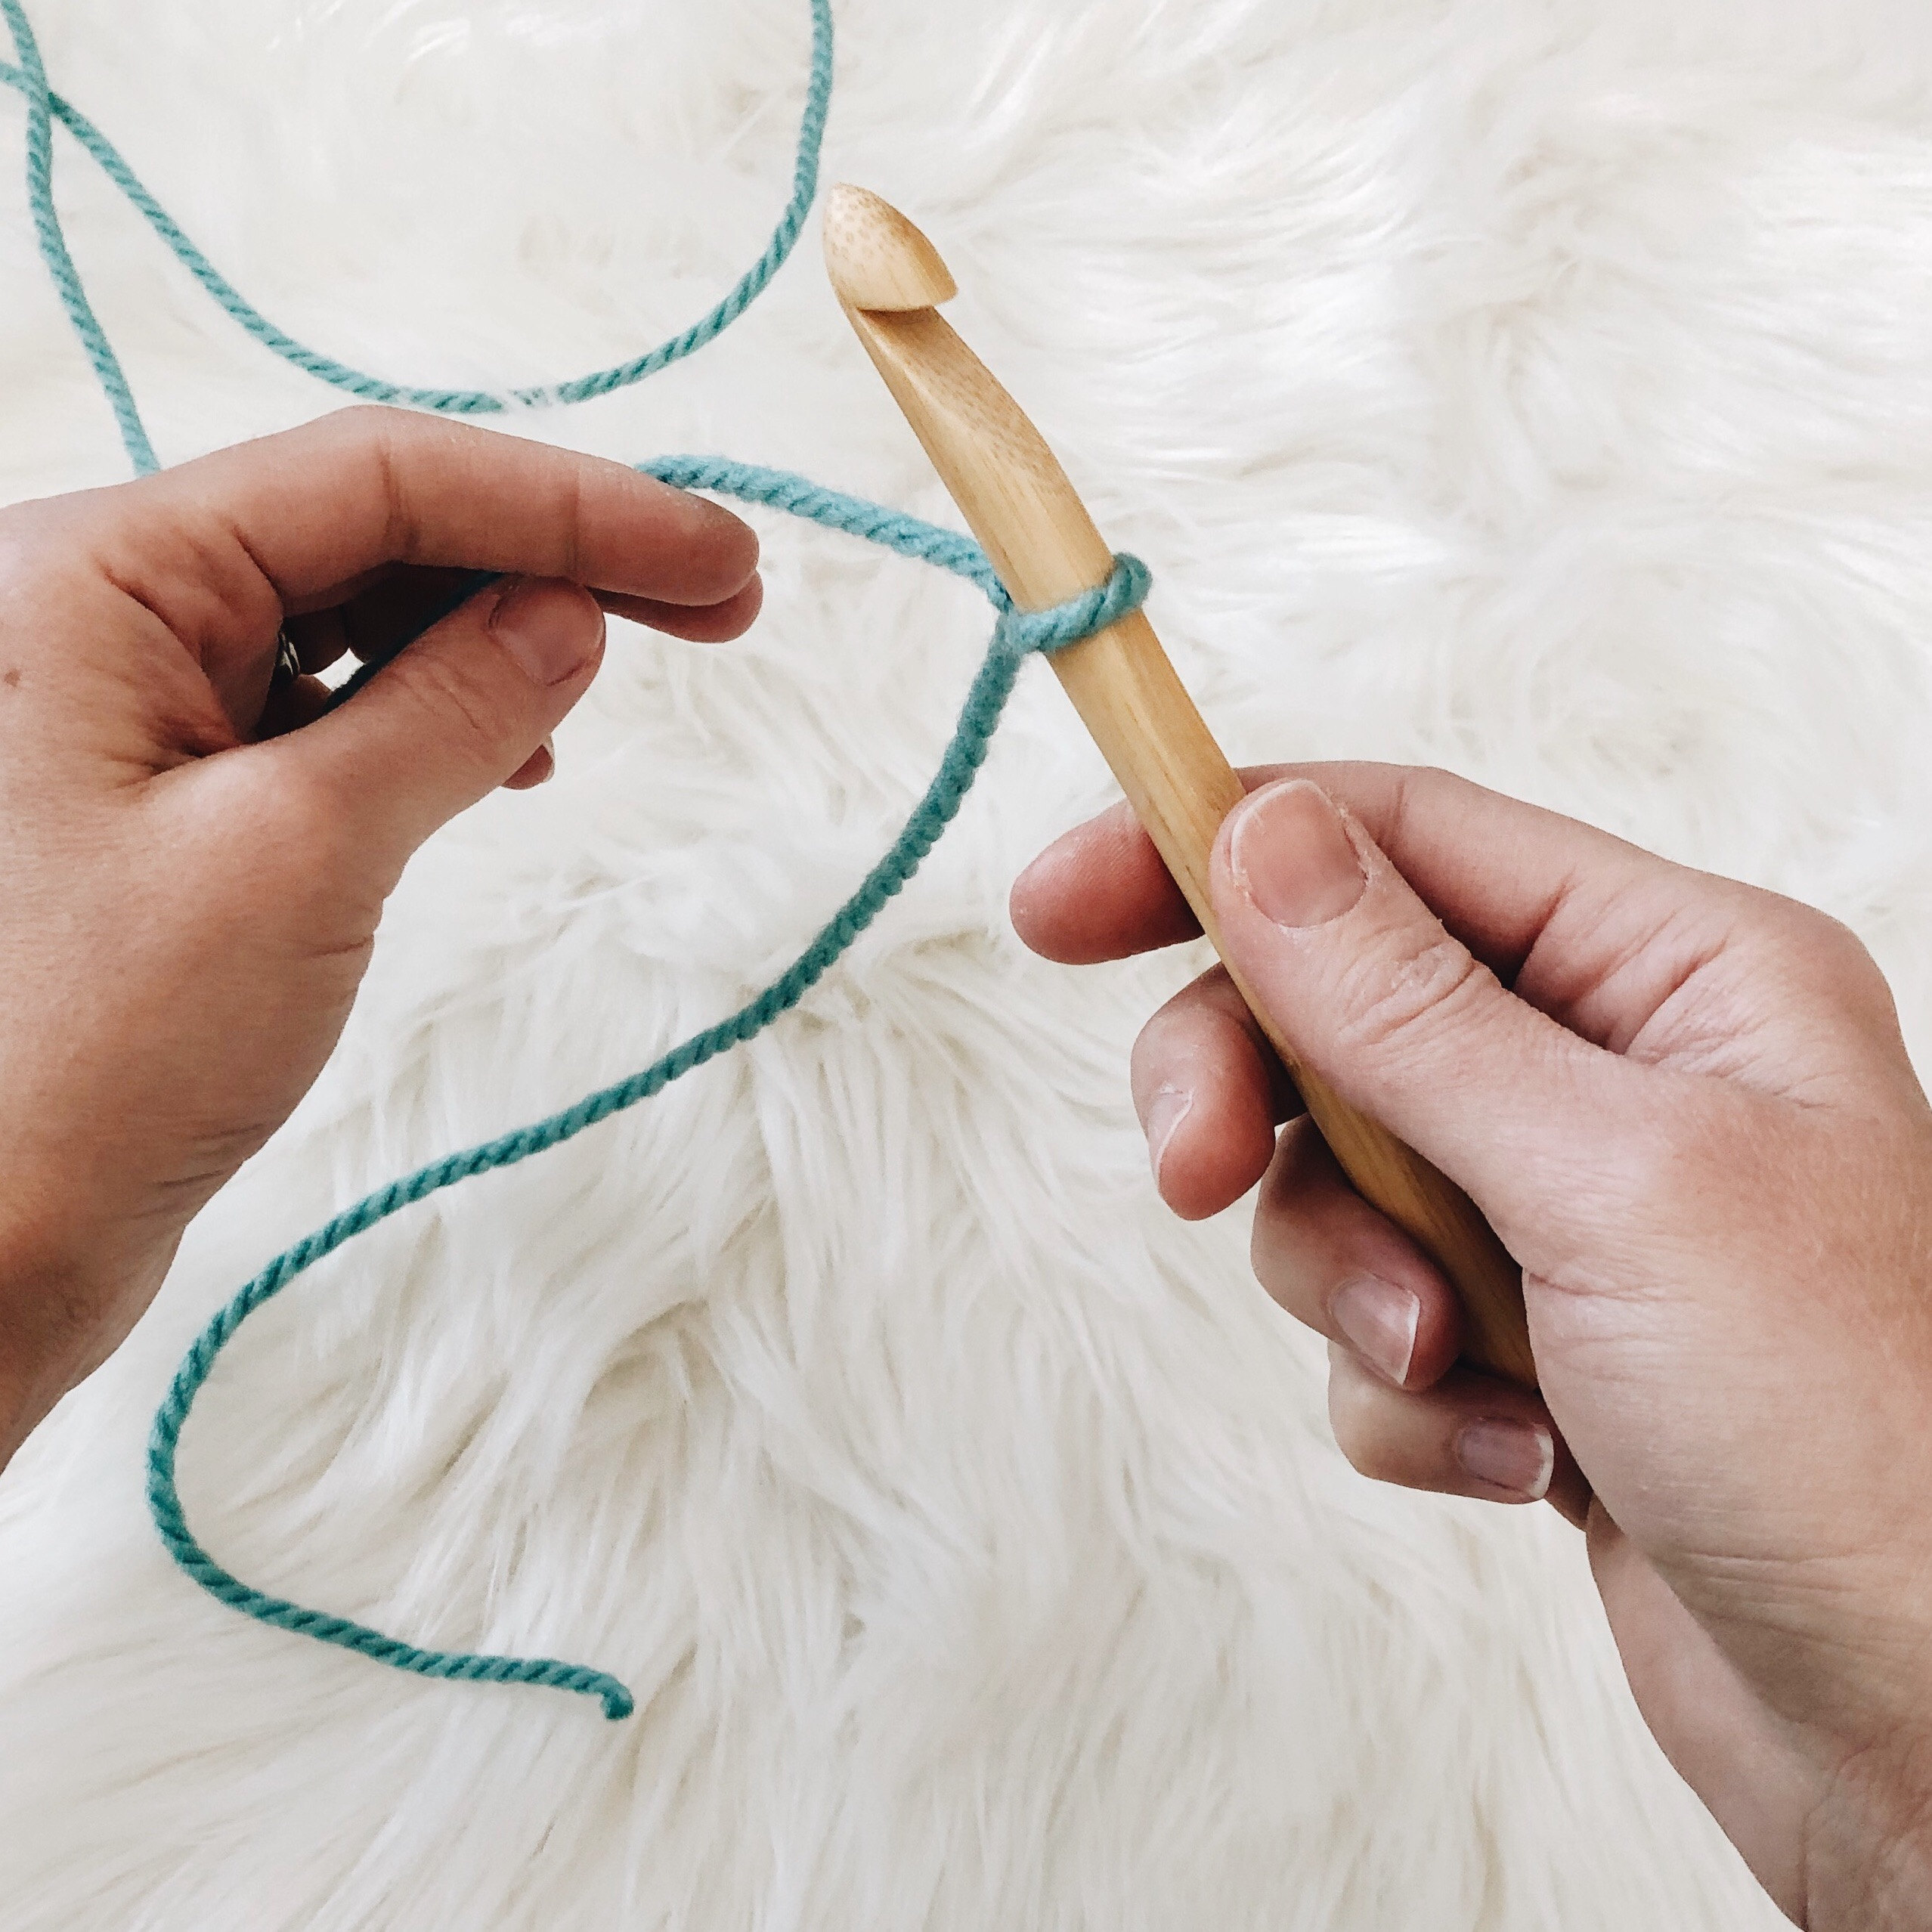
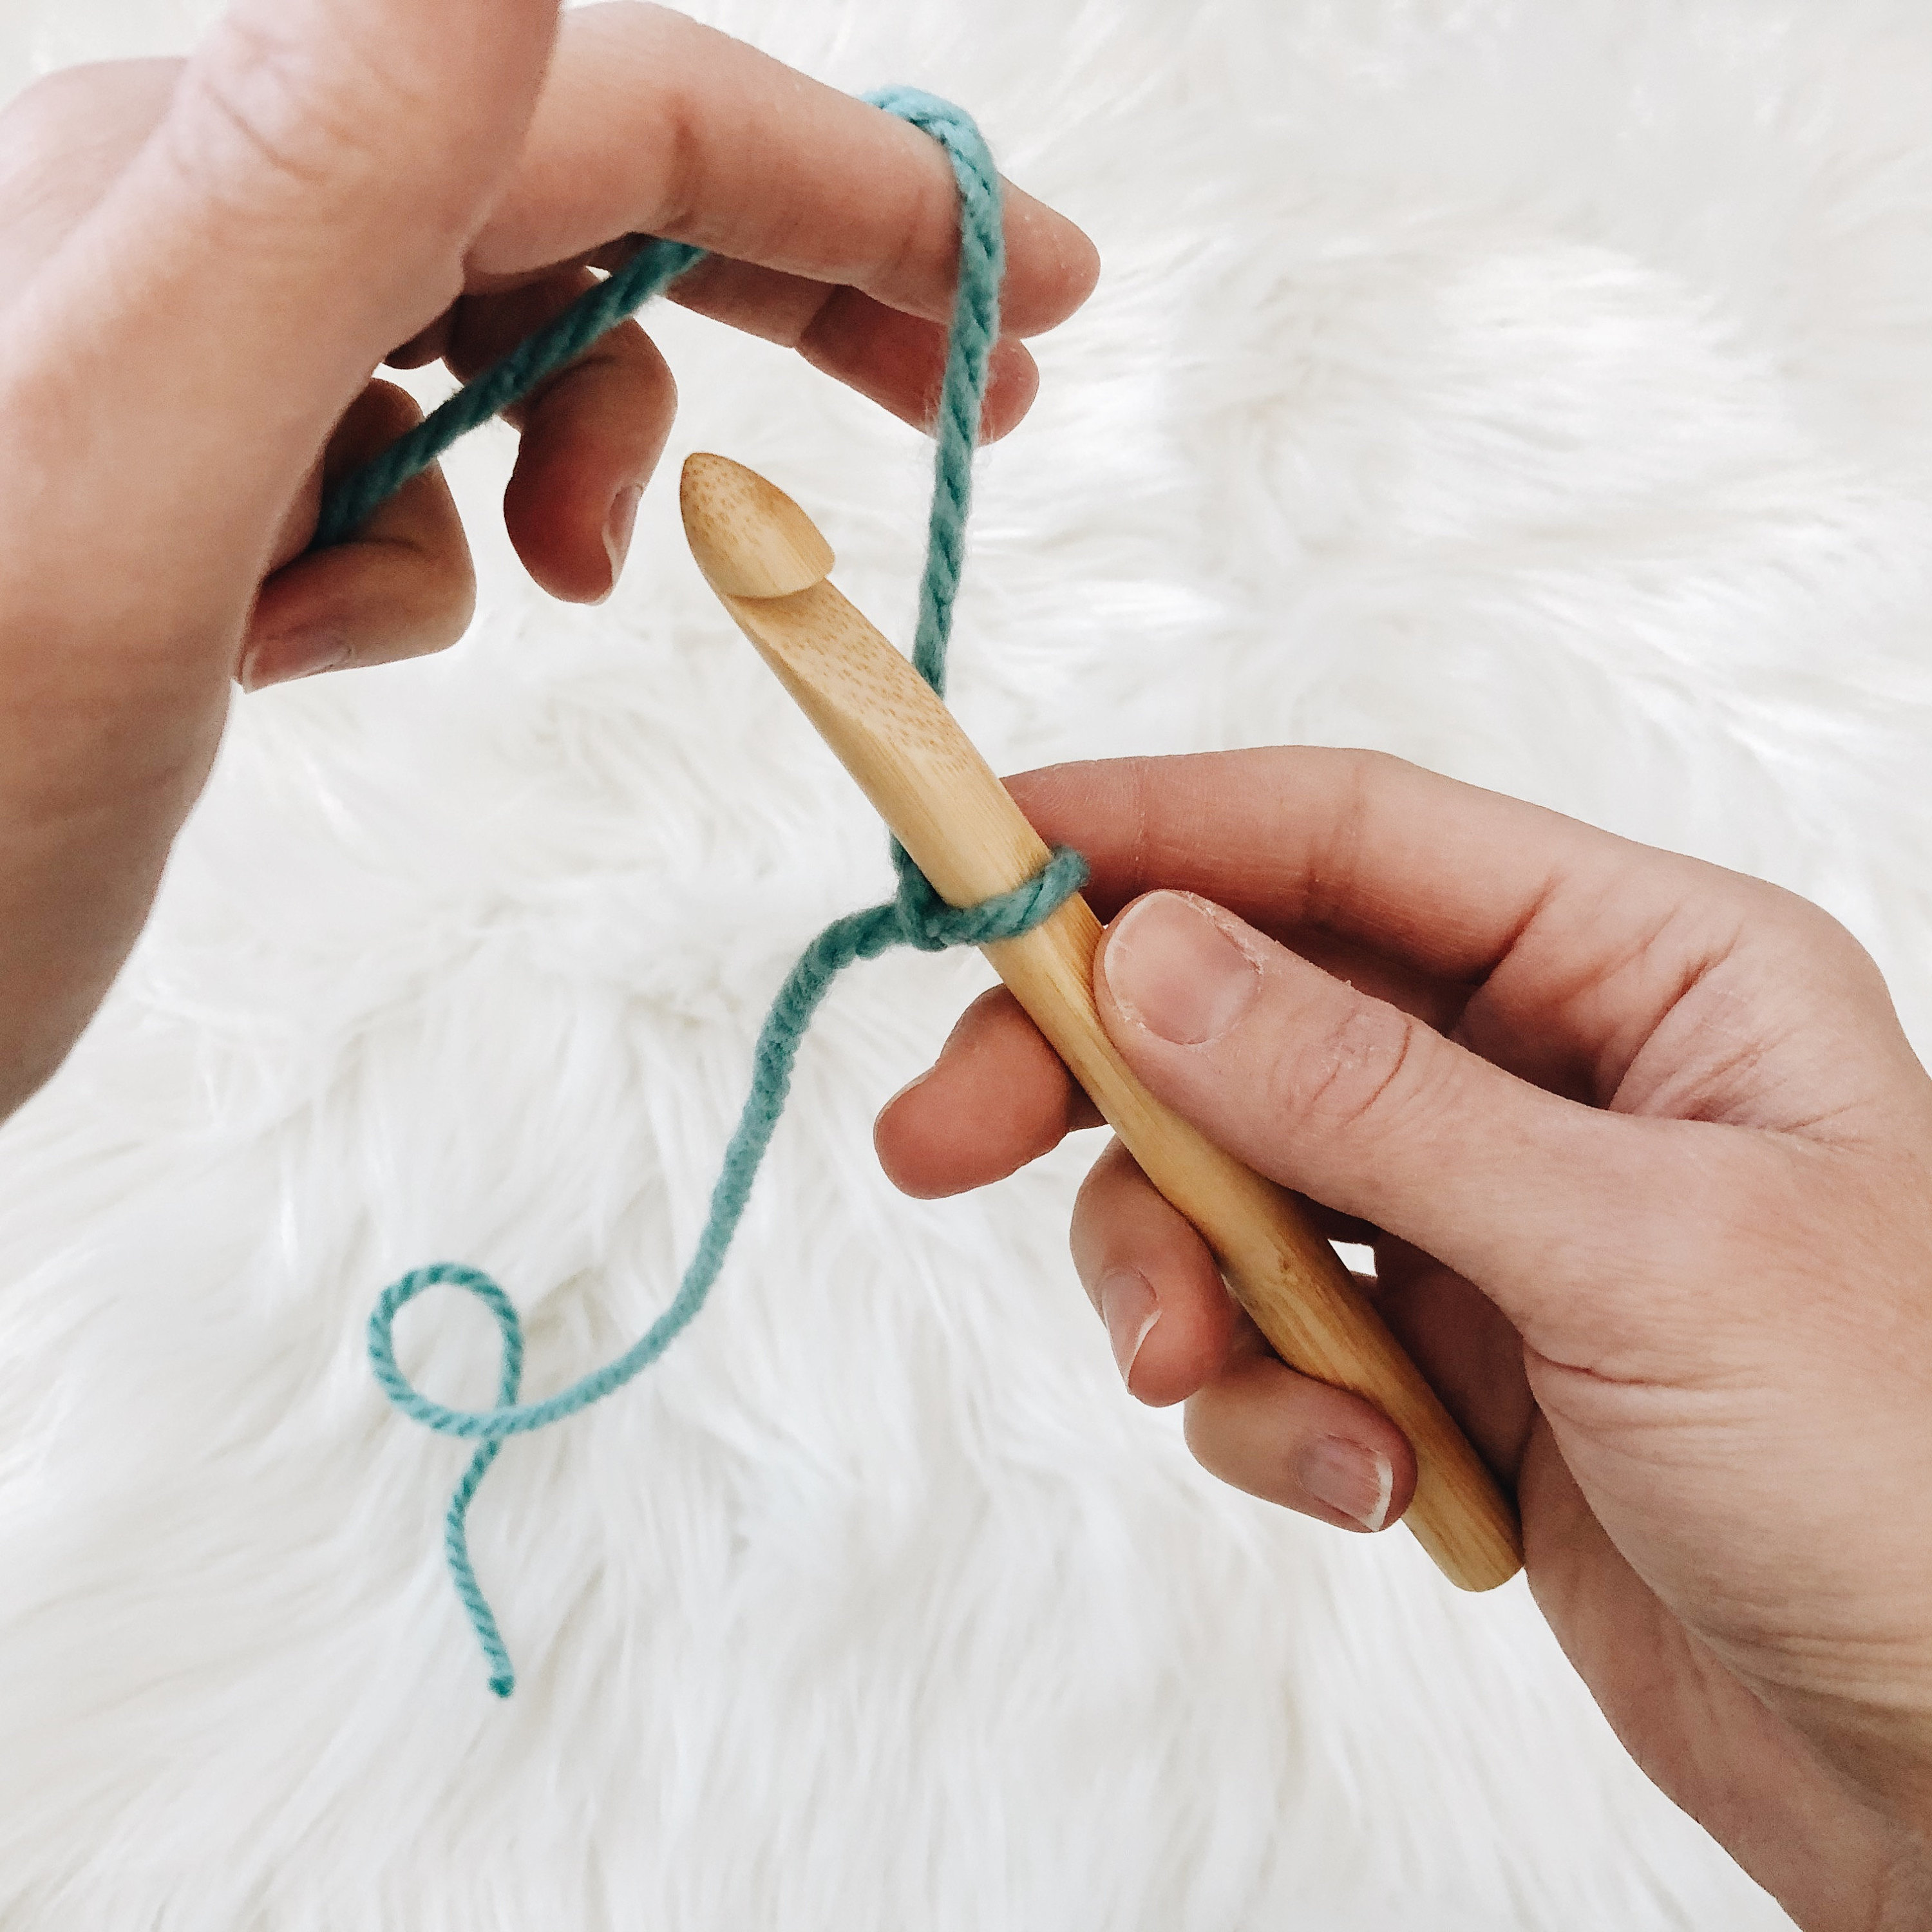
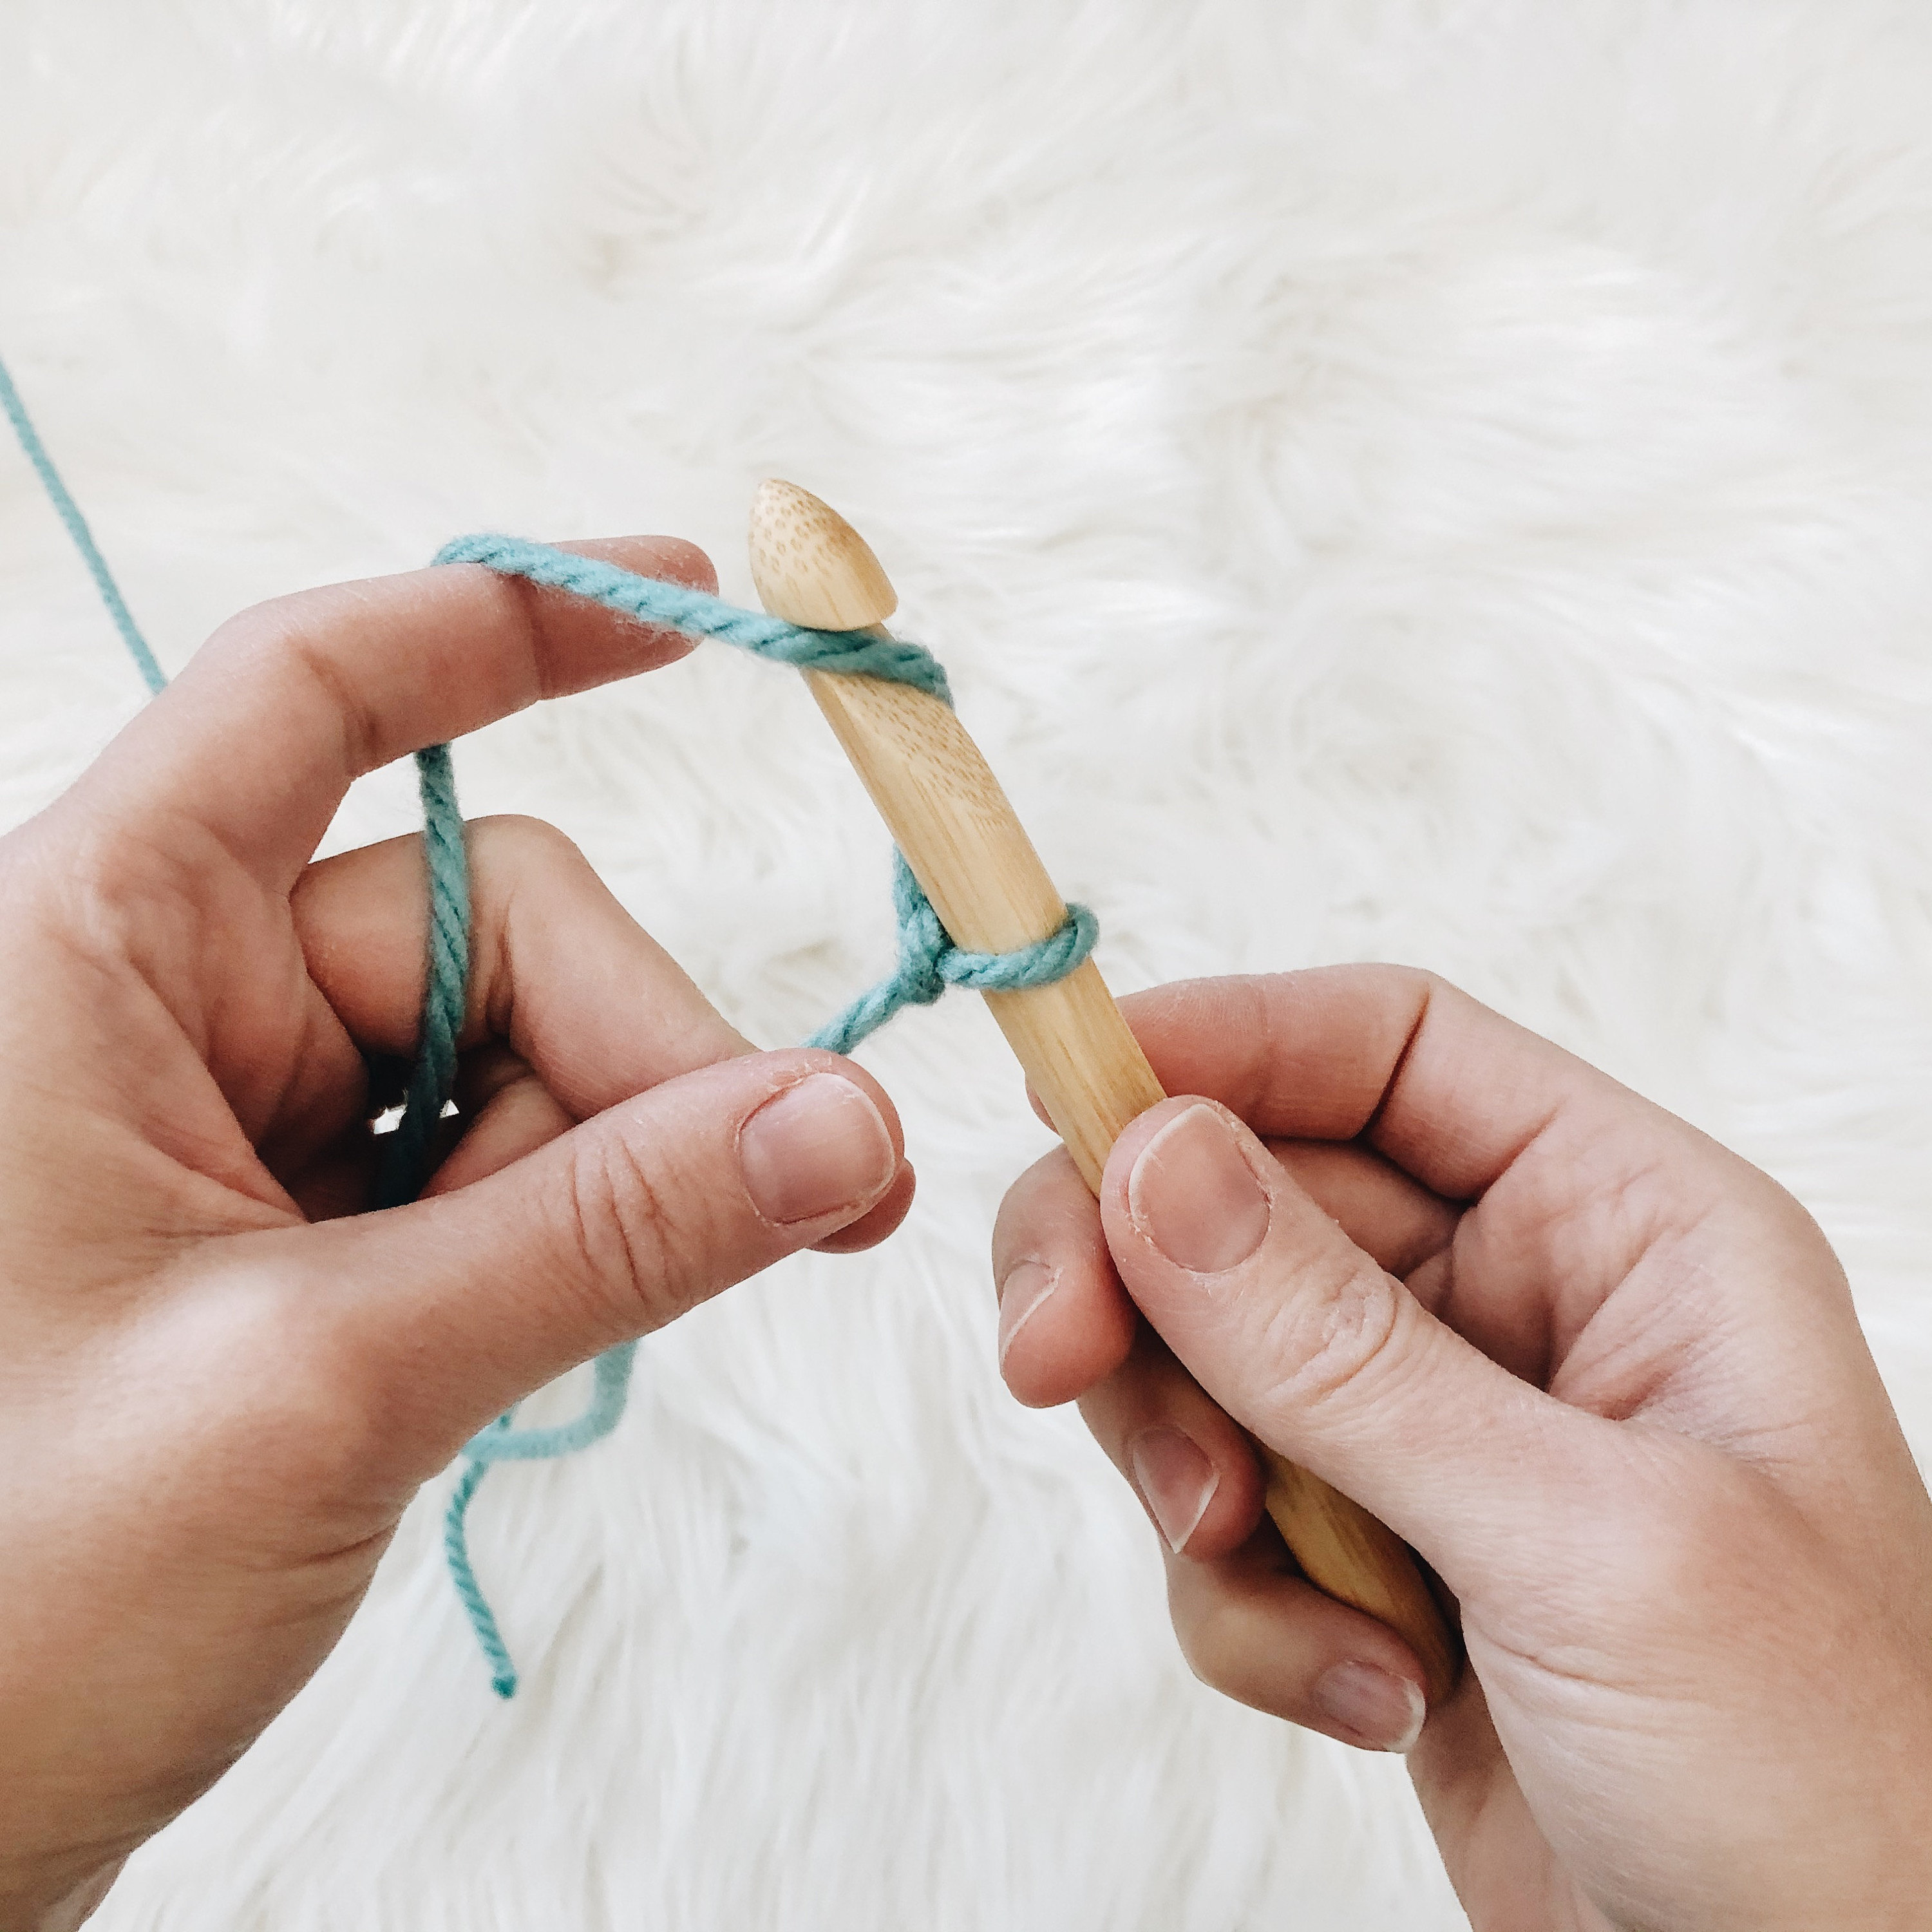
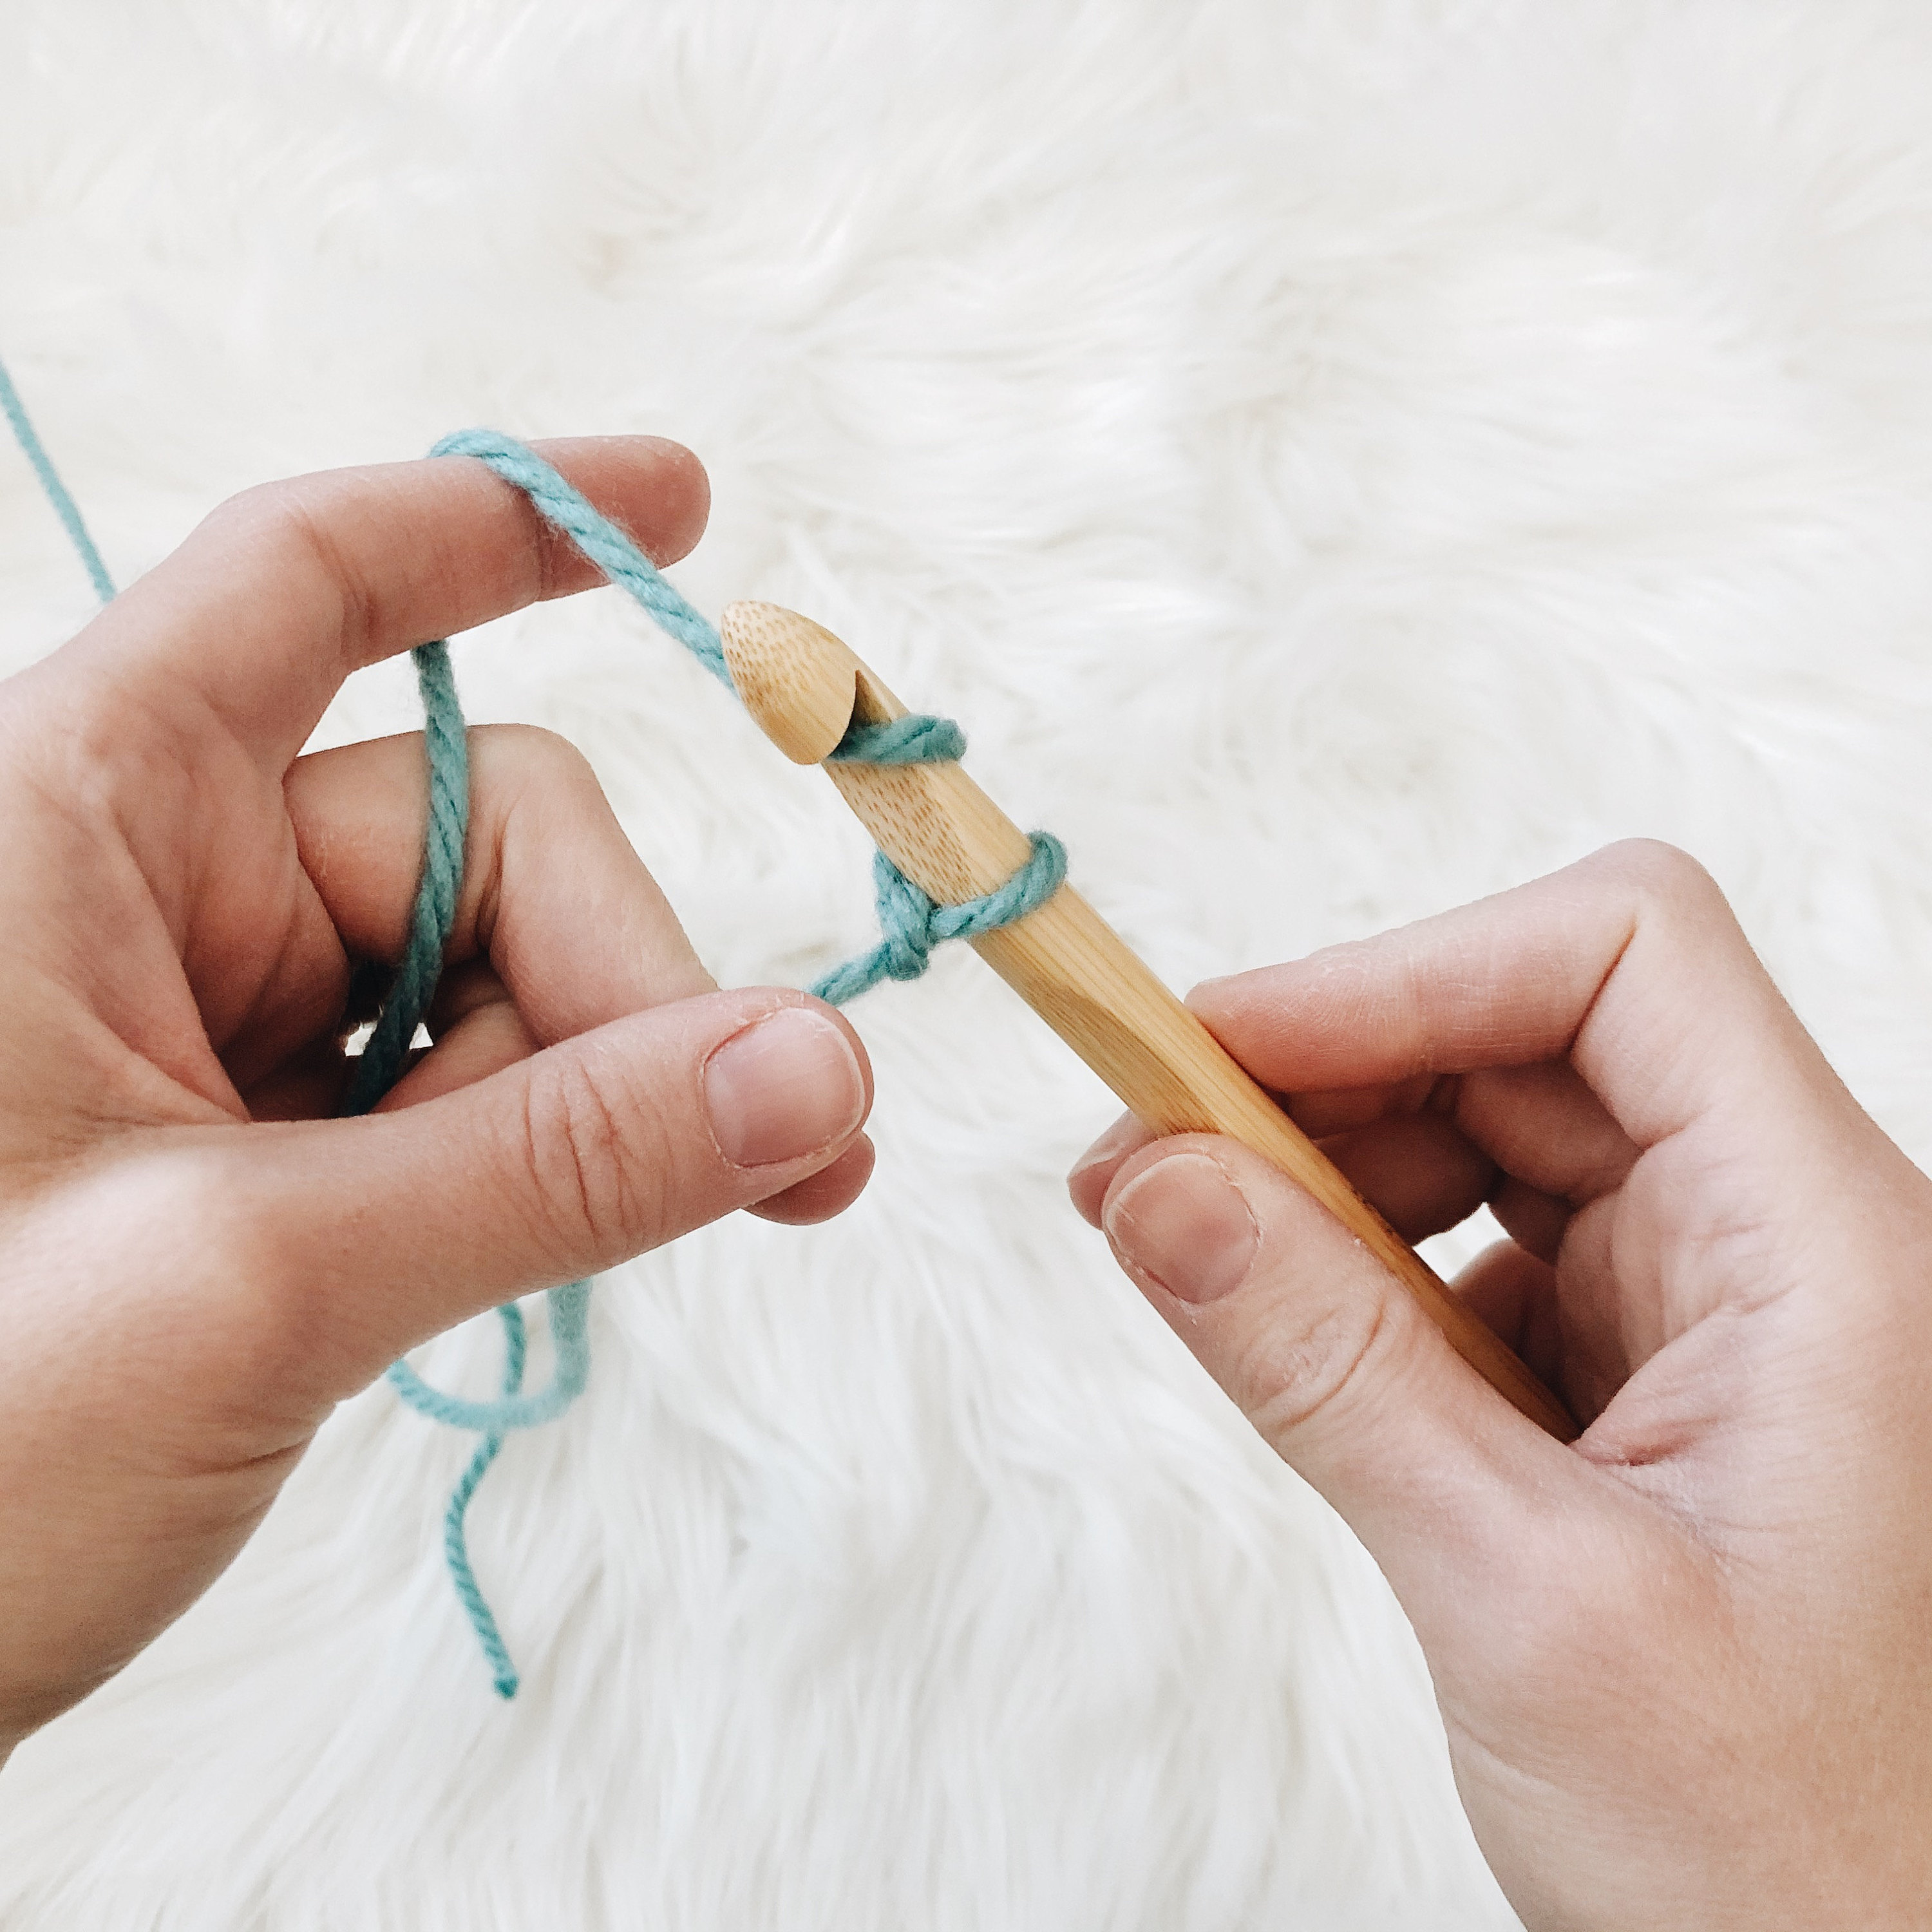
1. The foundation for most crochet projects includes a chain. Before chaining, make a slip knot. Take the end of your yarn and cross over making a large loop.
2. Reach through the loop and grab the end of the yarn.
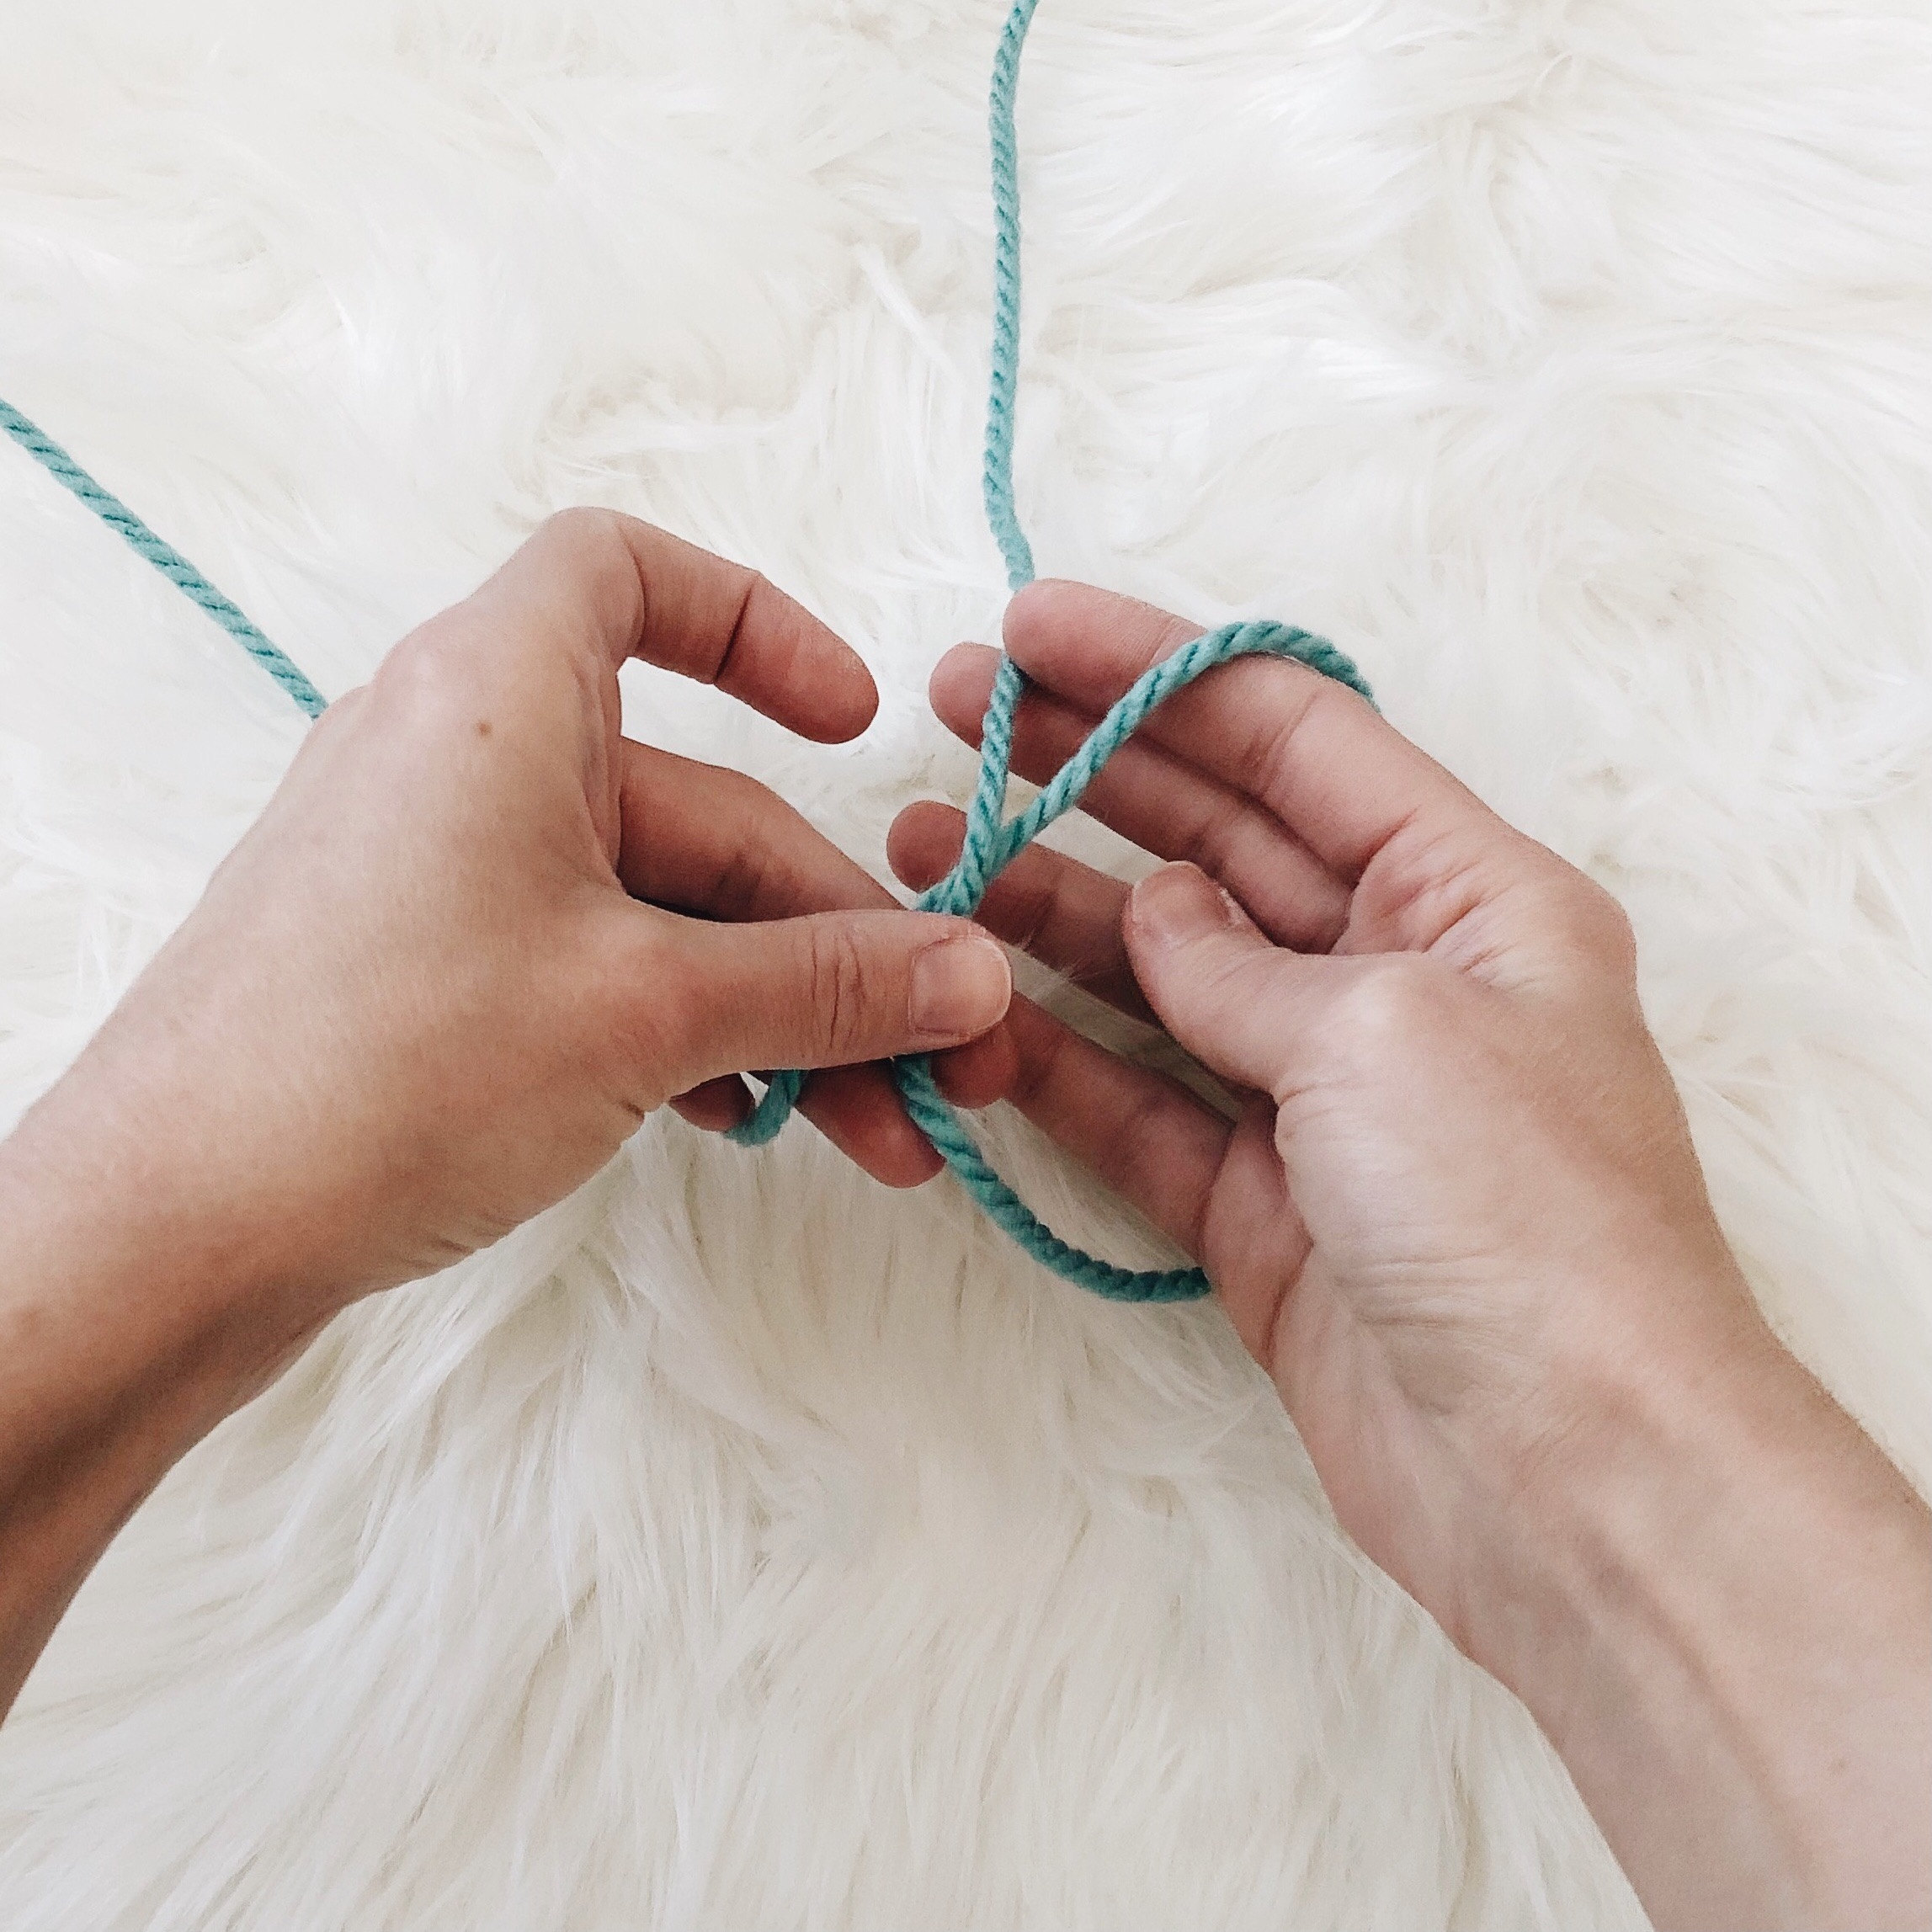
3. Pull the end through the large loop making a smaller loop. You will place this loop on your hook.
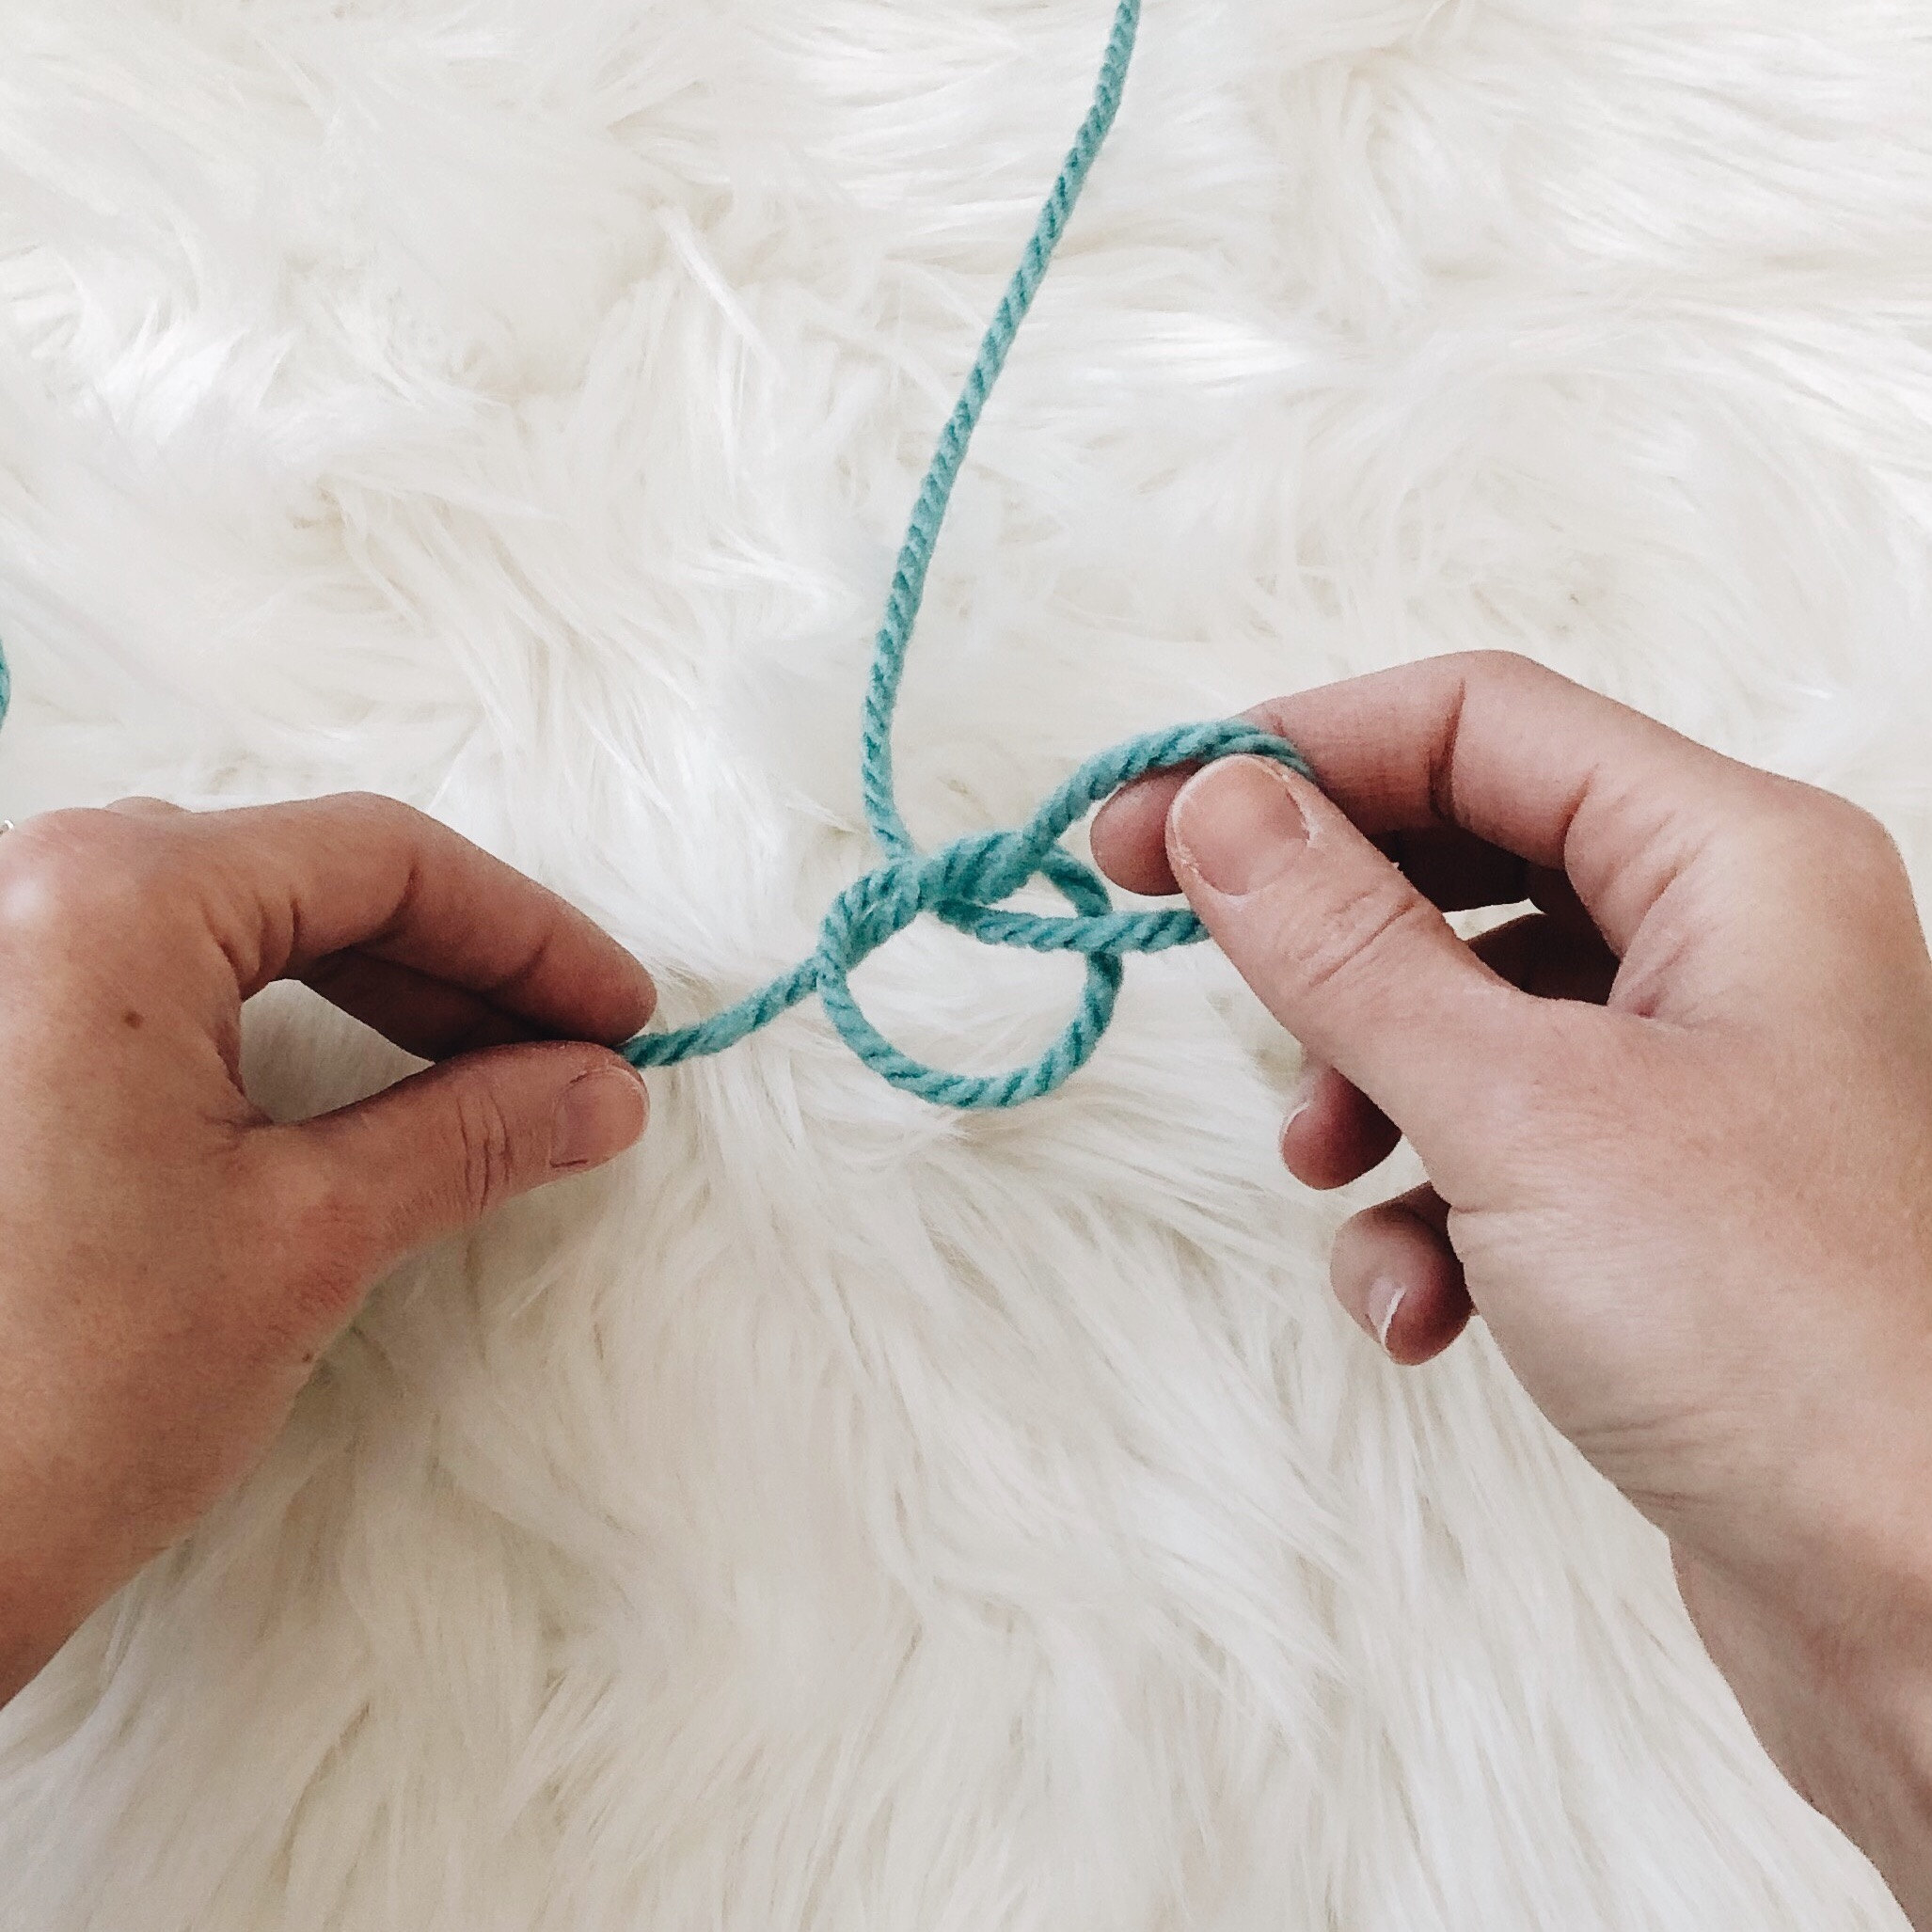
4. Place the loop you pulled through on your hook and adjust for a slightly snug fit, but not too tight. Now you are ready to chain.
Click here for video support: How To Tie a Slipknot
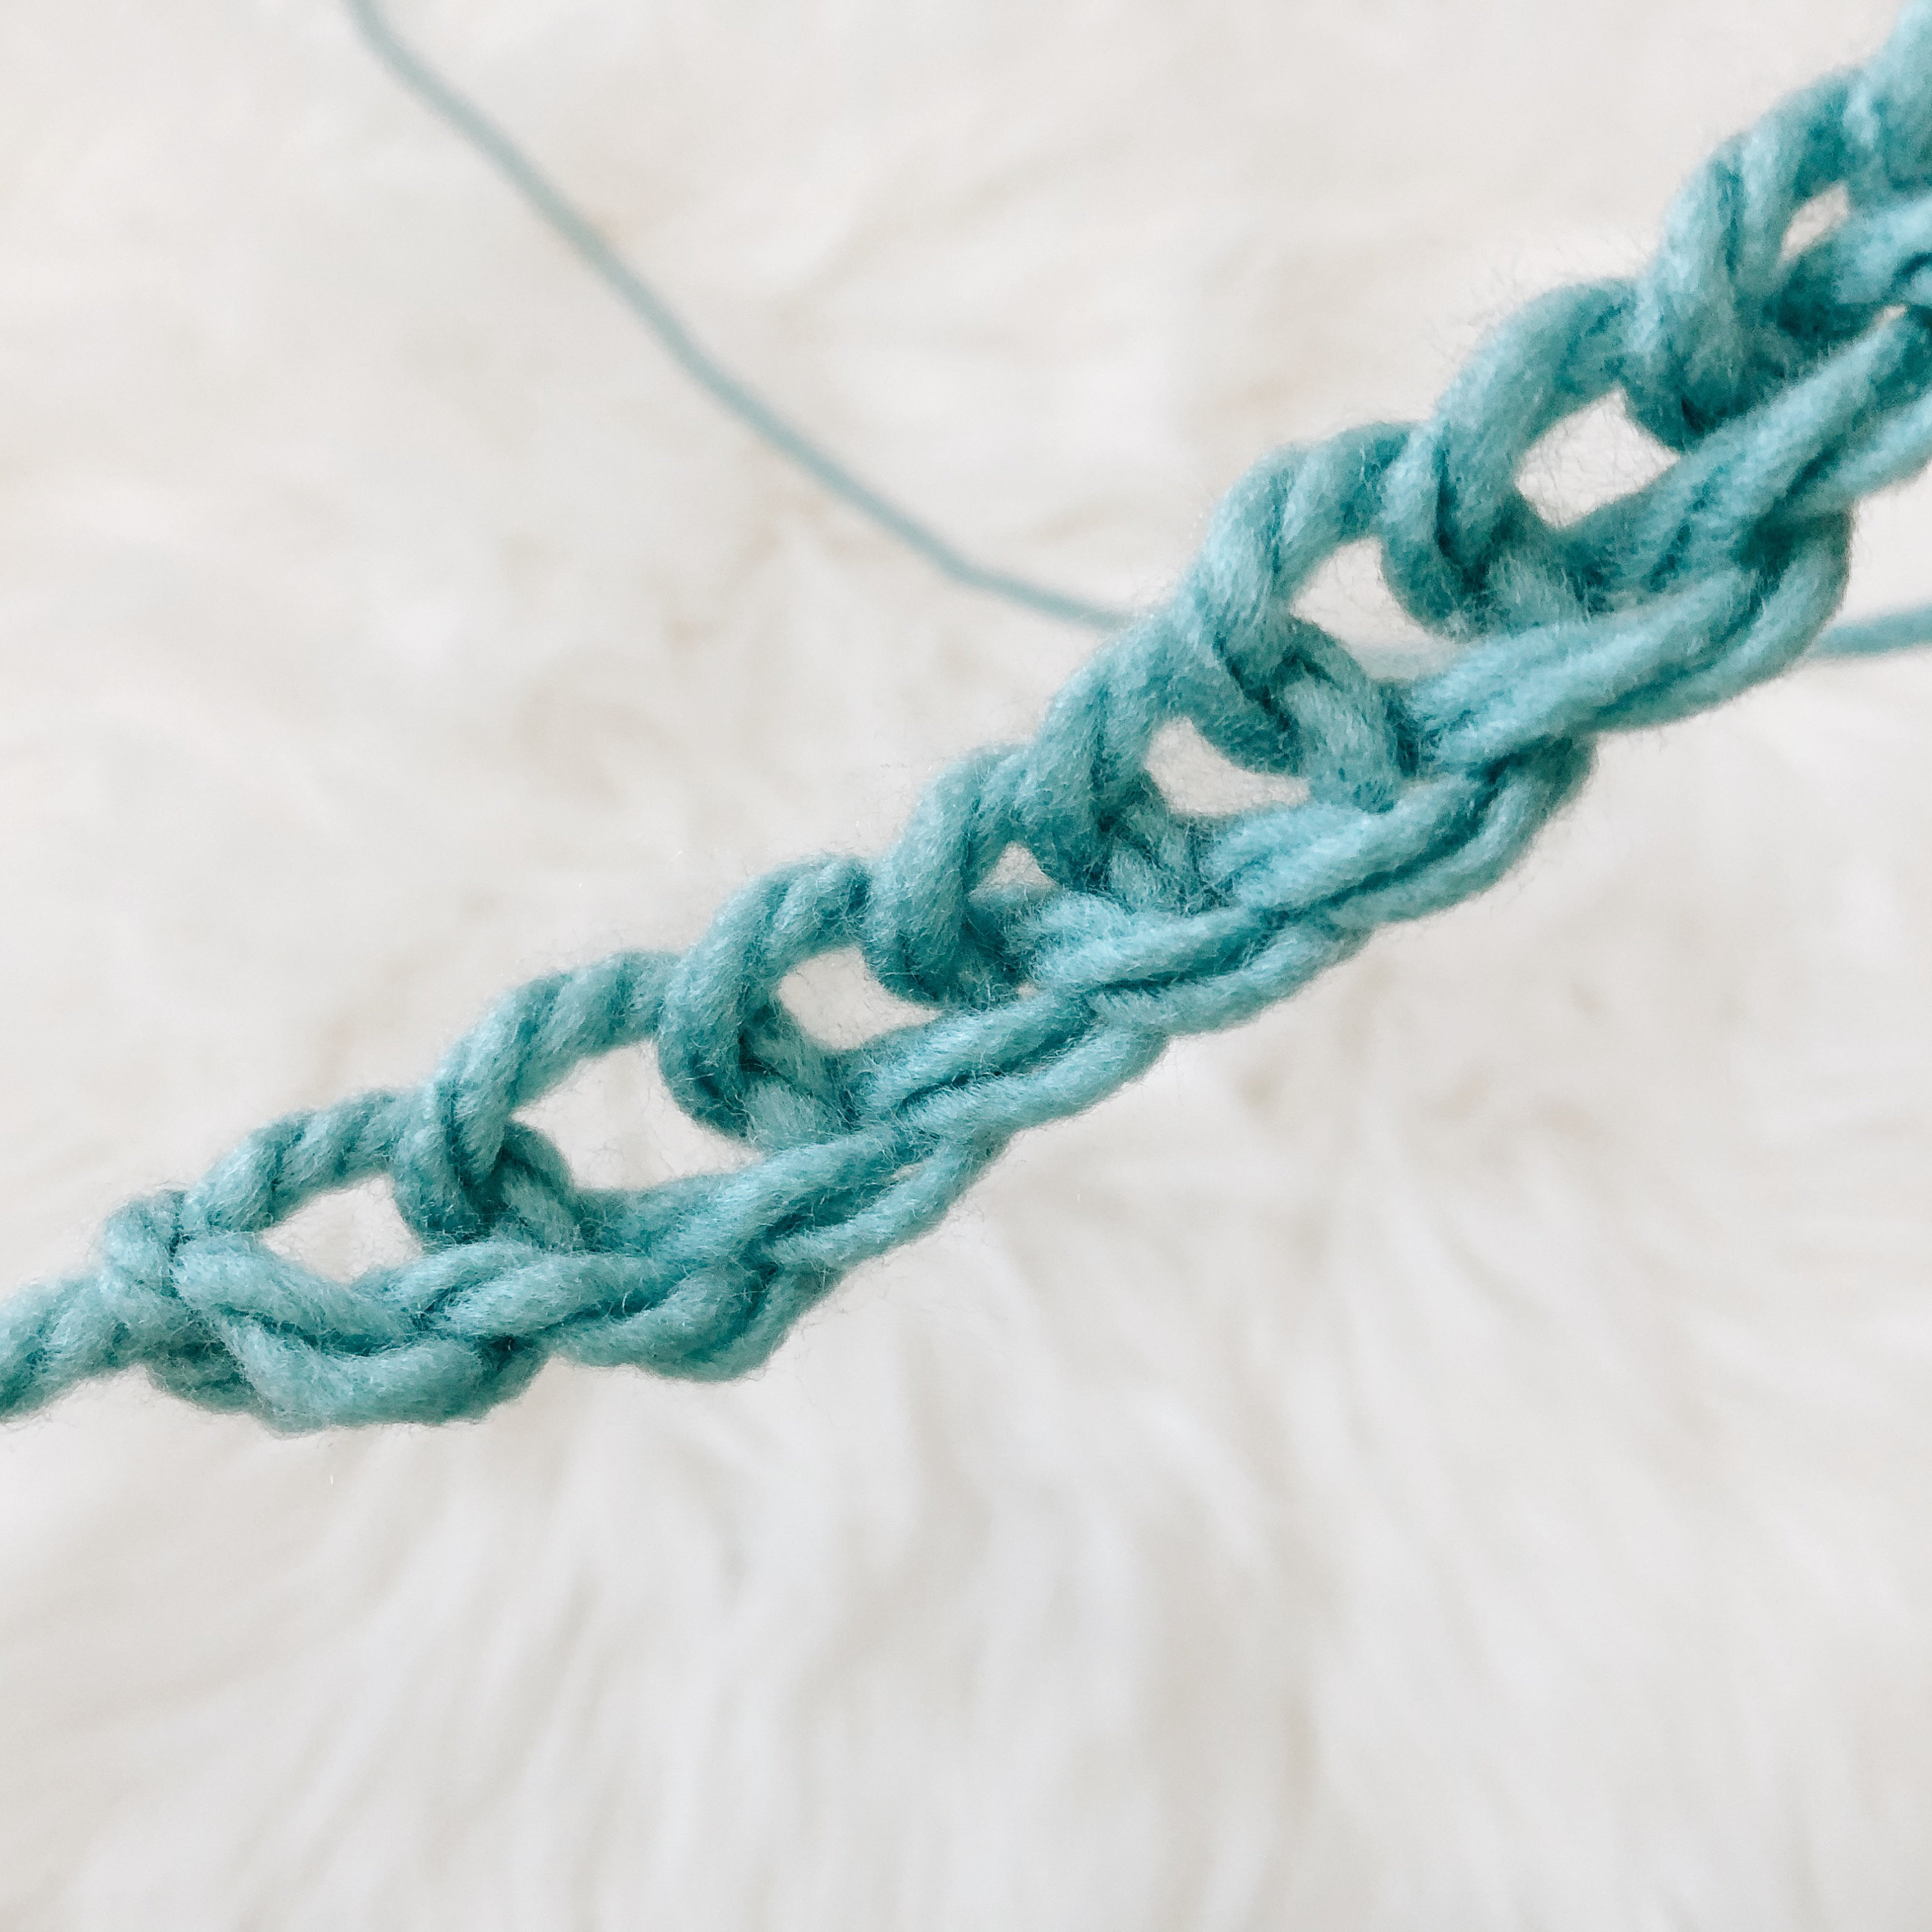
CHAIN
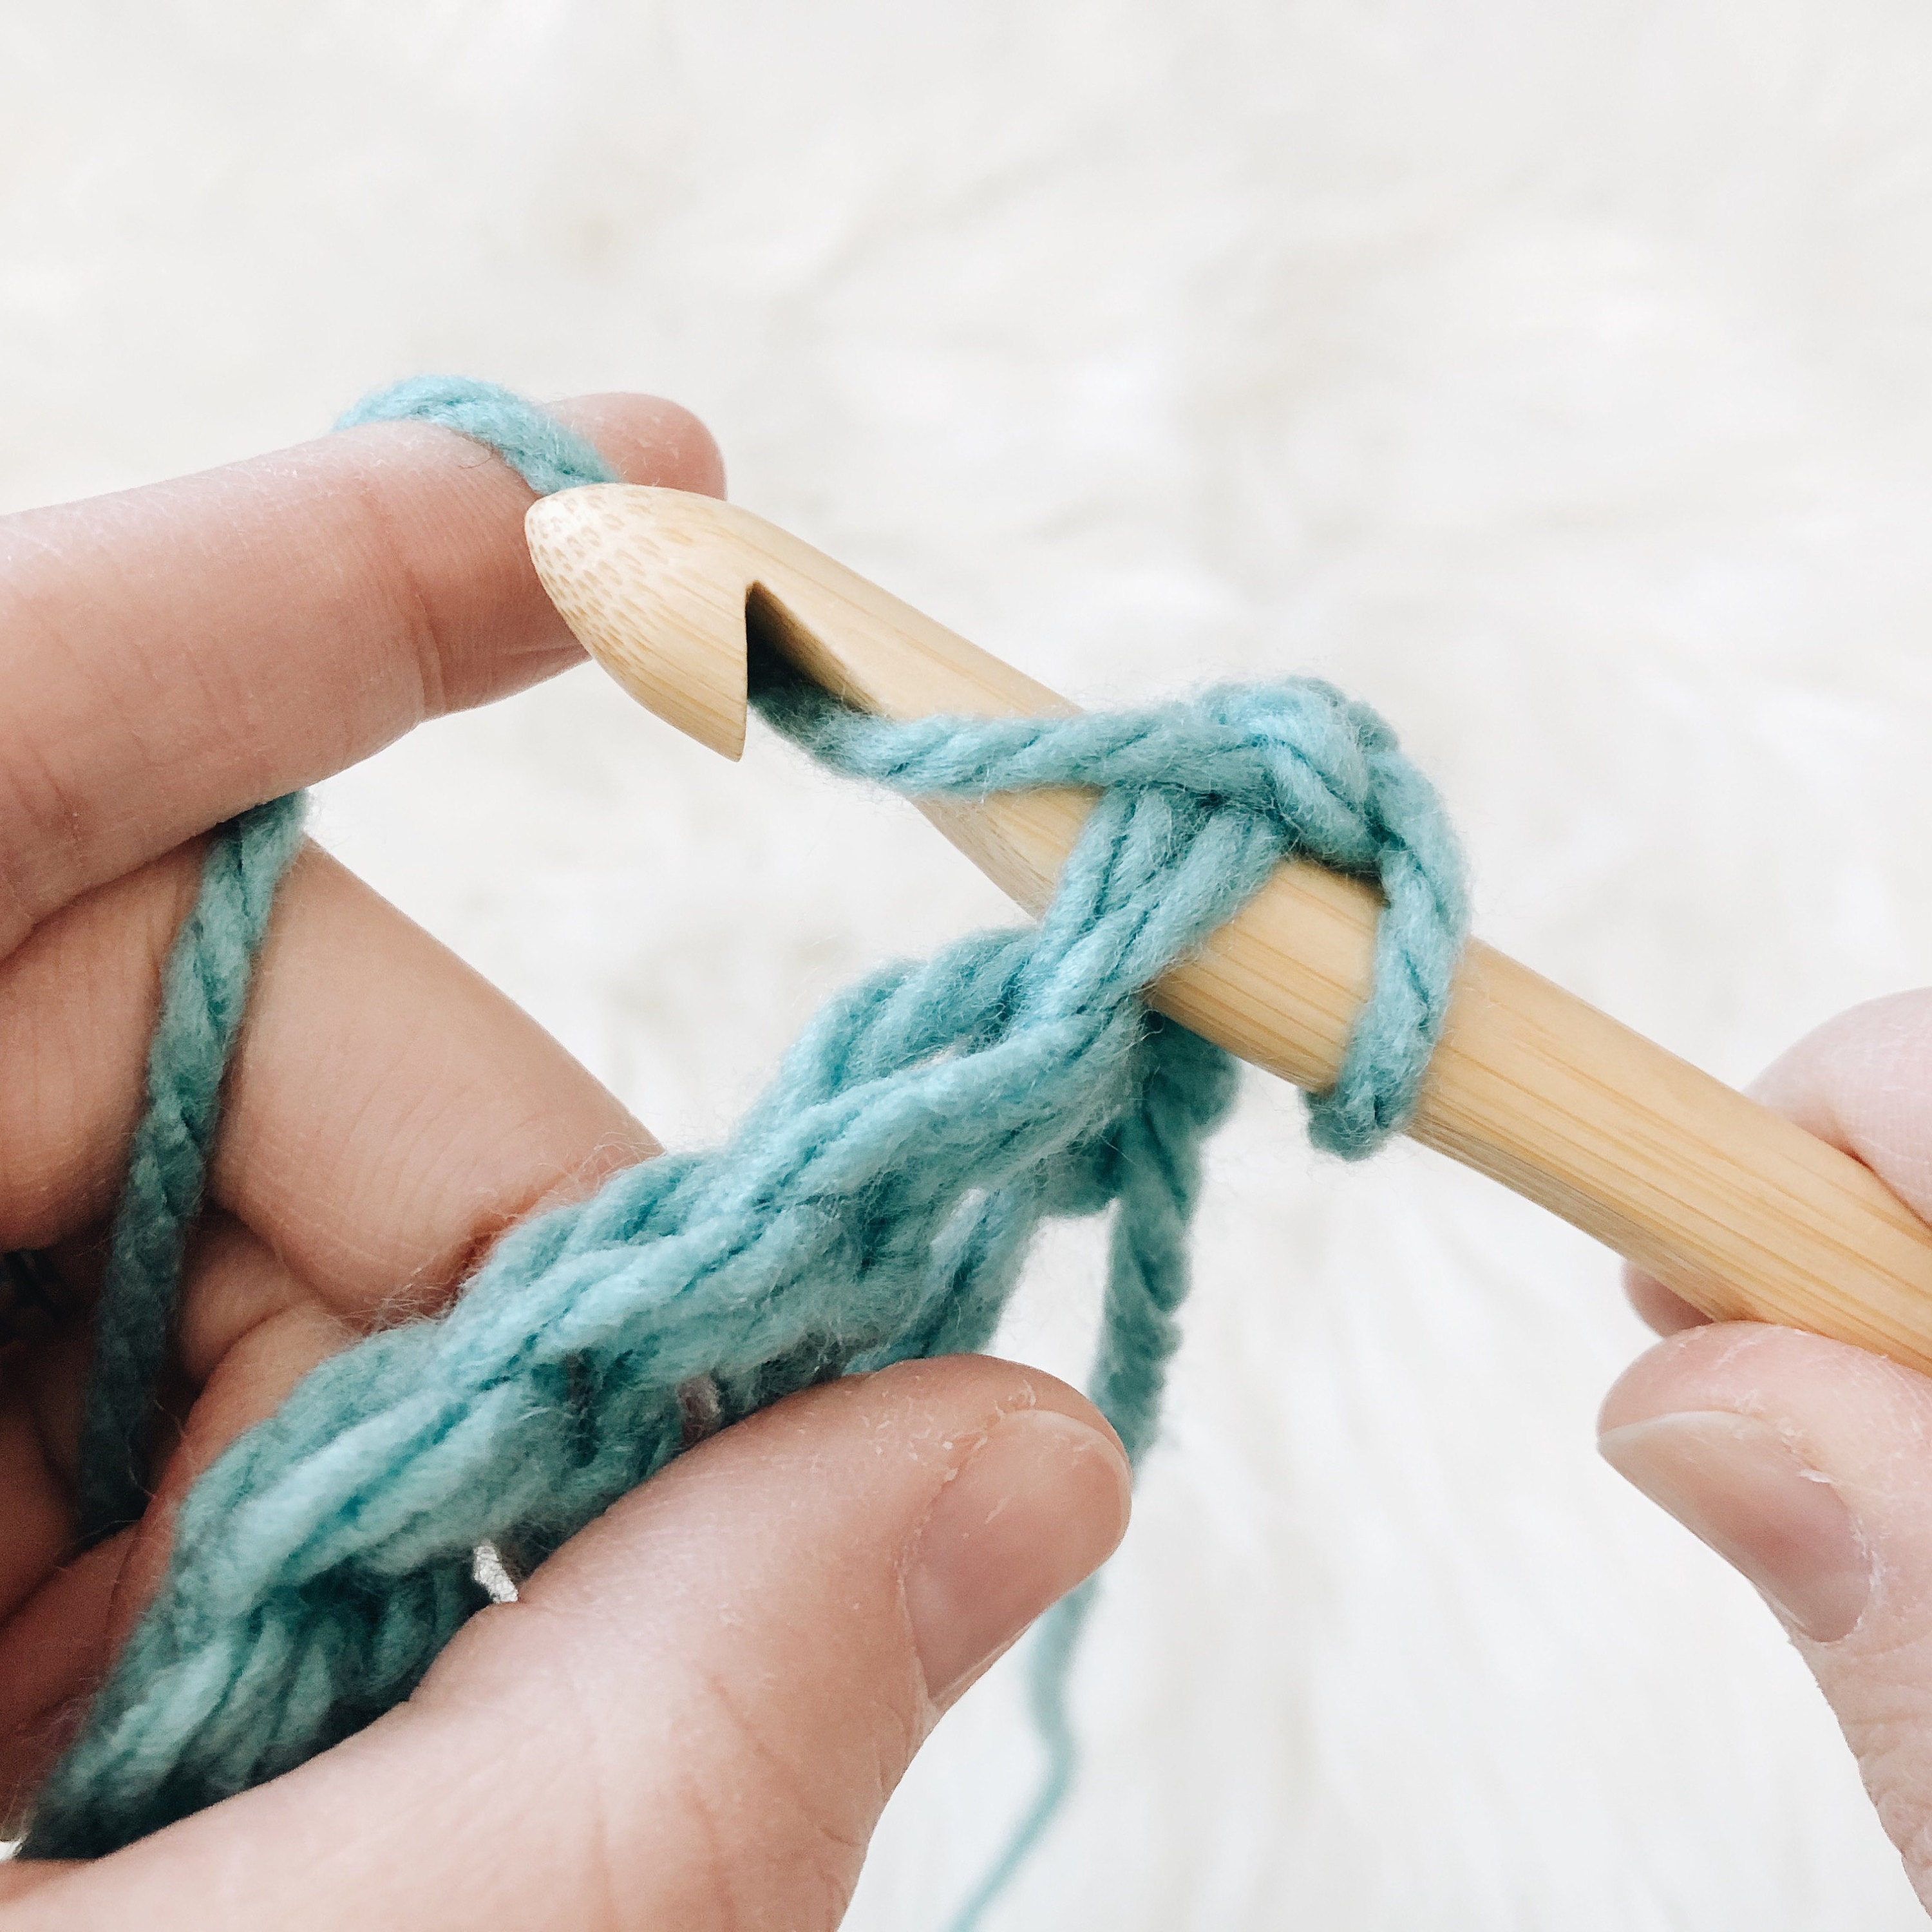
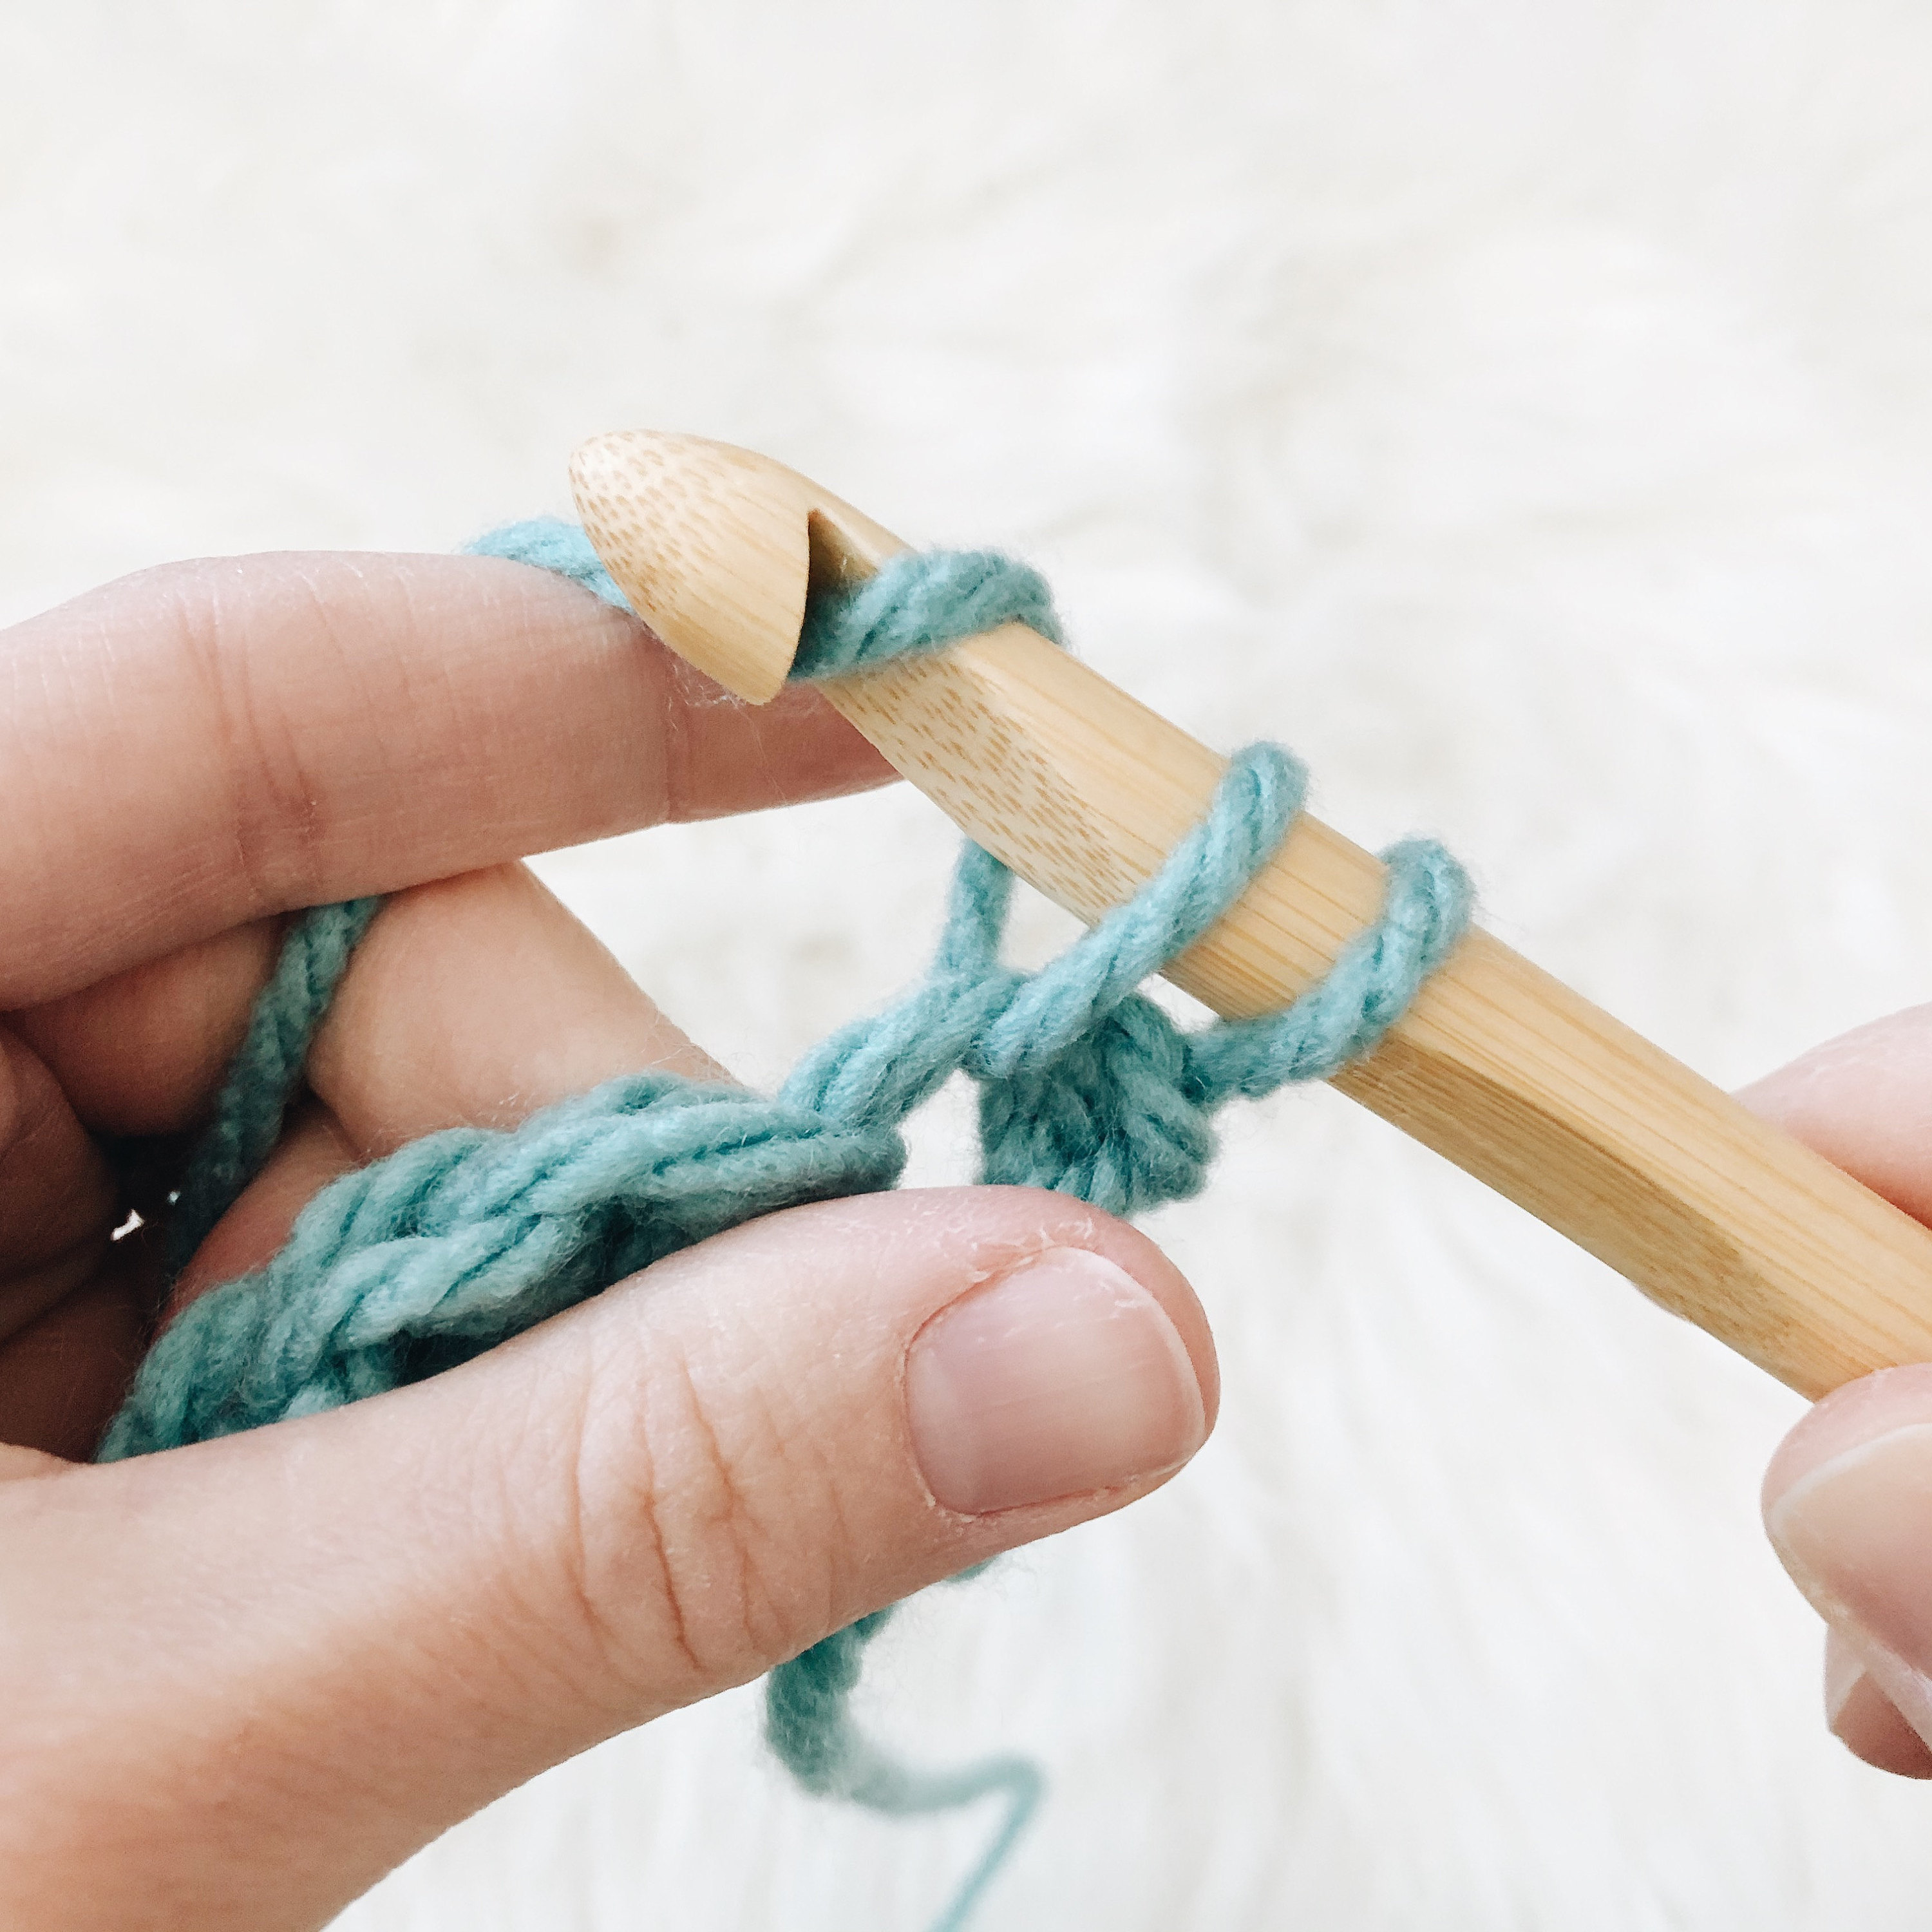
1. Crochet patterns will list the number of times you need to chain for your project. To begin your chain, wrap the yarn behind the hook and then toward the front.
2. Wrap the yarn around the front of the hook. This is called yarn over.
3. Begin pulling the yarn through the loop on the hook.
4. Pull the yarn through the loop on the hook. This completes one chain. Continue to yarn over, pull through the loop on the hook the number of times listed in your pattern. Be careful not to chain too tightly.
Click here for video support: How To Chain
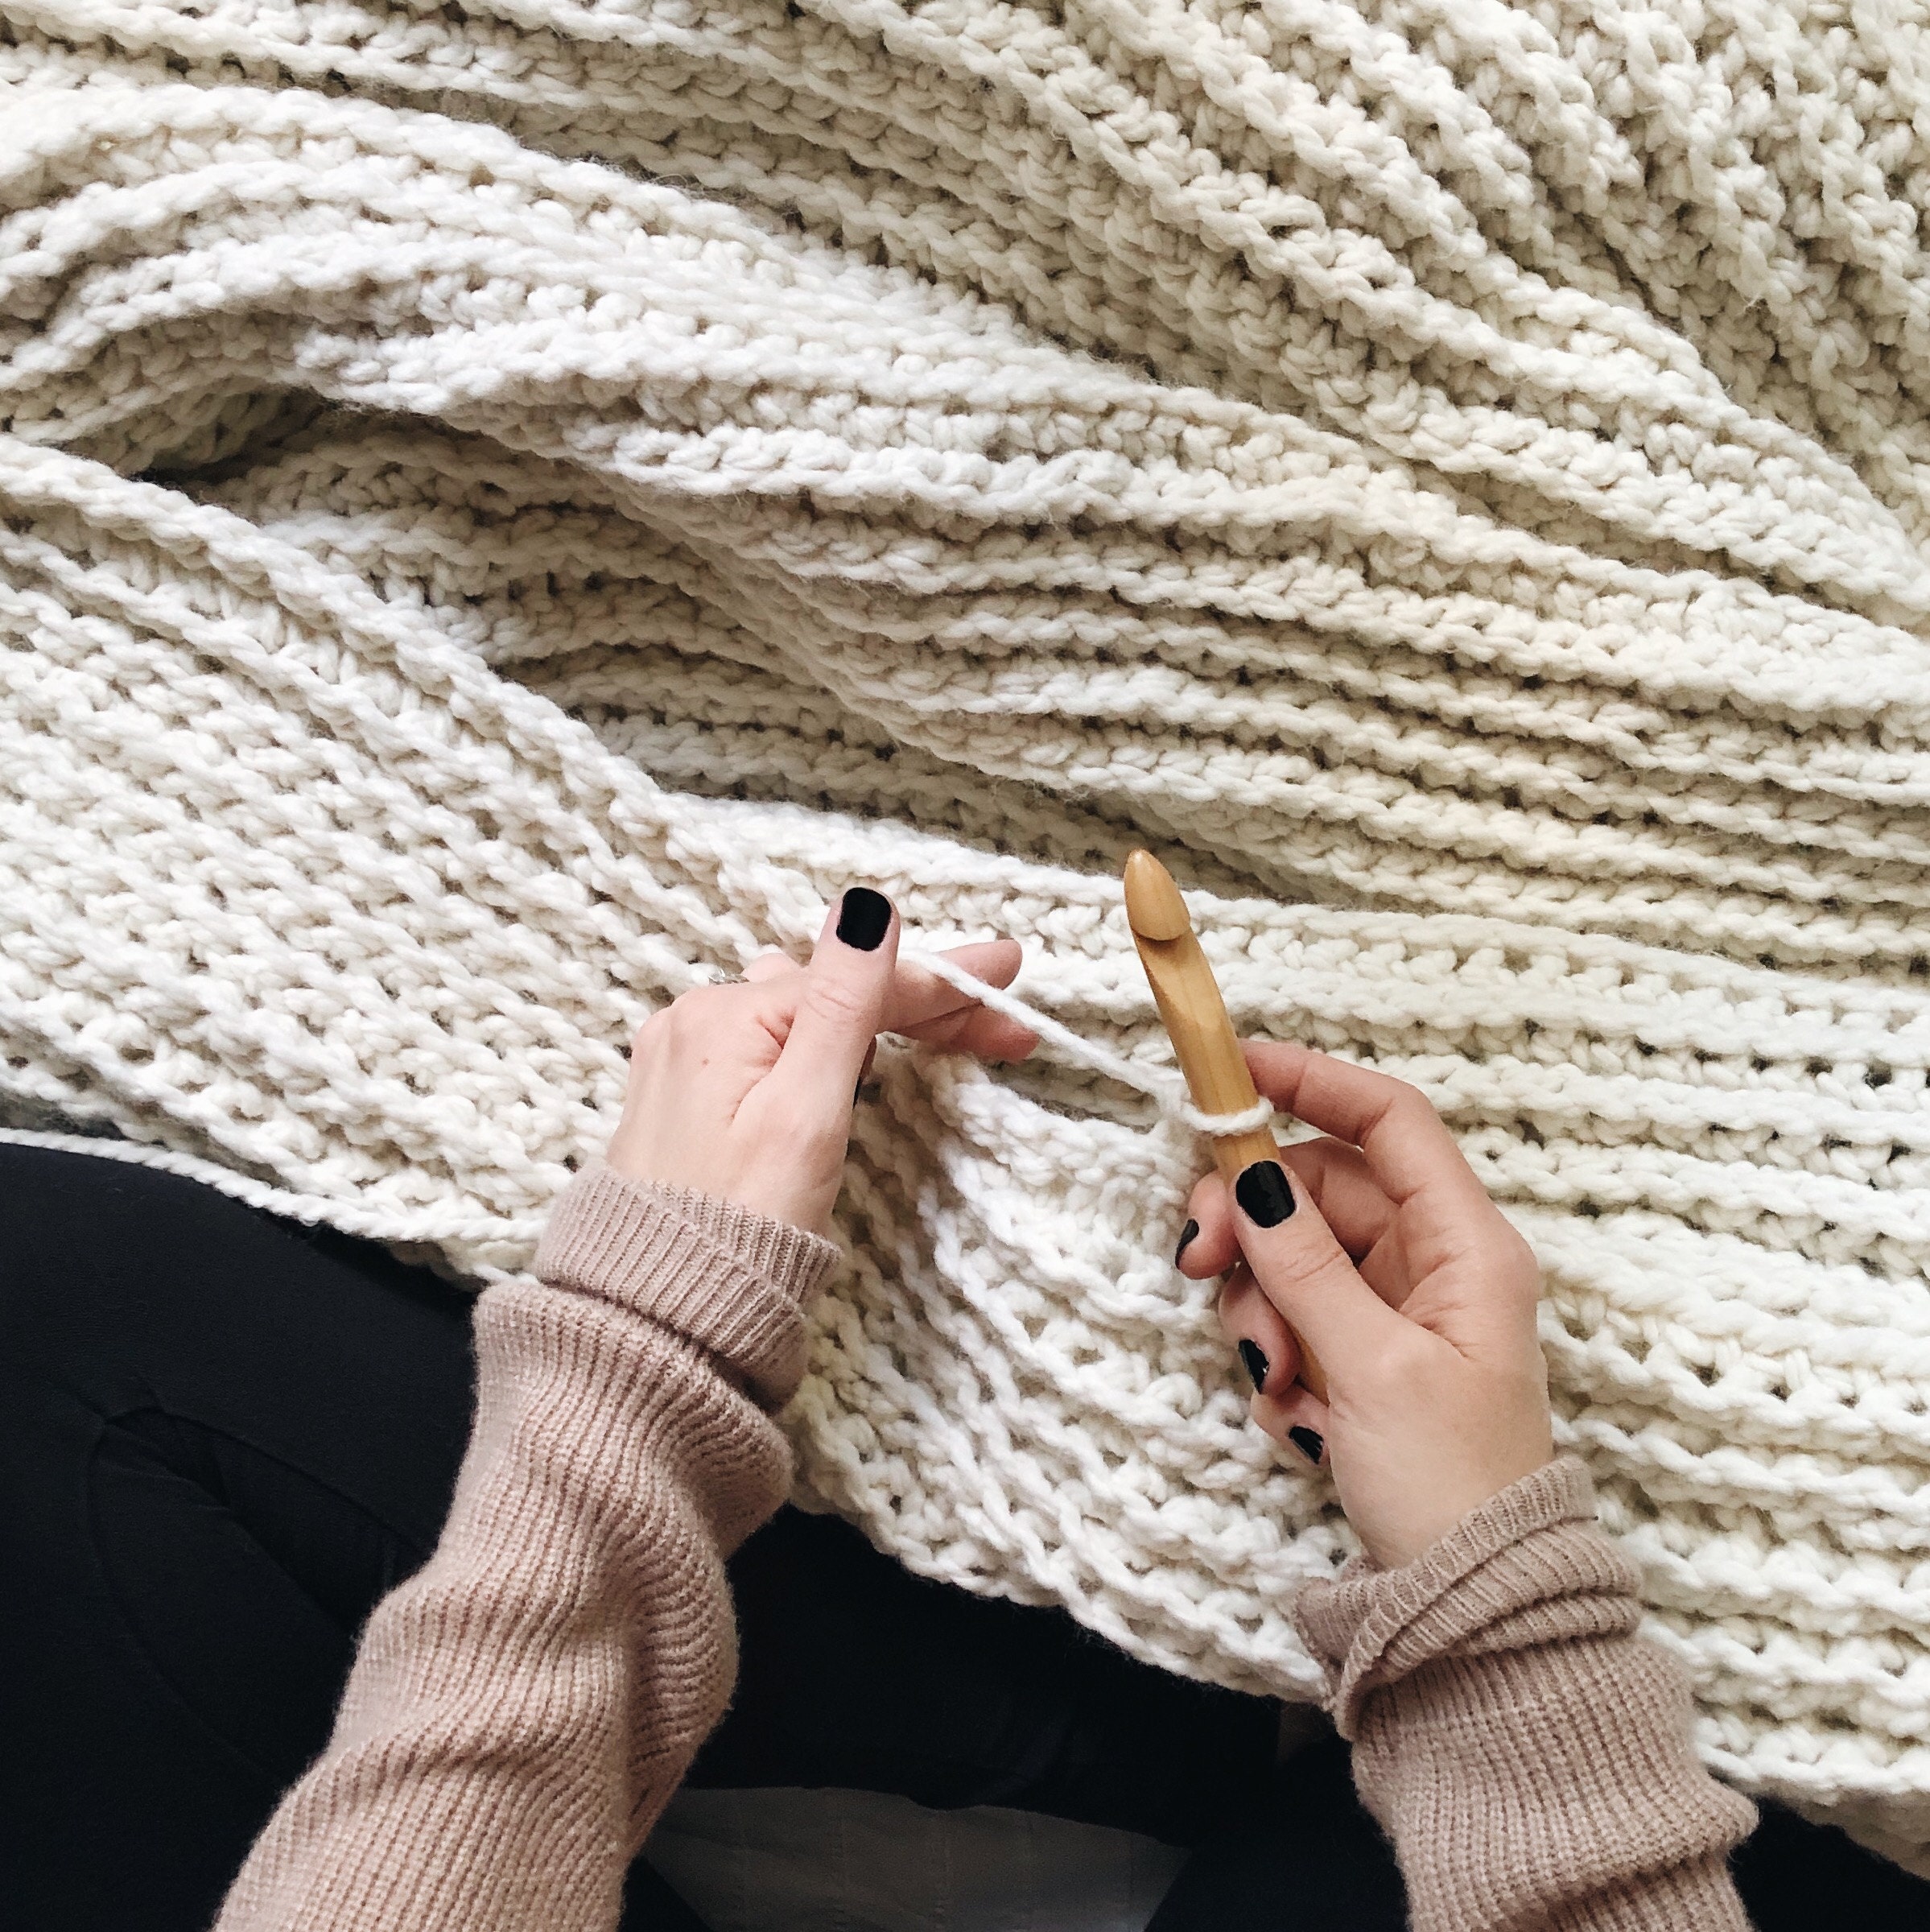
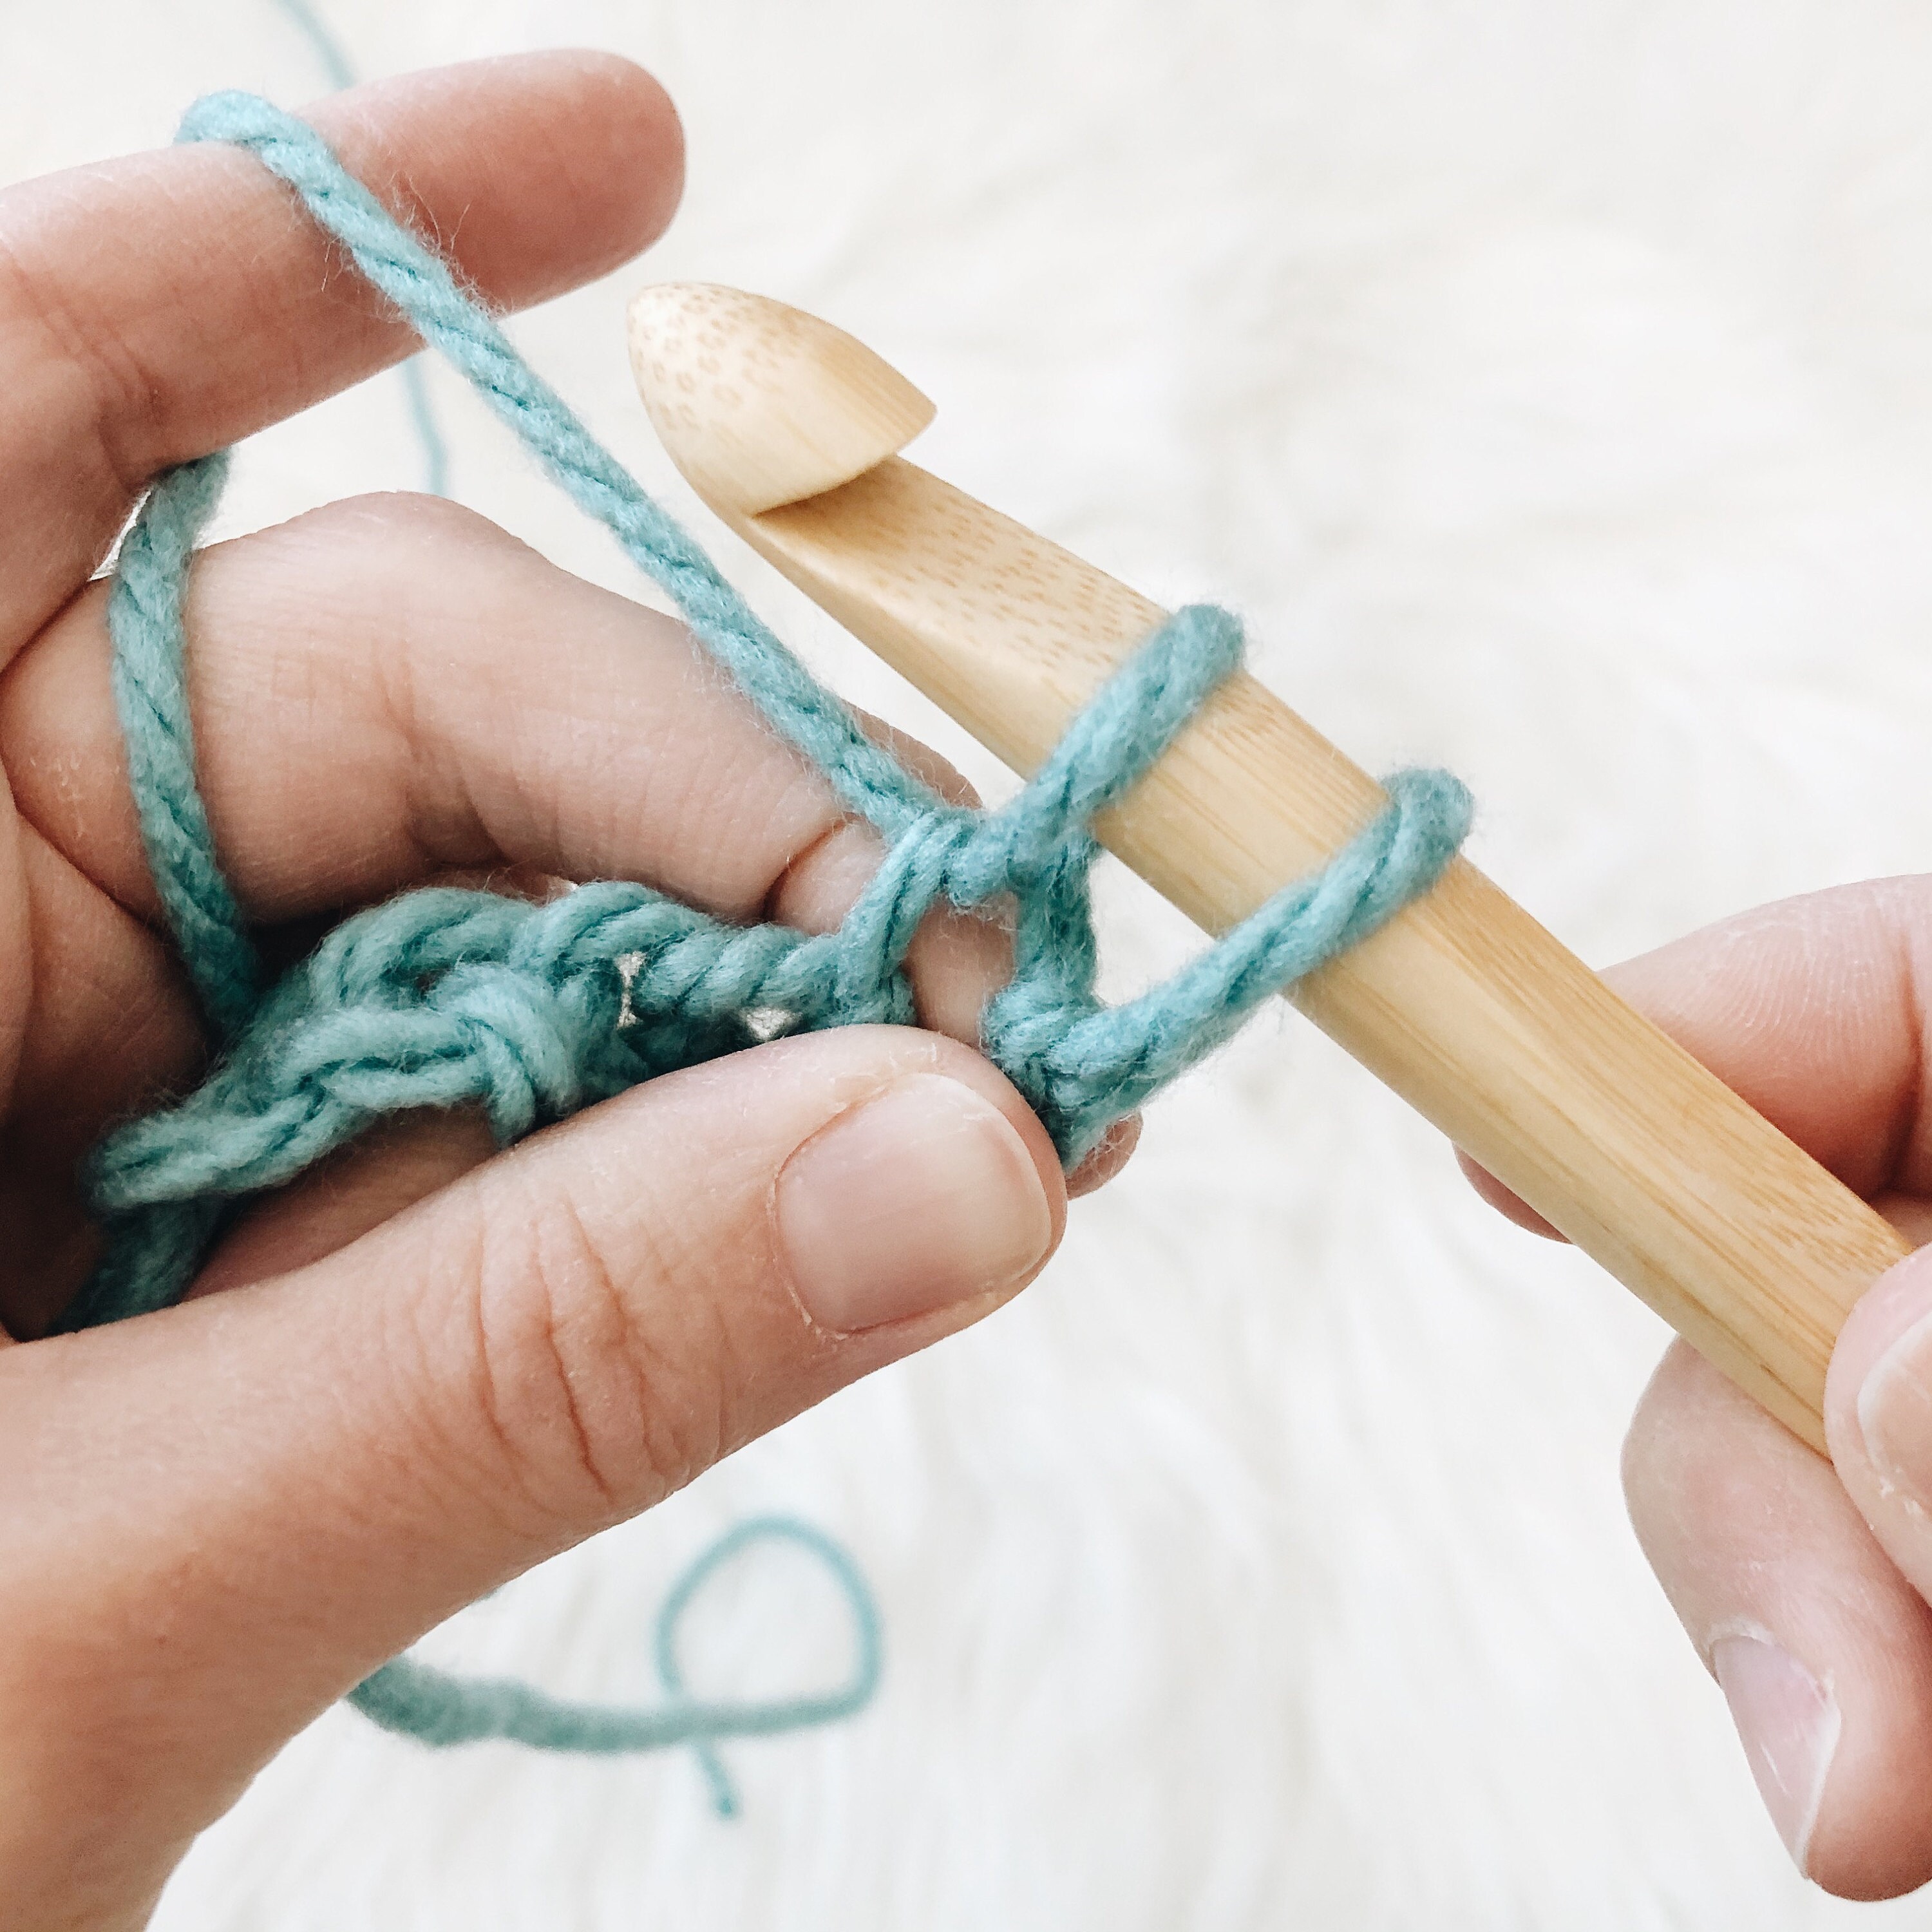
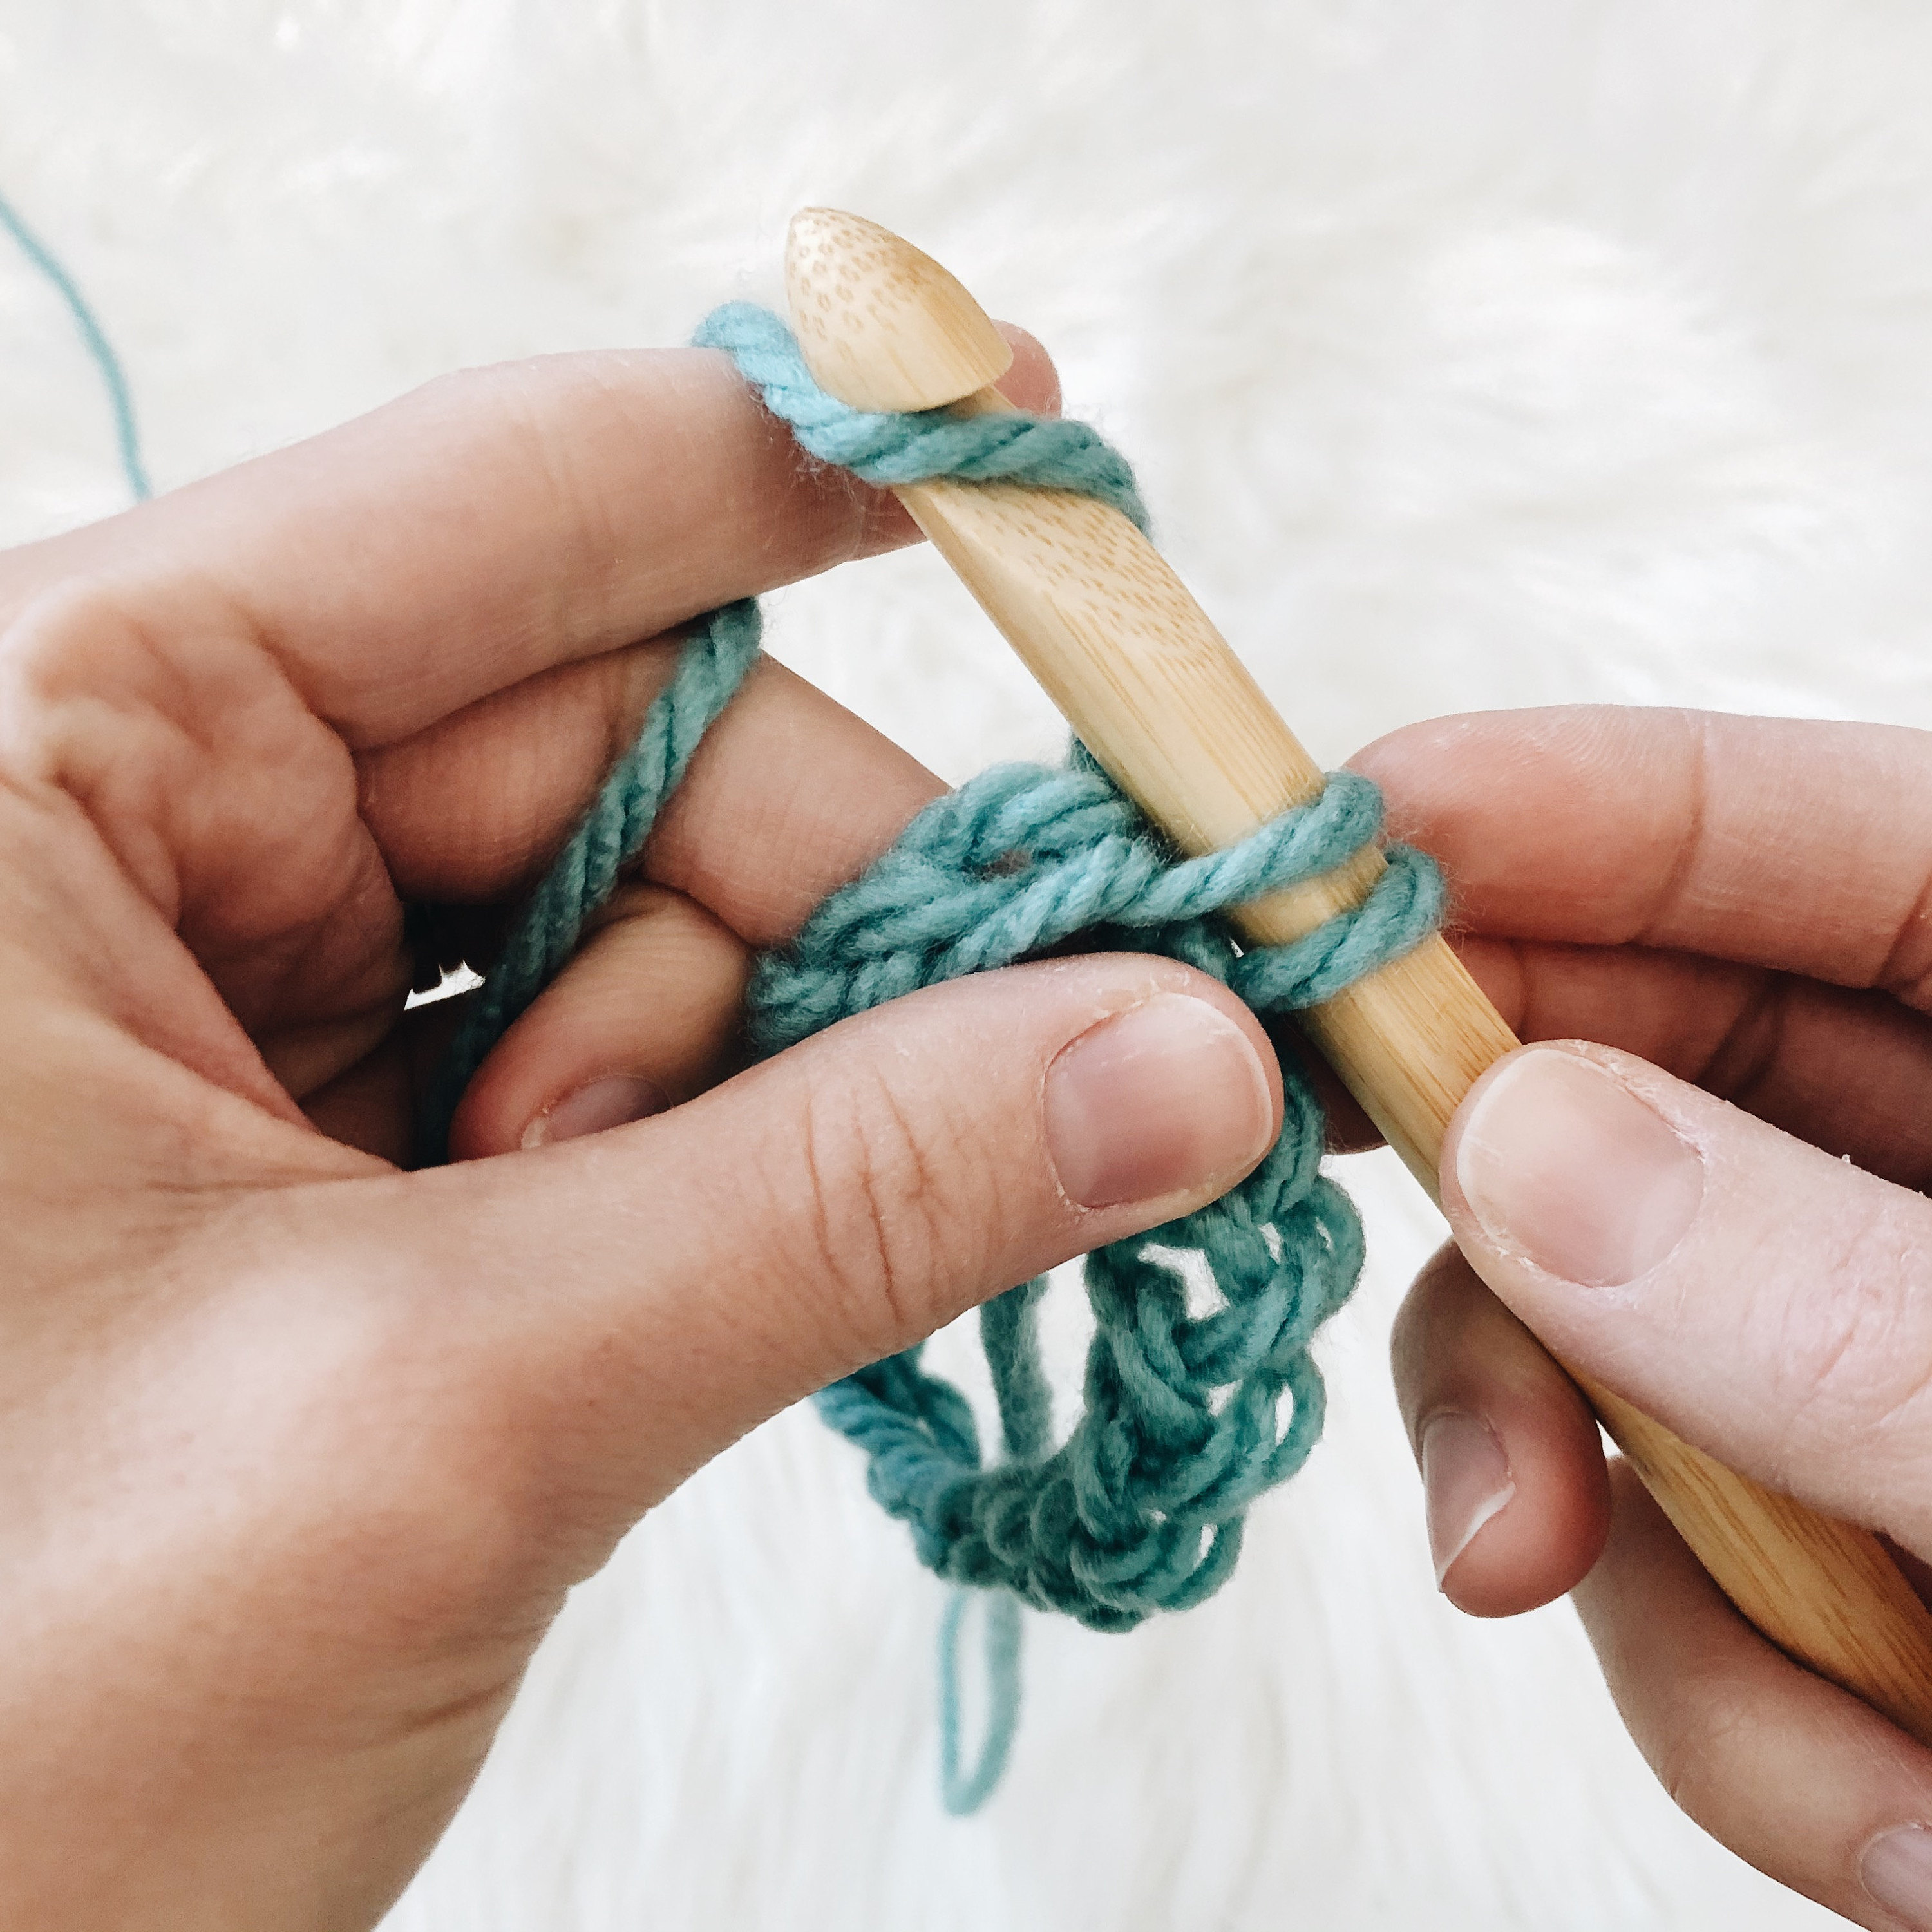
SINGLE CROCHET
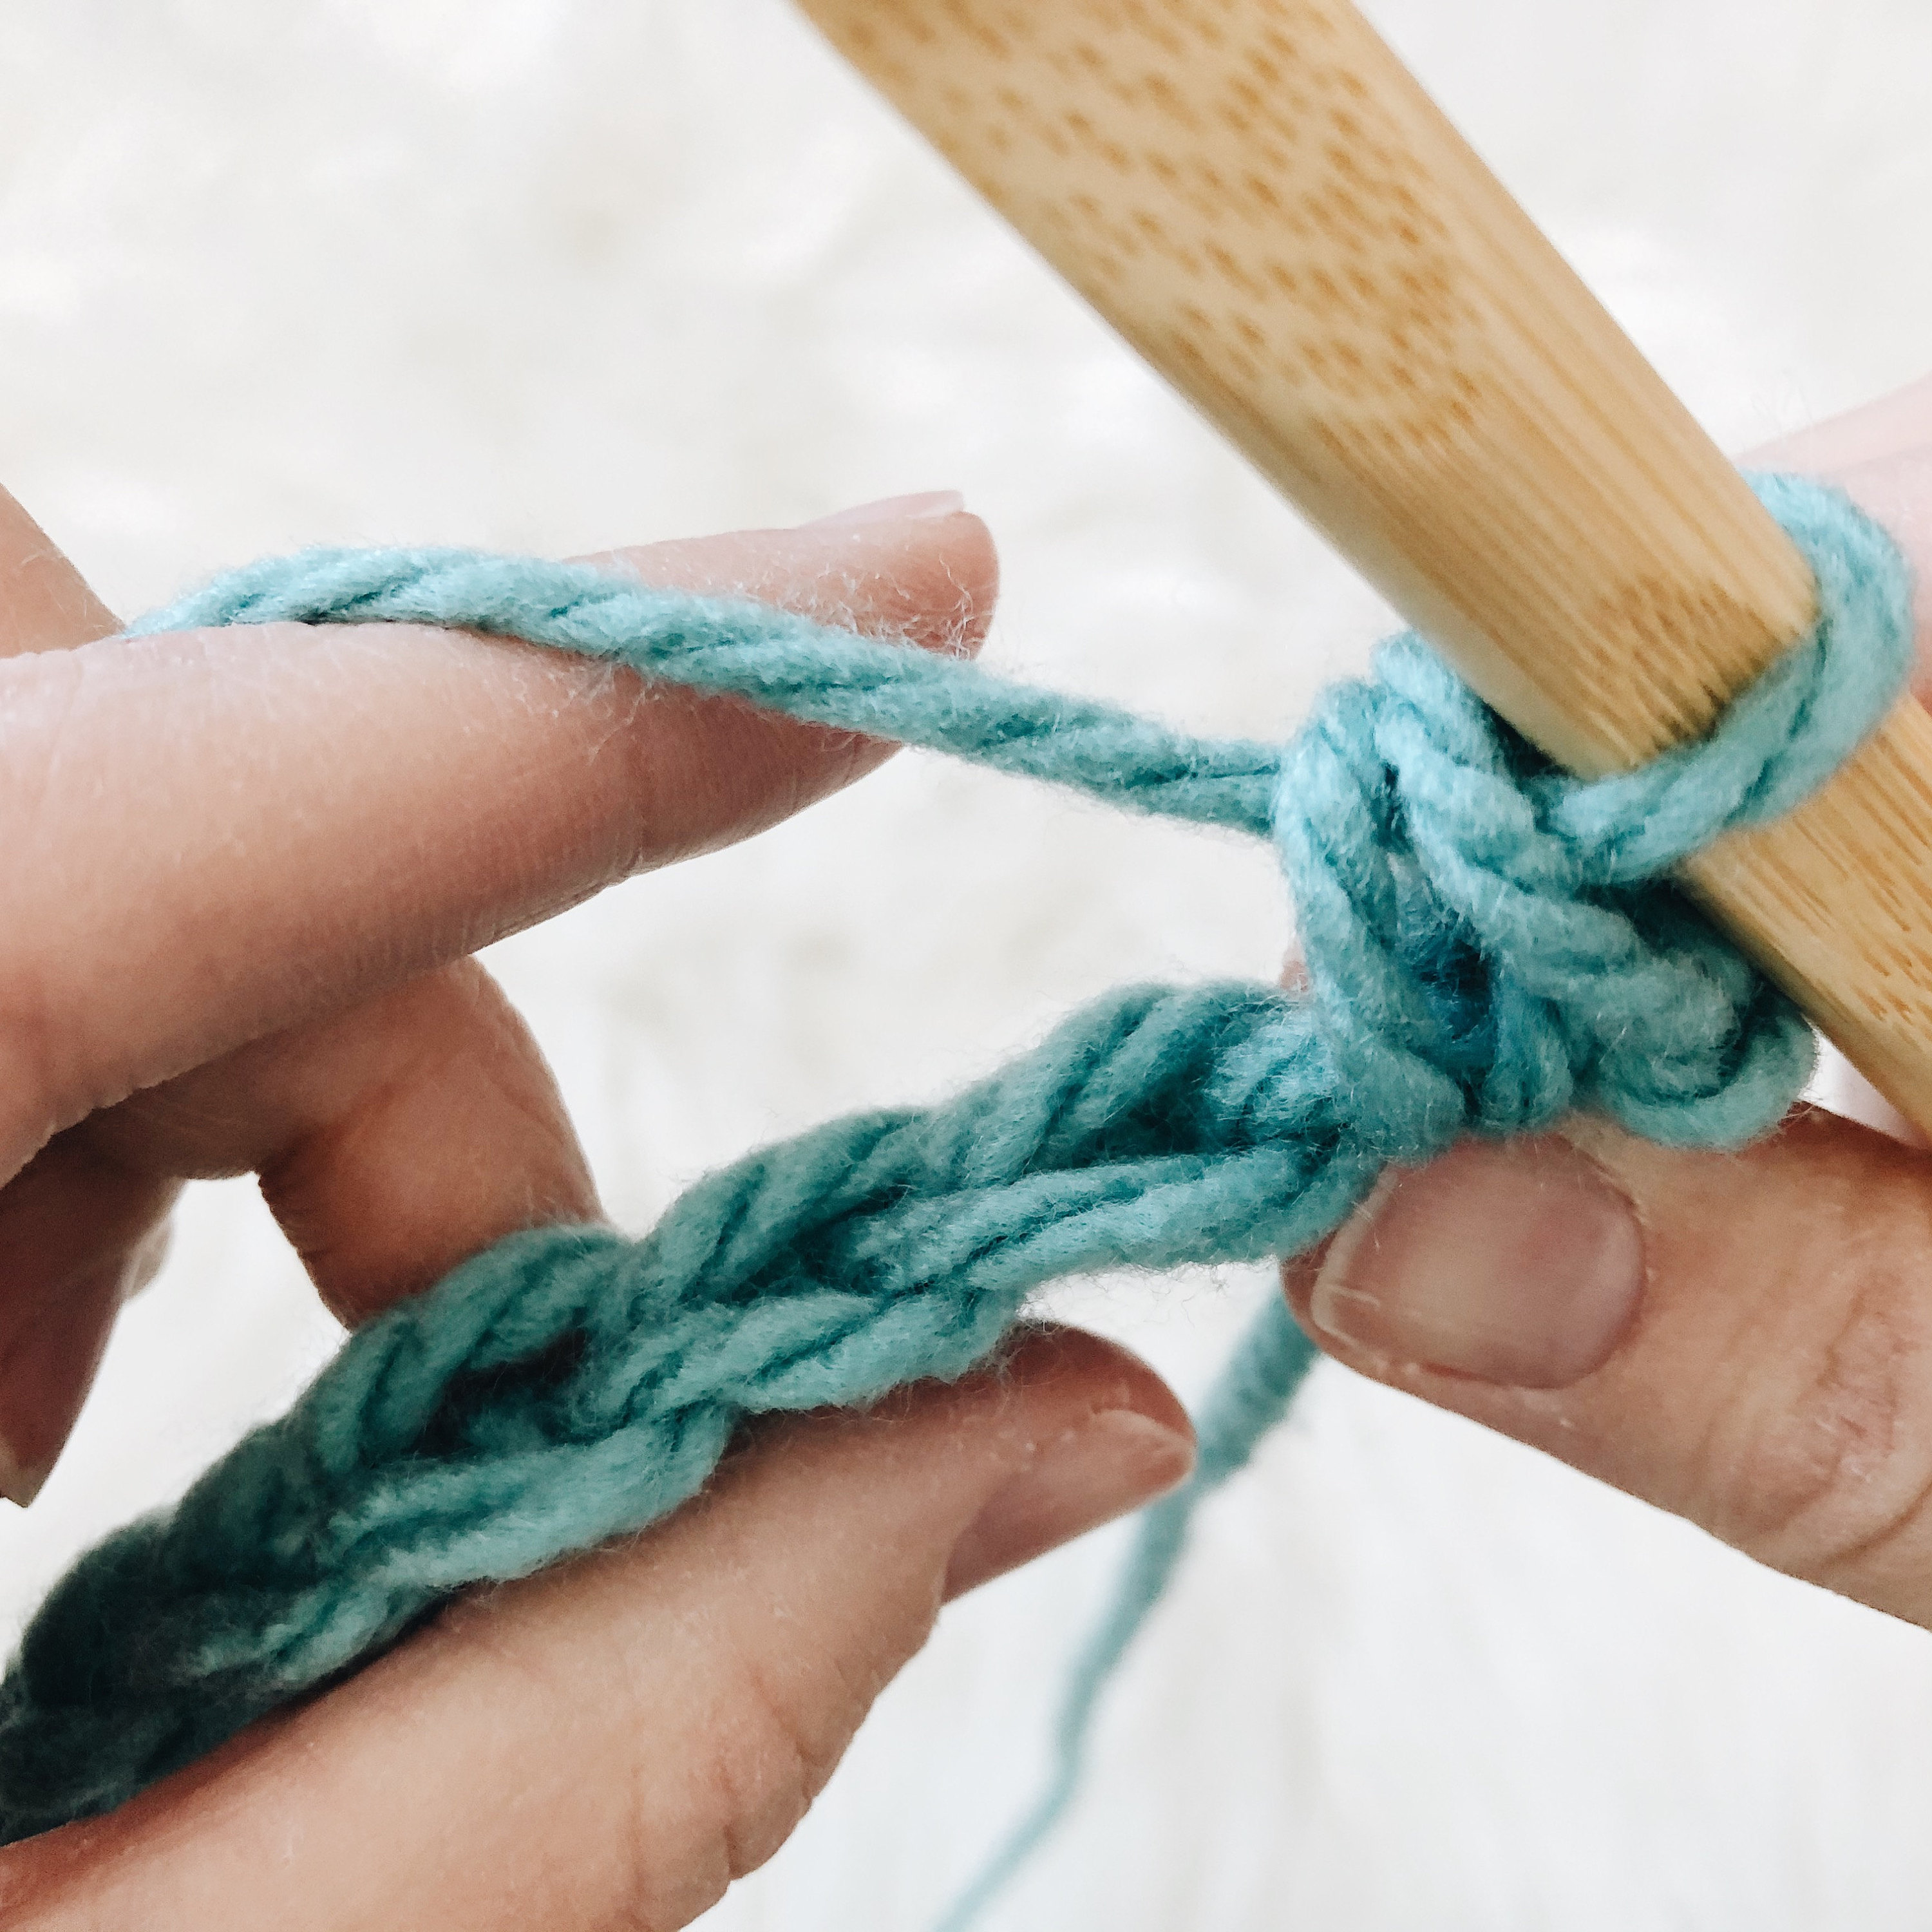
1. You should now have a chain and are ready to continue with your foundation. When working in rows, many crochet patterns start with a row of single crochet and may say something like this: single crochet into 2nd chain from hook and continue sc for row 1.
2. Locate the 2nd chain from the hook. It’s not the one on the hook, but the one right beside it. Insert the hook into the chain.
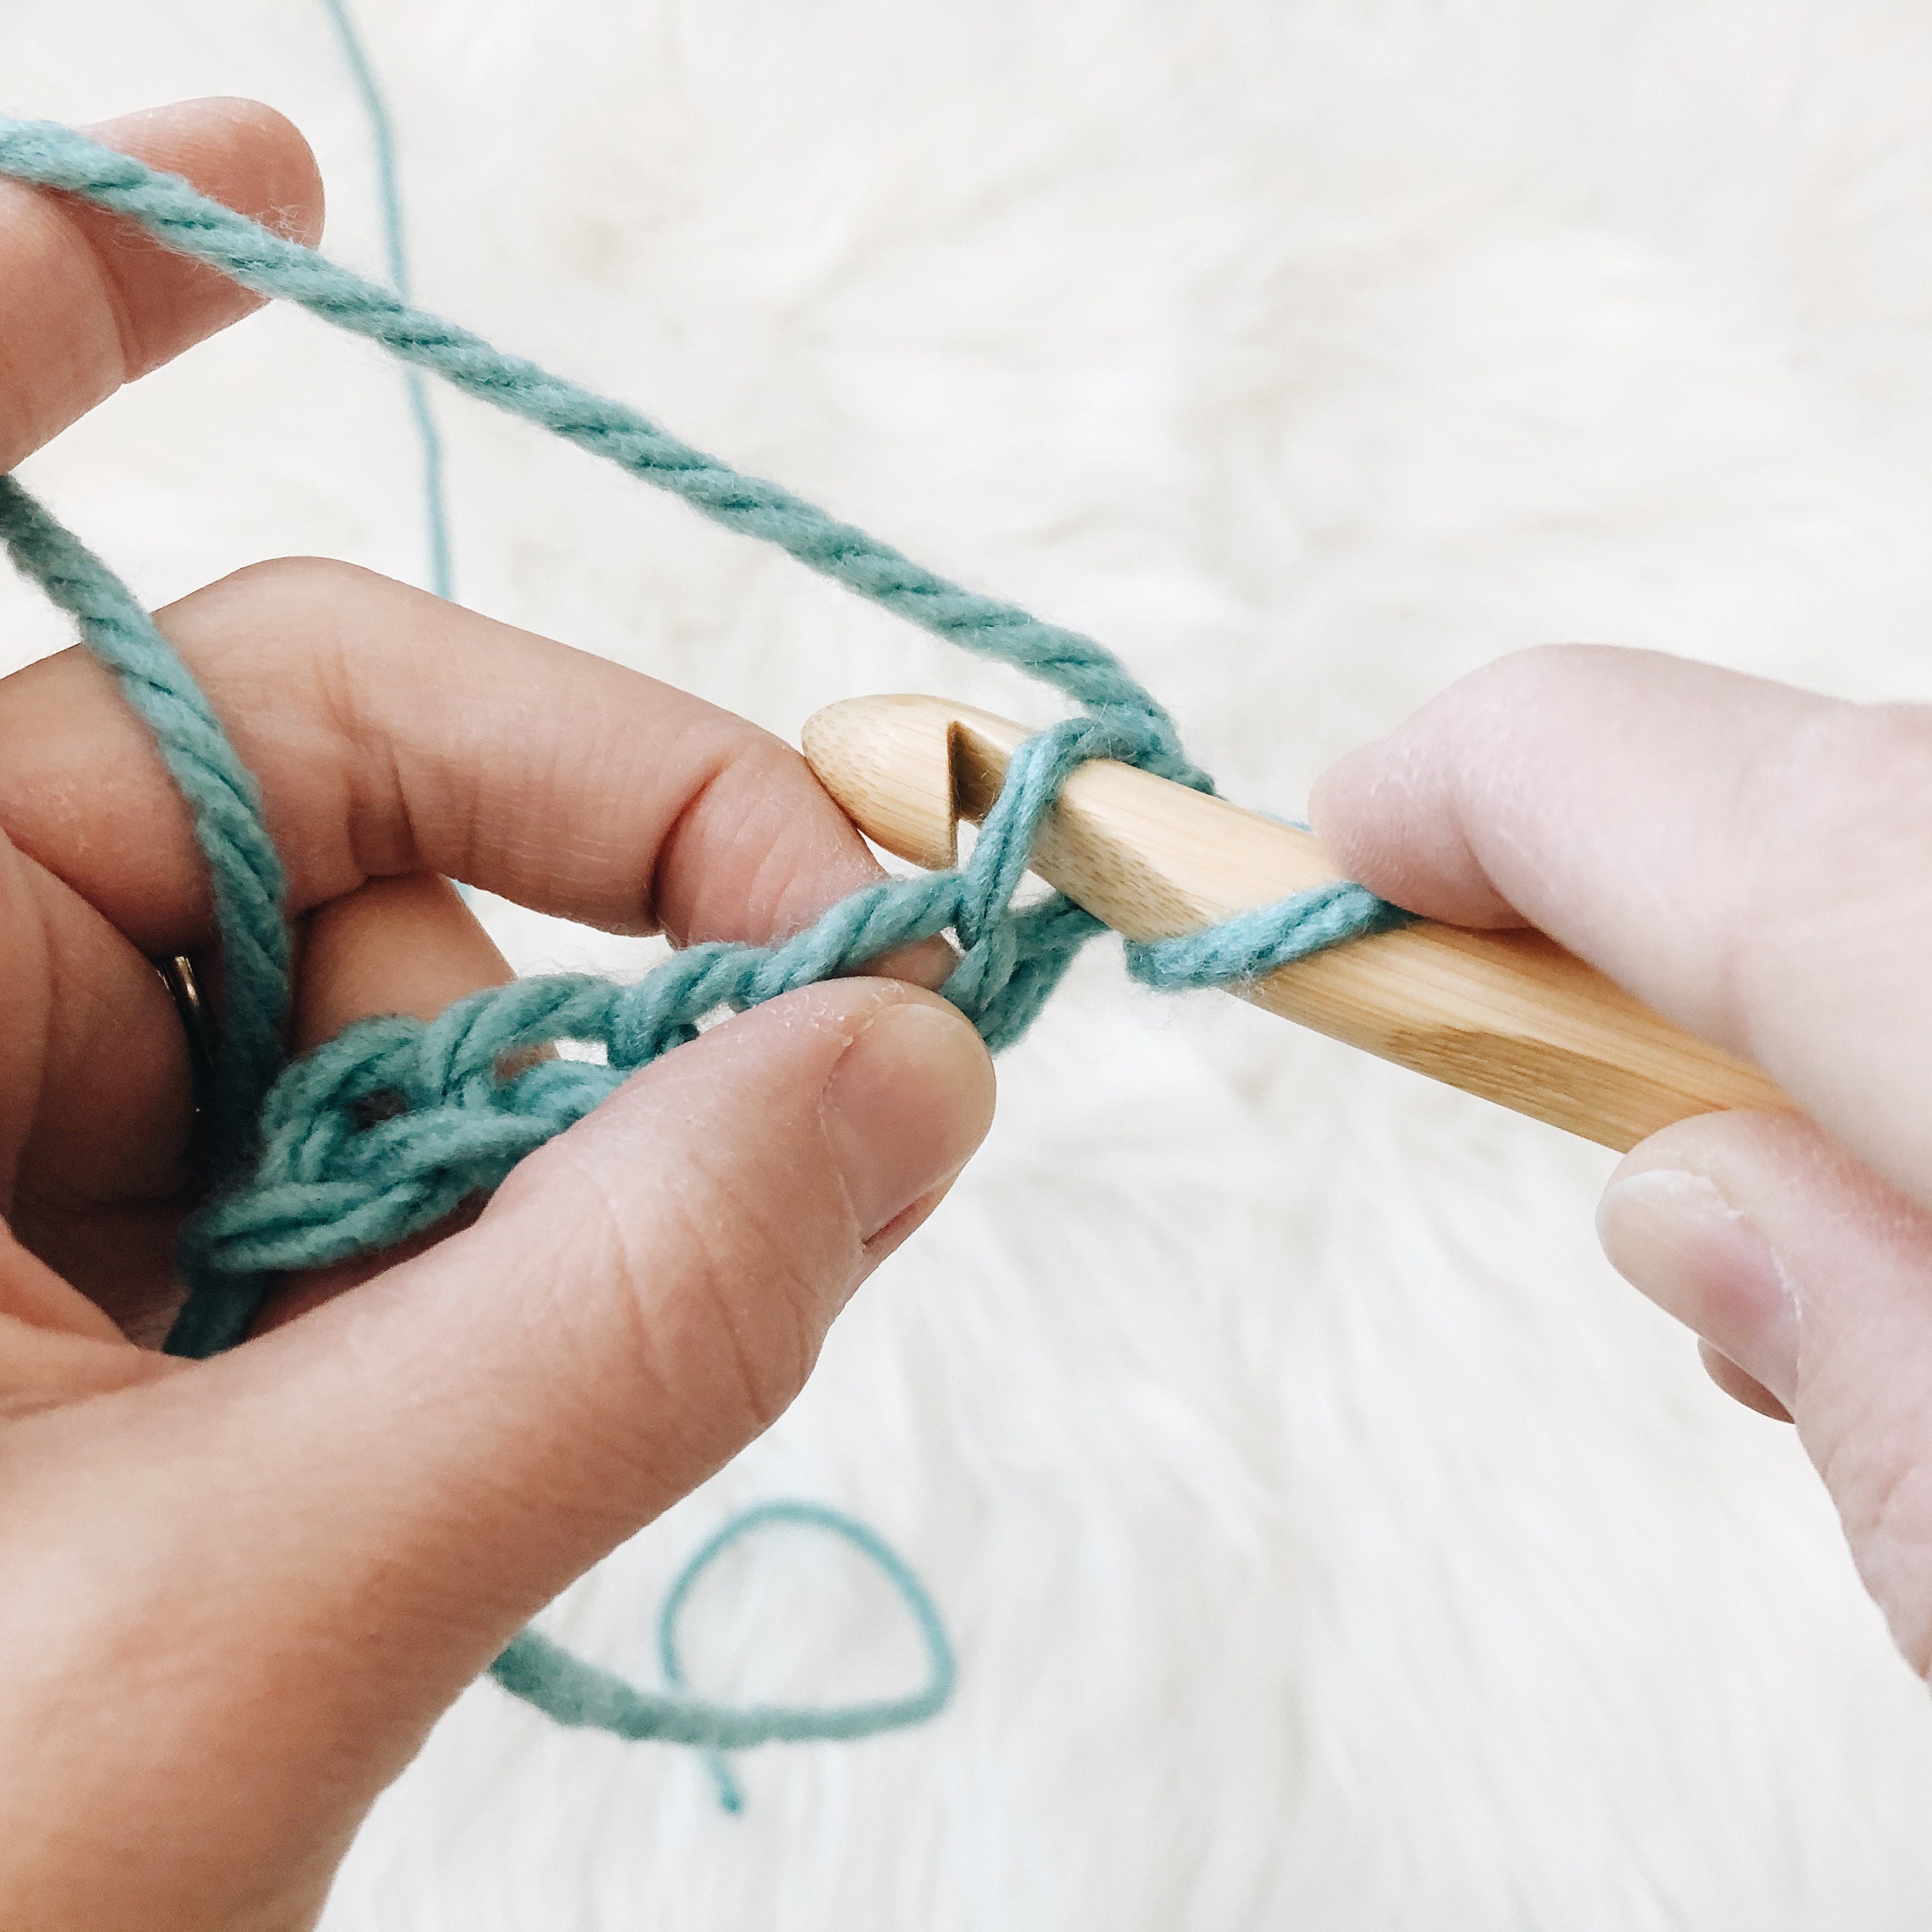
3. Yarn over just as you did when making your chain.
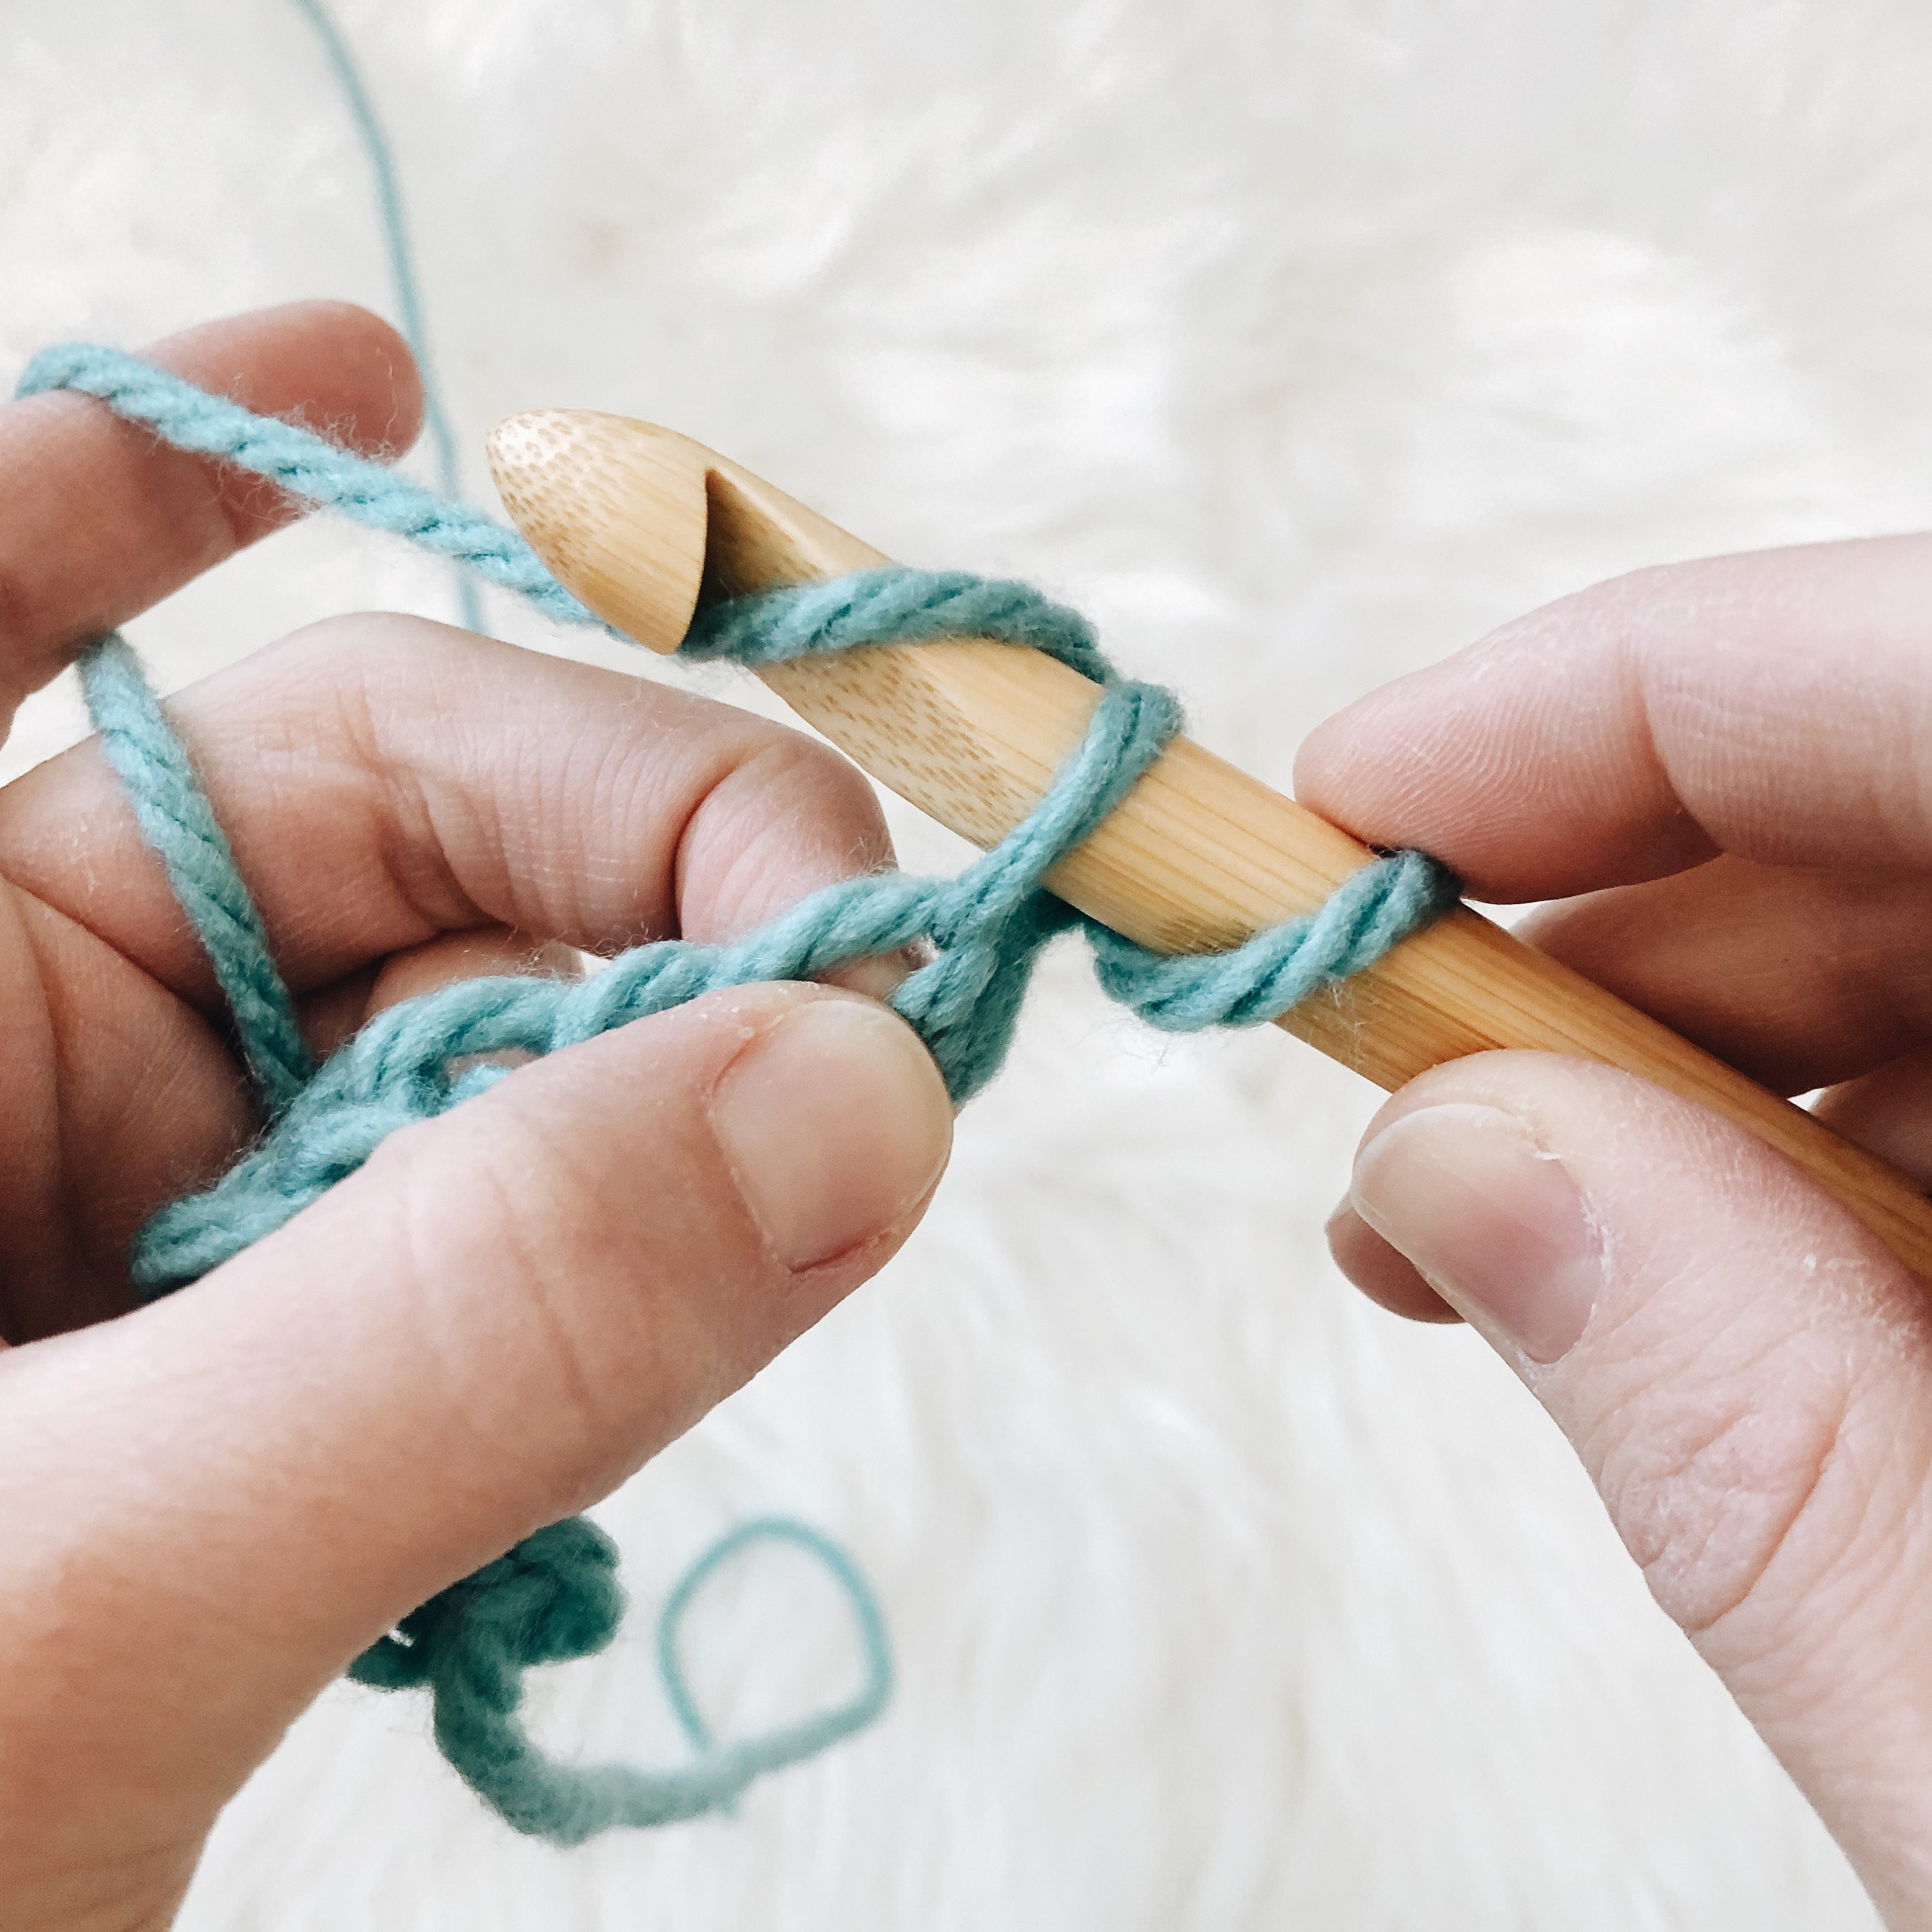
4. Pull through the first loop on hook.
5. Yarn over.
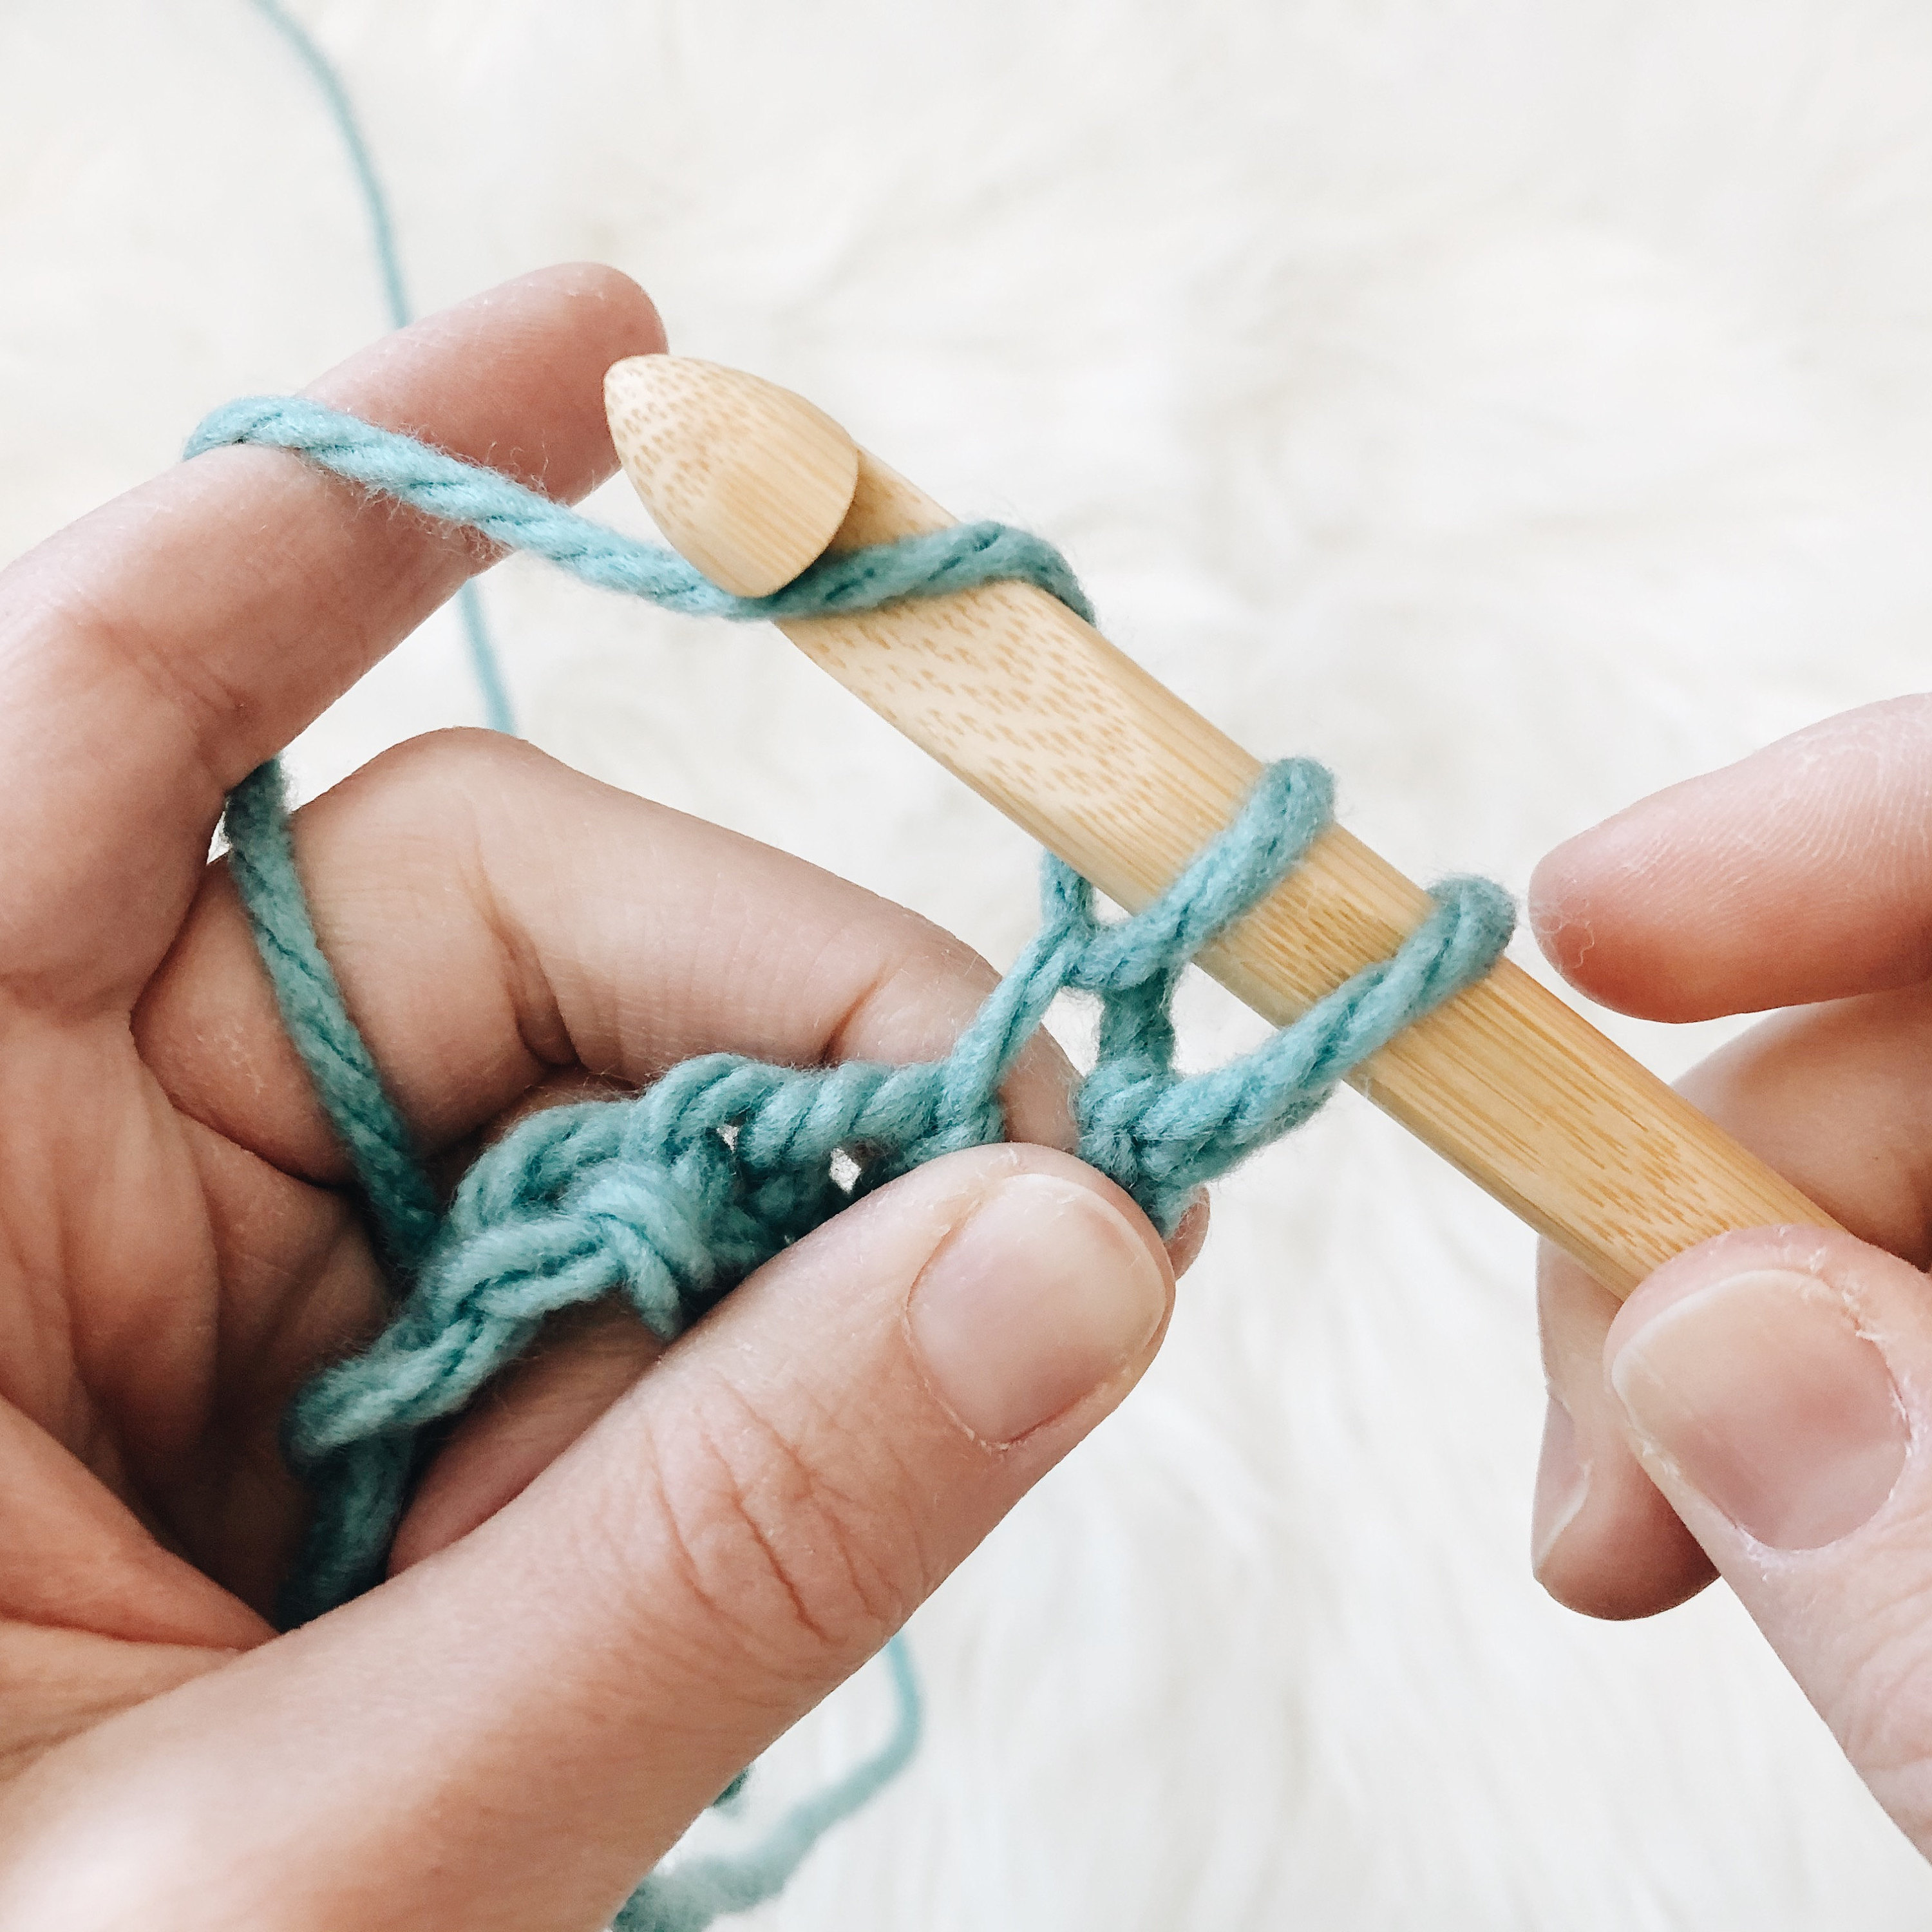
6. Pull through both loops on hook. This completes one single crochet. Repeat for each chain all the way to the end working from right to left to complete row one.
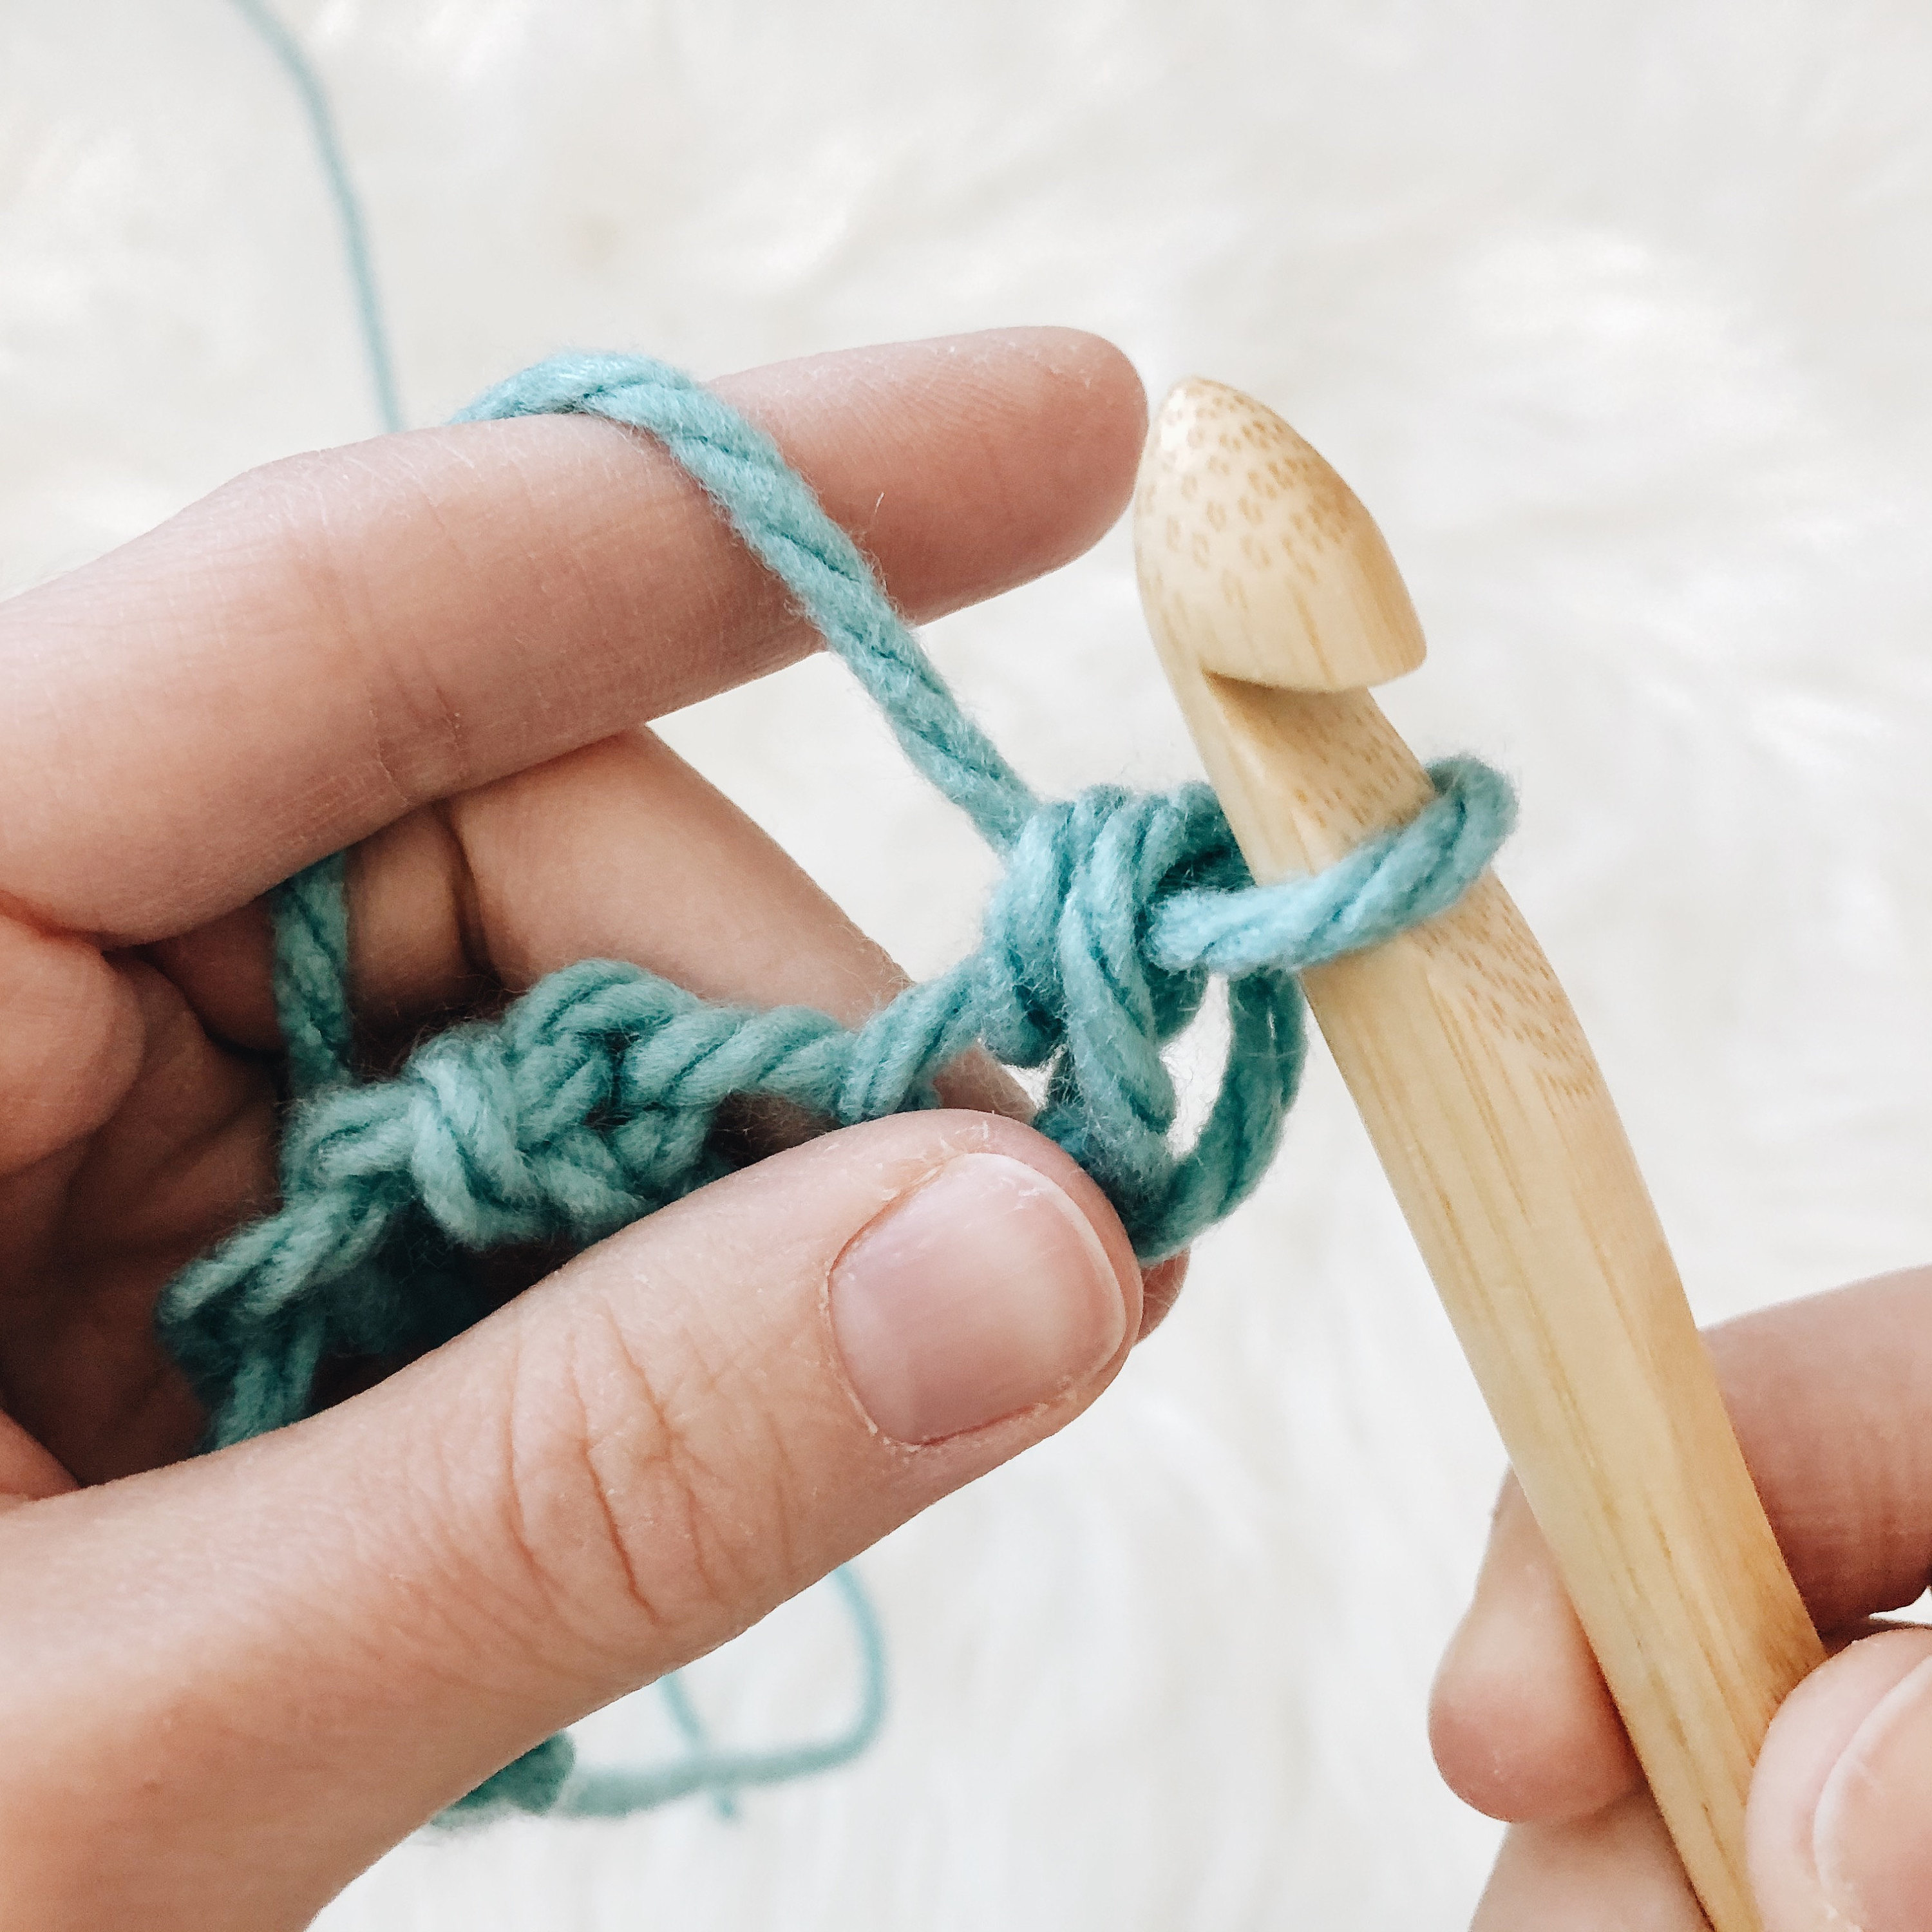
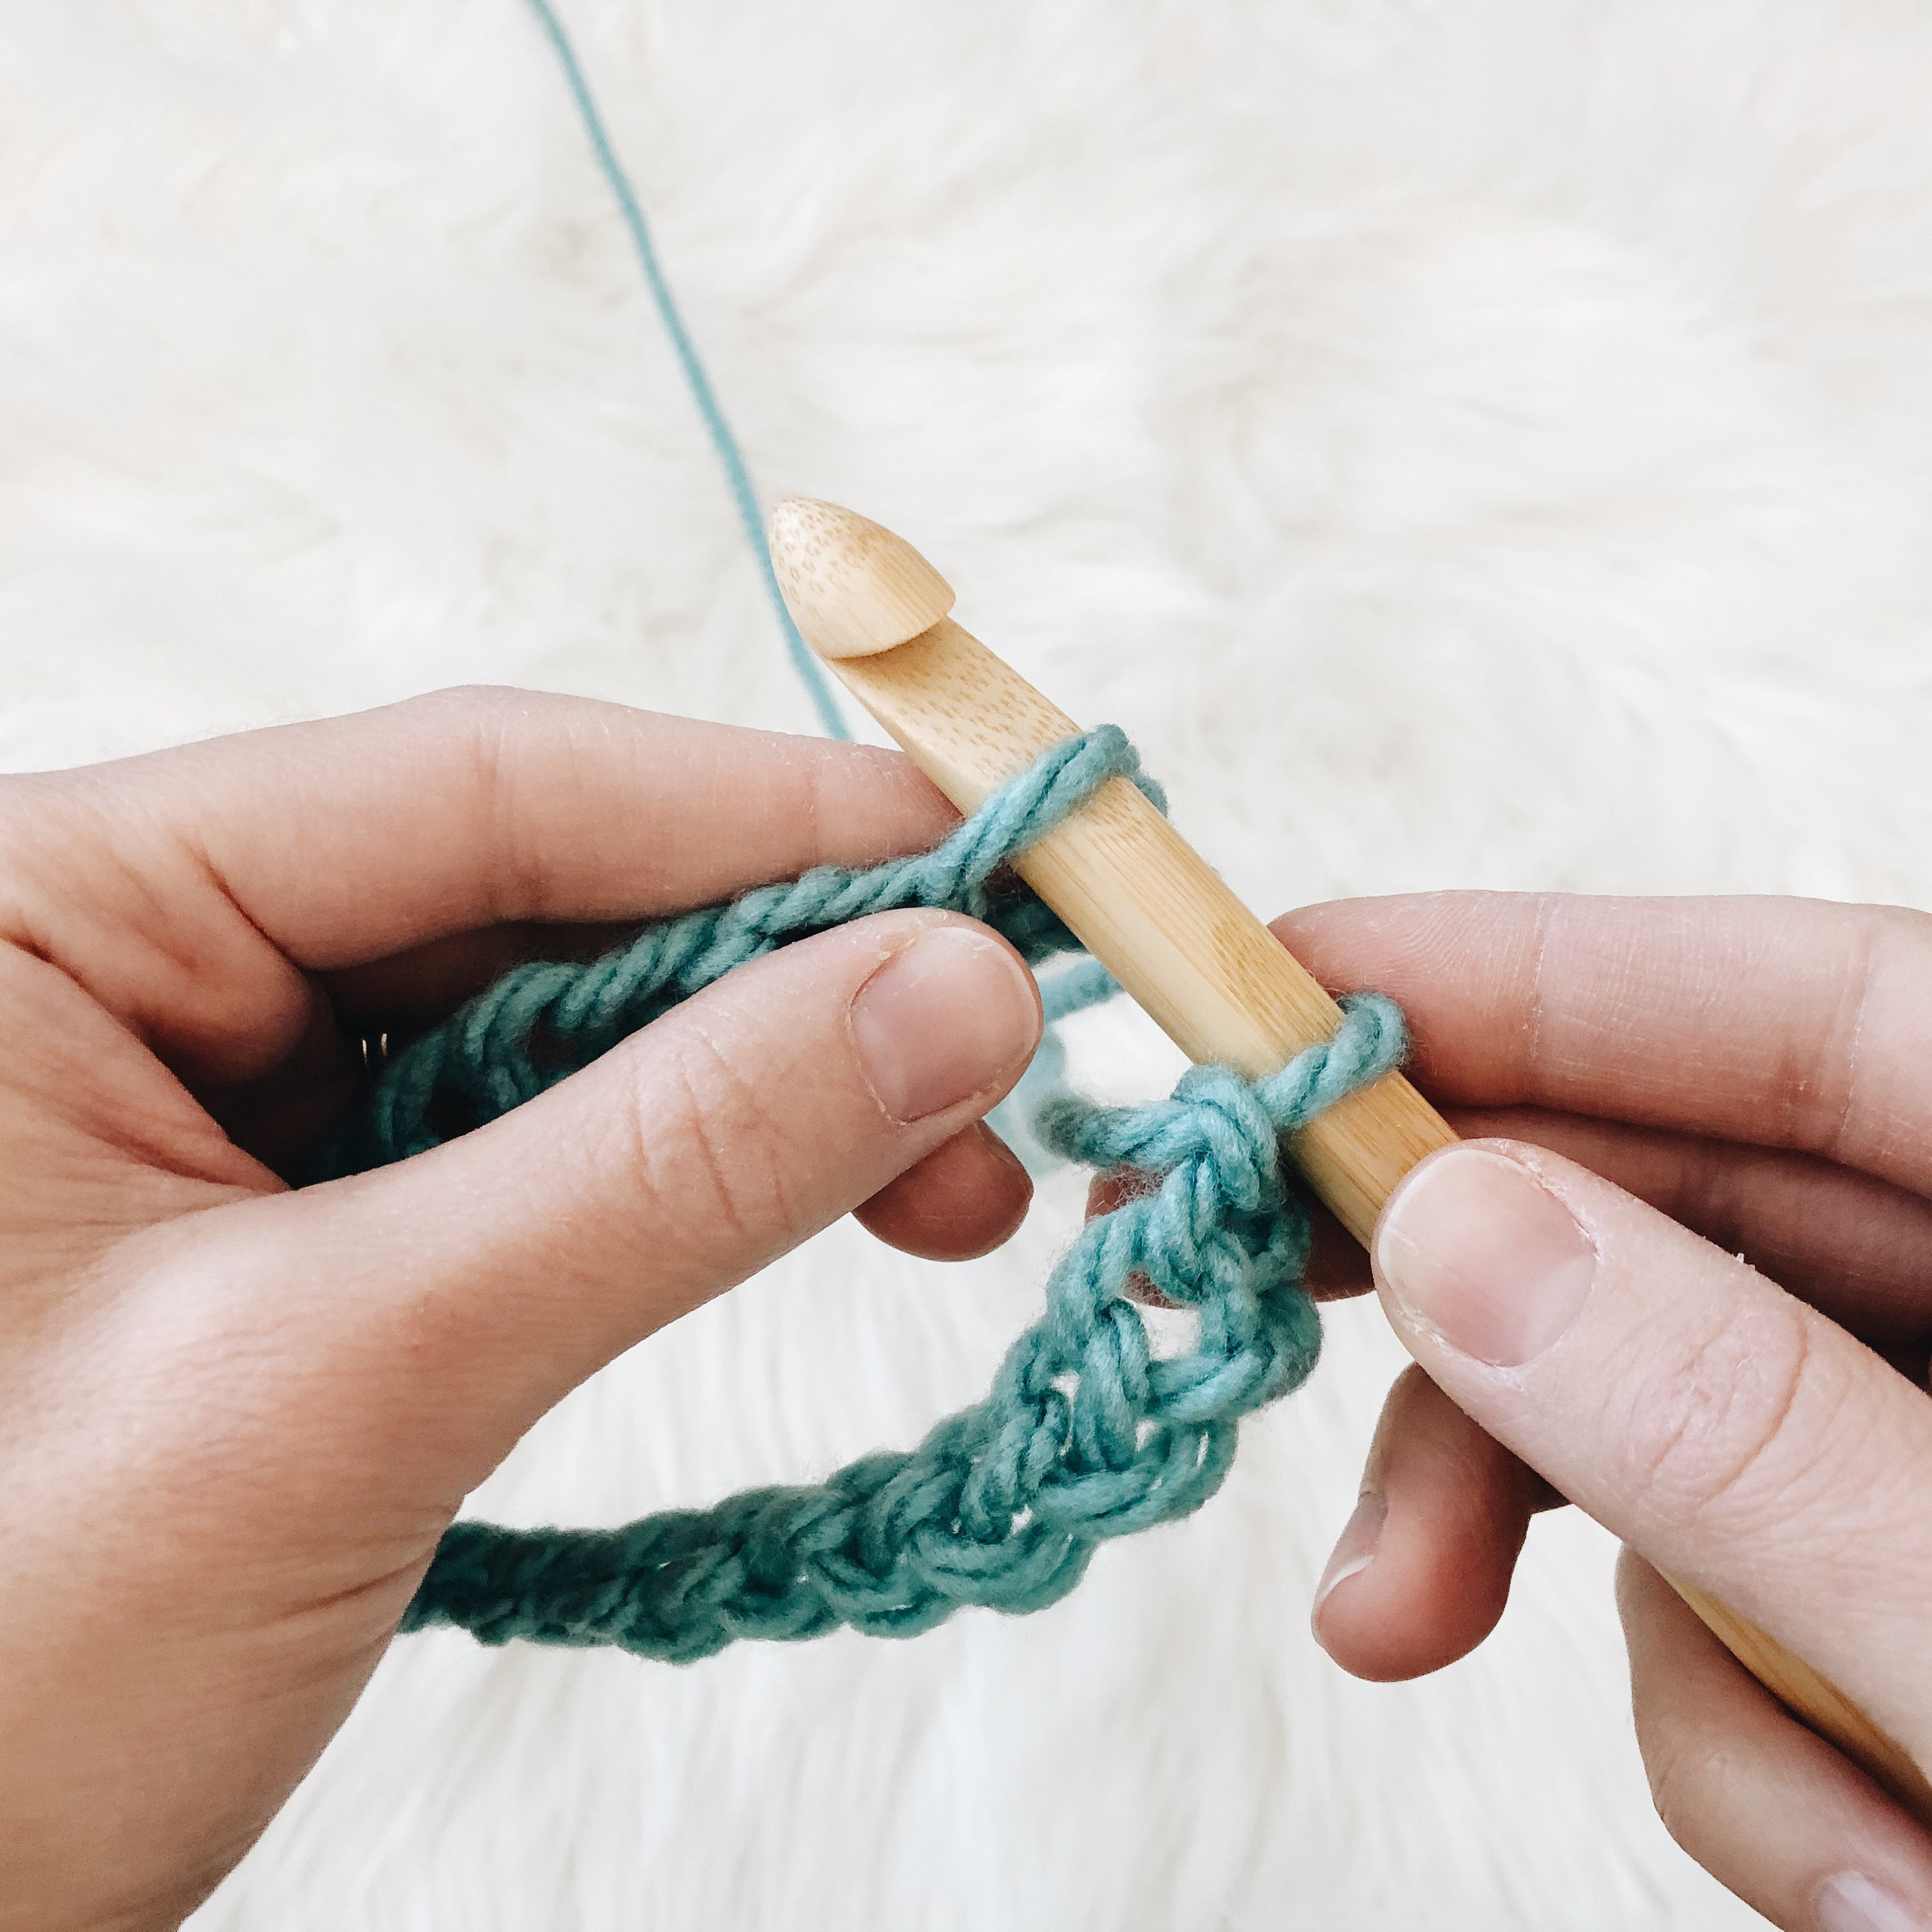
7. You will now need a turning chain. Patterns will list the number of times to chain before turning your work. For example: ch 1 and turn when beginning each row throughout project. Yarn over, pull through to chain and turn your work.
8. You should now have your foundation and row one completed. Looking at the top of your row of stitches, you should notice ‘V’s. Each ‘V’ is one stitch with a back loop and a front loop.

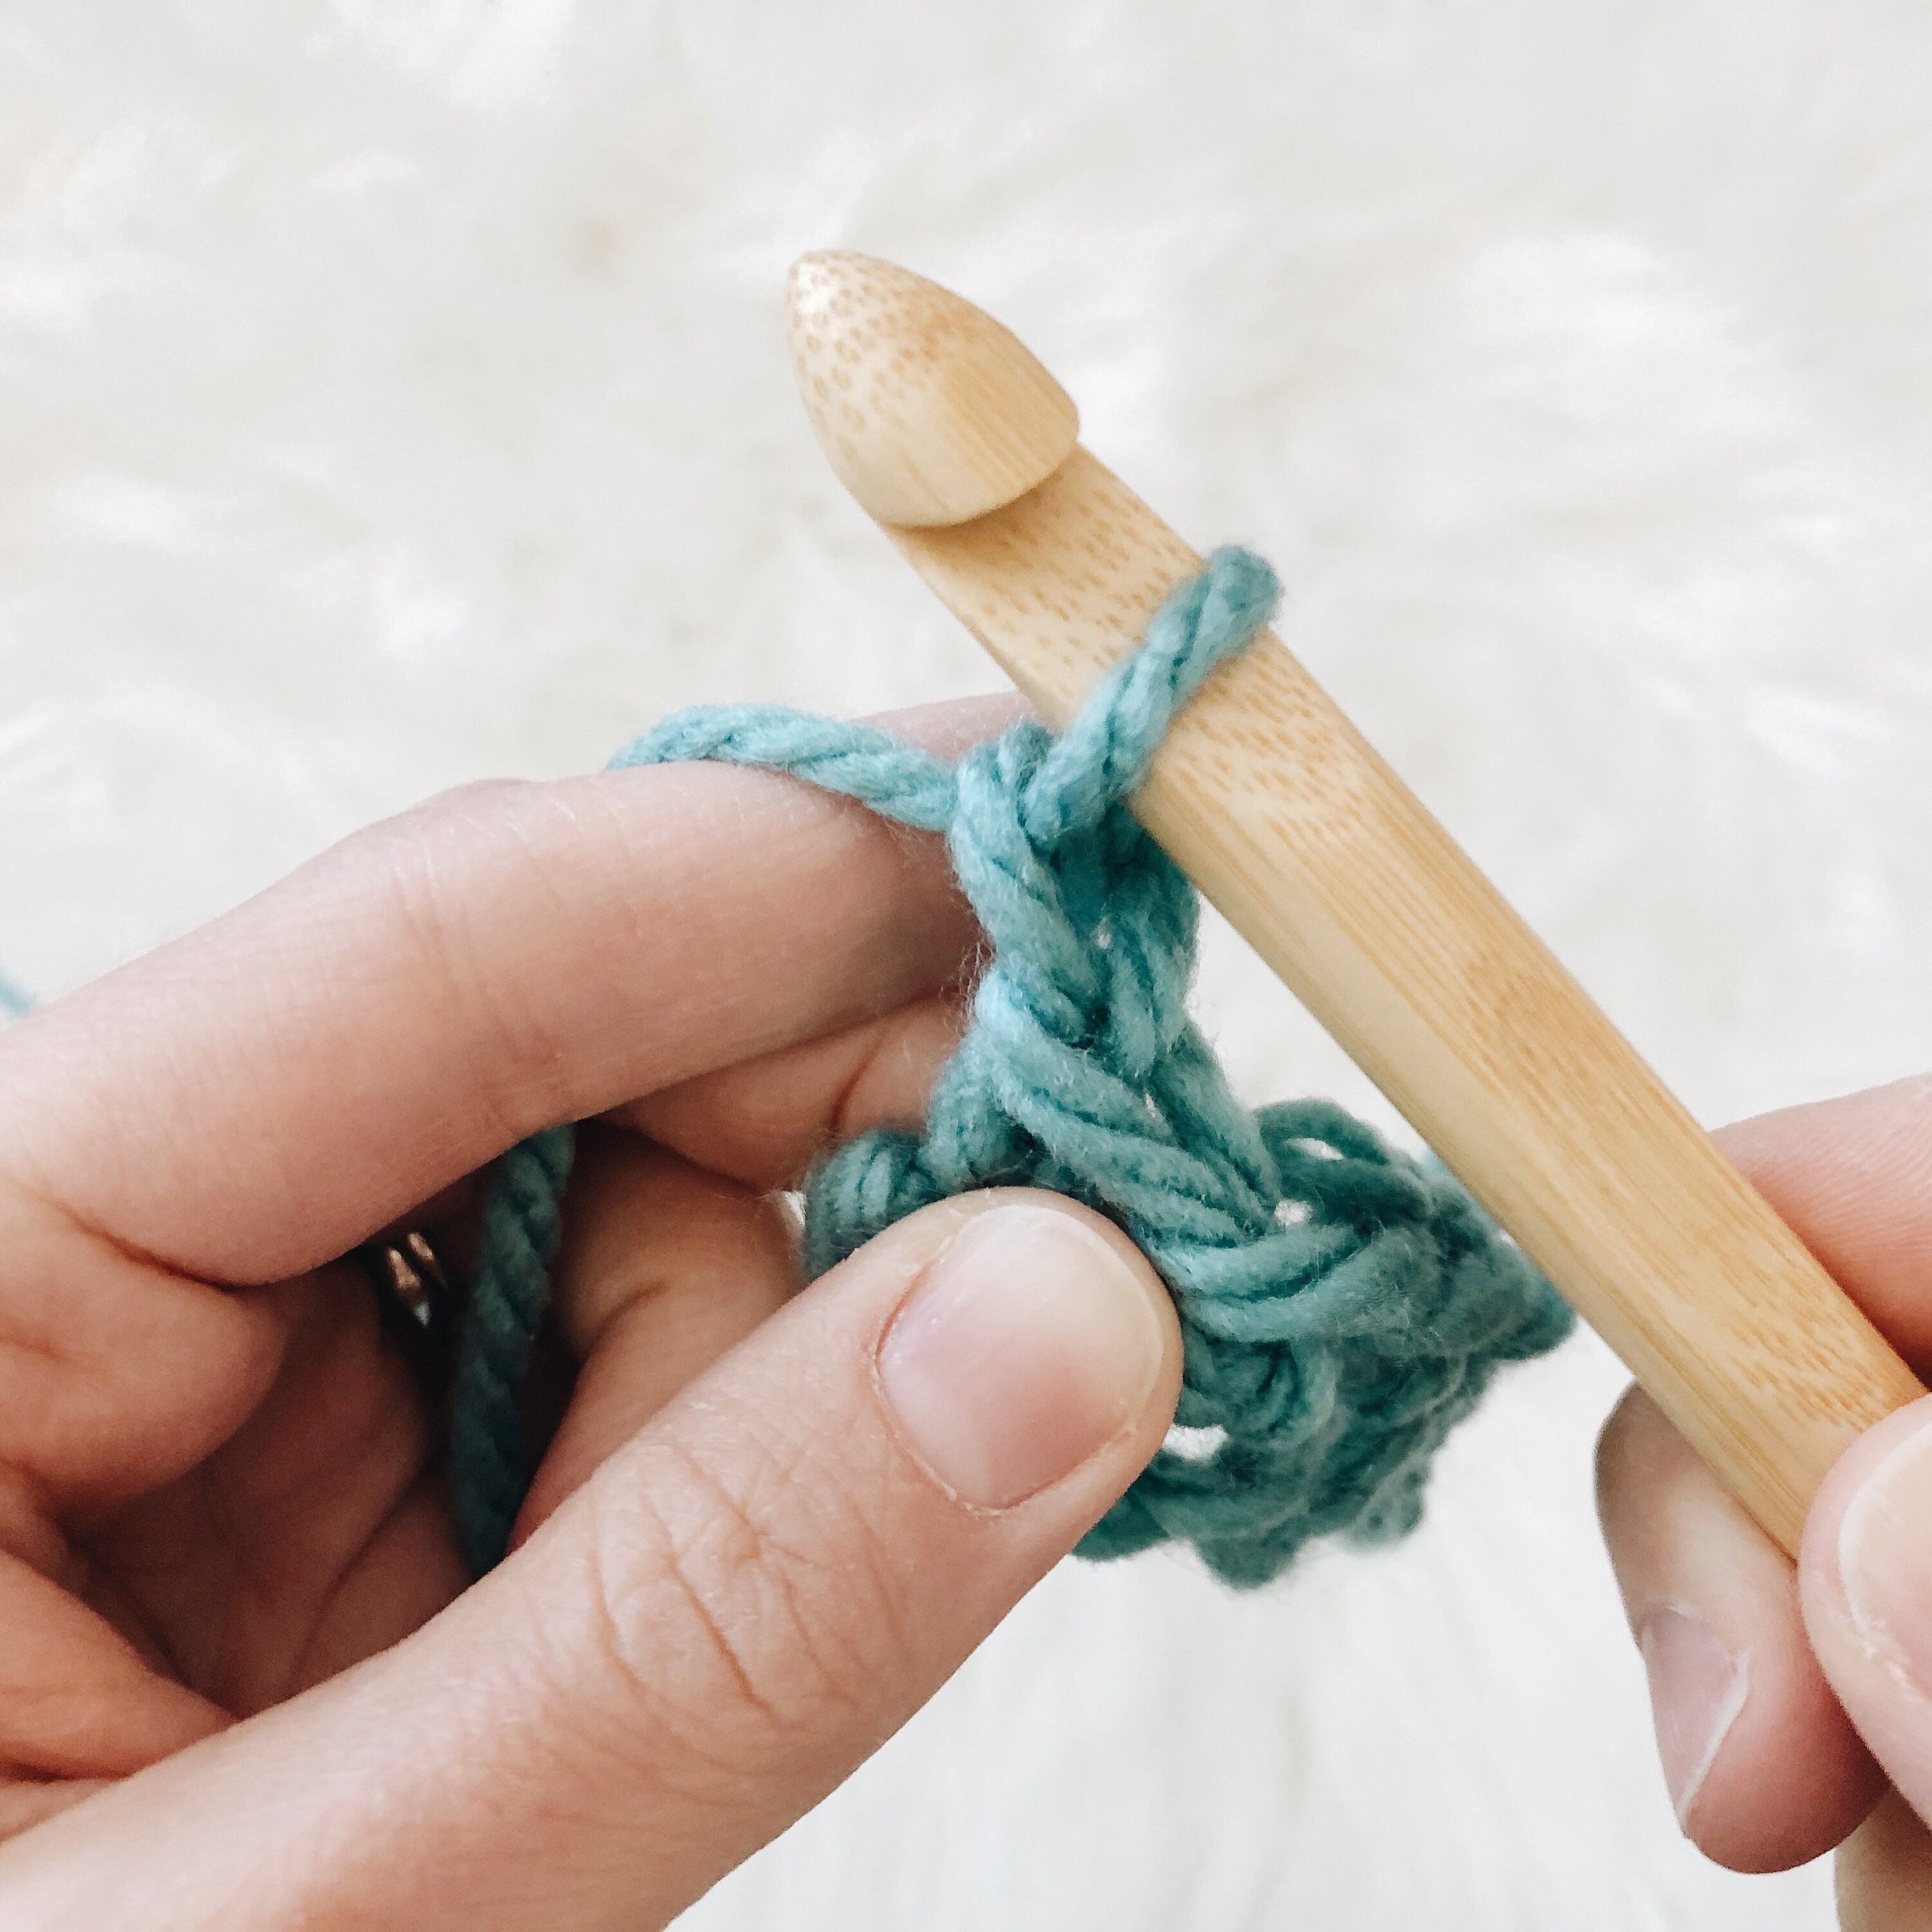
9. Your pattern will tell you what kind of stitch to work next as you continue your project. To continue with a basic single crochet, insert hook in stitch making sure you see the ‘V’ on top. Yarn over.
10. Pull through first loop on hook.

11. Yarn over. Pull through both loops on hook.
12. Continue to single crochet into each stitch working from right to left all the way to the end. This completes your second row. Remember your turning chain. Chain and turn your work to begin your third row. To fasten off, cut your yarn and pull through.
Click here for video support: How To Single Crochet
ROUNDS
1. When a project is worked in rounds instead of rows, make your chain and bring around. Be careful not to twist. Insert hook in the chain at the end.
2. Yarn over and pull through both loops on hook.
3. This is called a slip stitch. Slip stitch is often used to join rounds.

4. Your round is now joined and you are ready to continue with your pattern.

Click here for video support: How To Join to Work in the Round